User’s Guide Special keys
F.5
3. Repeat steps 1–2 until the name is complete. The name may contain up to 12 characters (a space
is a character, too).
4. Press # again when finished entering the name.
5. Now, enter the number — including, if necessary, the line access code 9 (or 8 or 71–76).
Note: Use the scroll key to enter special characters; use the
scroll key to backspace. You also
can use the scroll keys to view the number after it’s saved. To change the number, you must
delete it and then re-enter it as desired.
6. Press # to confirm the entry.
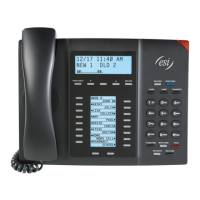
Manual method (on an ESI phone with a three-line display)
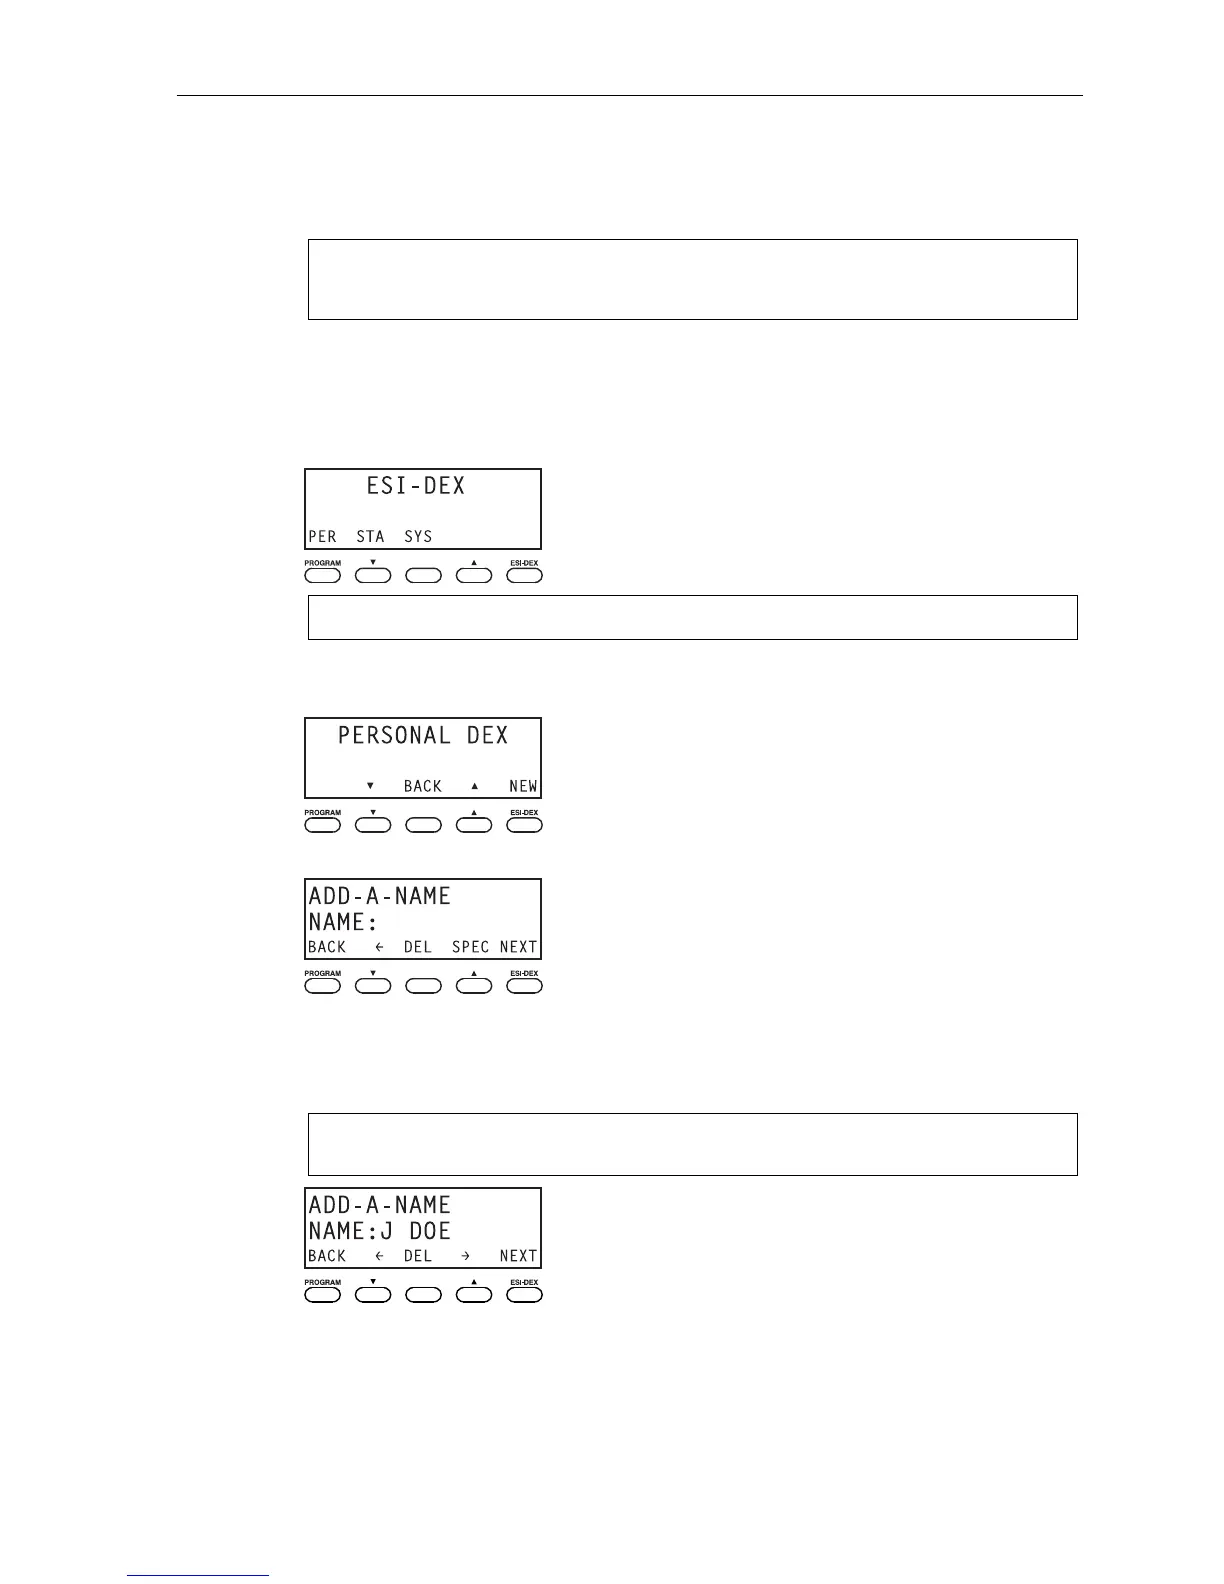
1. While your station is idle (or just after receiving dial tone), press ESI-DEX. This causes the Esi-Dex
menu to appear, as shown:
Note: Your display may differ, depending upon the availability of certain Dexes on your system.
2. Press PER to choose the Personal Dex.
The display now reads:
3. Press NEW.
4. To enter each character for the name, press the dialpad key that includes the desired character.
The key’s possible character entries will change each time you press the key.
5. When the desired character appears, press # to confirm its entry. The cursor will move to the next
character position. Use
and (the scroll keys) to back up or to insert a space.
Example: To enter a B, press 2 twice (the possible options to scroll through are A, B, C and 2). When B
appears, press # to confirm and move to the next entry.
6. Repeat steps 4–5 until the name is complete. The name may contain up to 12 characters (a space
is a character, too).
(Continued)