• Drilled high-base bevel
• Drilled groove
• Drilled mixed finish
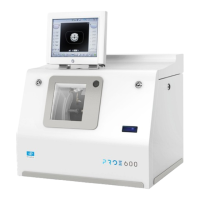
a. Automatic drilling
Call up the desired shape located on the tracer or on the job management program.
The shape is displayed on the edger work screen.
After the tracing of a shape with drilling settings:
• The drilling function is selected by default.
• The automatic mode is selected by default.
Select lens material.
Select the type of finish.
Select the type of cycle.
Choose whether or not to polish and/or chamfer your lens.
For more information, consult the section Edging a lens > Perform a polishing (F p.65) and Edging a
lens > Perform a chamfering (F p.66).
Press the “cycle start” button (front face) or .
The door closes, the lens is clamped and then felt.
The edging cycle starts.
When the edging cycle is finished, the retouch screen is displayed.
Press to release the lens.
If necessary, retouch the lens.
Otherwise, start edging the second lens. Select the lens directly on the screen, on the left or right of the
work area.
The edging screen for the second lens is displayed. All finishes chosen and the modifications made
are kept.