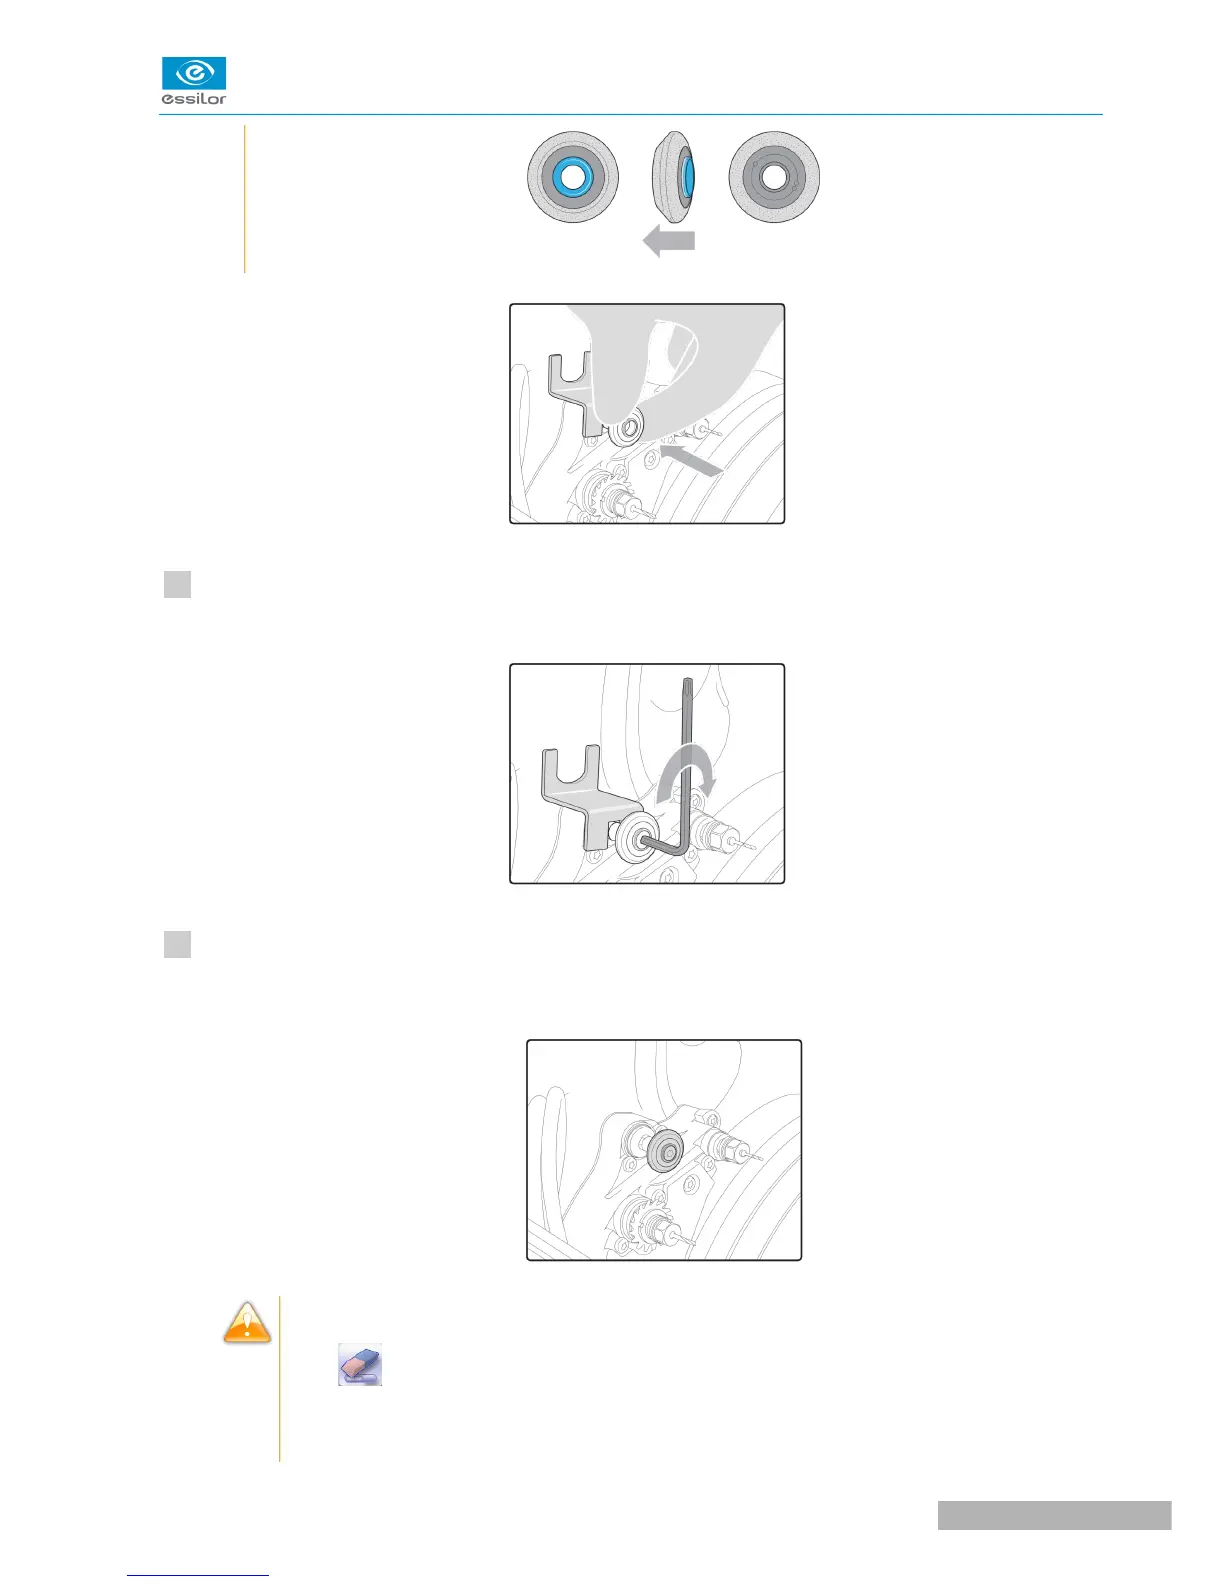
Put the screw back on, insert the key and tighten the wheel (towards the back of the trough) with the
Allen key.
Remove the blocking key and the Allen key.
The new wheel is in place.
During the installation of a new tool, the statistics are automatically reset to zero by default.
>The icon appears by default at the bottom of the screen.
When replacing a chamfering wheel with a step bevel wheel, or cleaning the machine, the
statistics will be saved.