ES720.1 - User’s Guide 35
ETAS Getting Started
5 Getting Started
The “Getting Started” chapter includes general installation recommendations, a
description of the assembly, as well as notes on cabling of the ES720.1.
5.1 Assembly and Locking
5.1.1 General Installation Recommendations
5.1.2 Fixing a Module onto a Carrier System
The ES720.1 has a rugged metal housing with nonskid plastic feet. The unit can
easily be screwed onto a carrier system for installation in a vehicle or in the lab.
The screw thread for attaching your device is already contained in the housing
and is easily accessible.
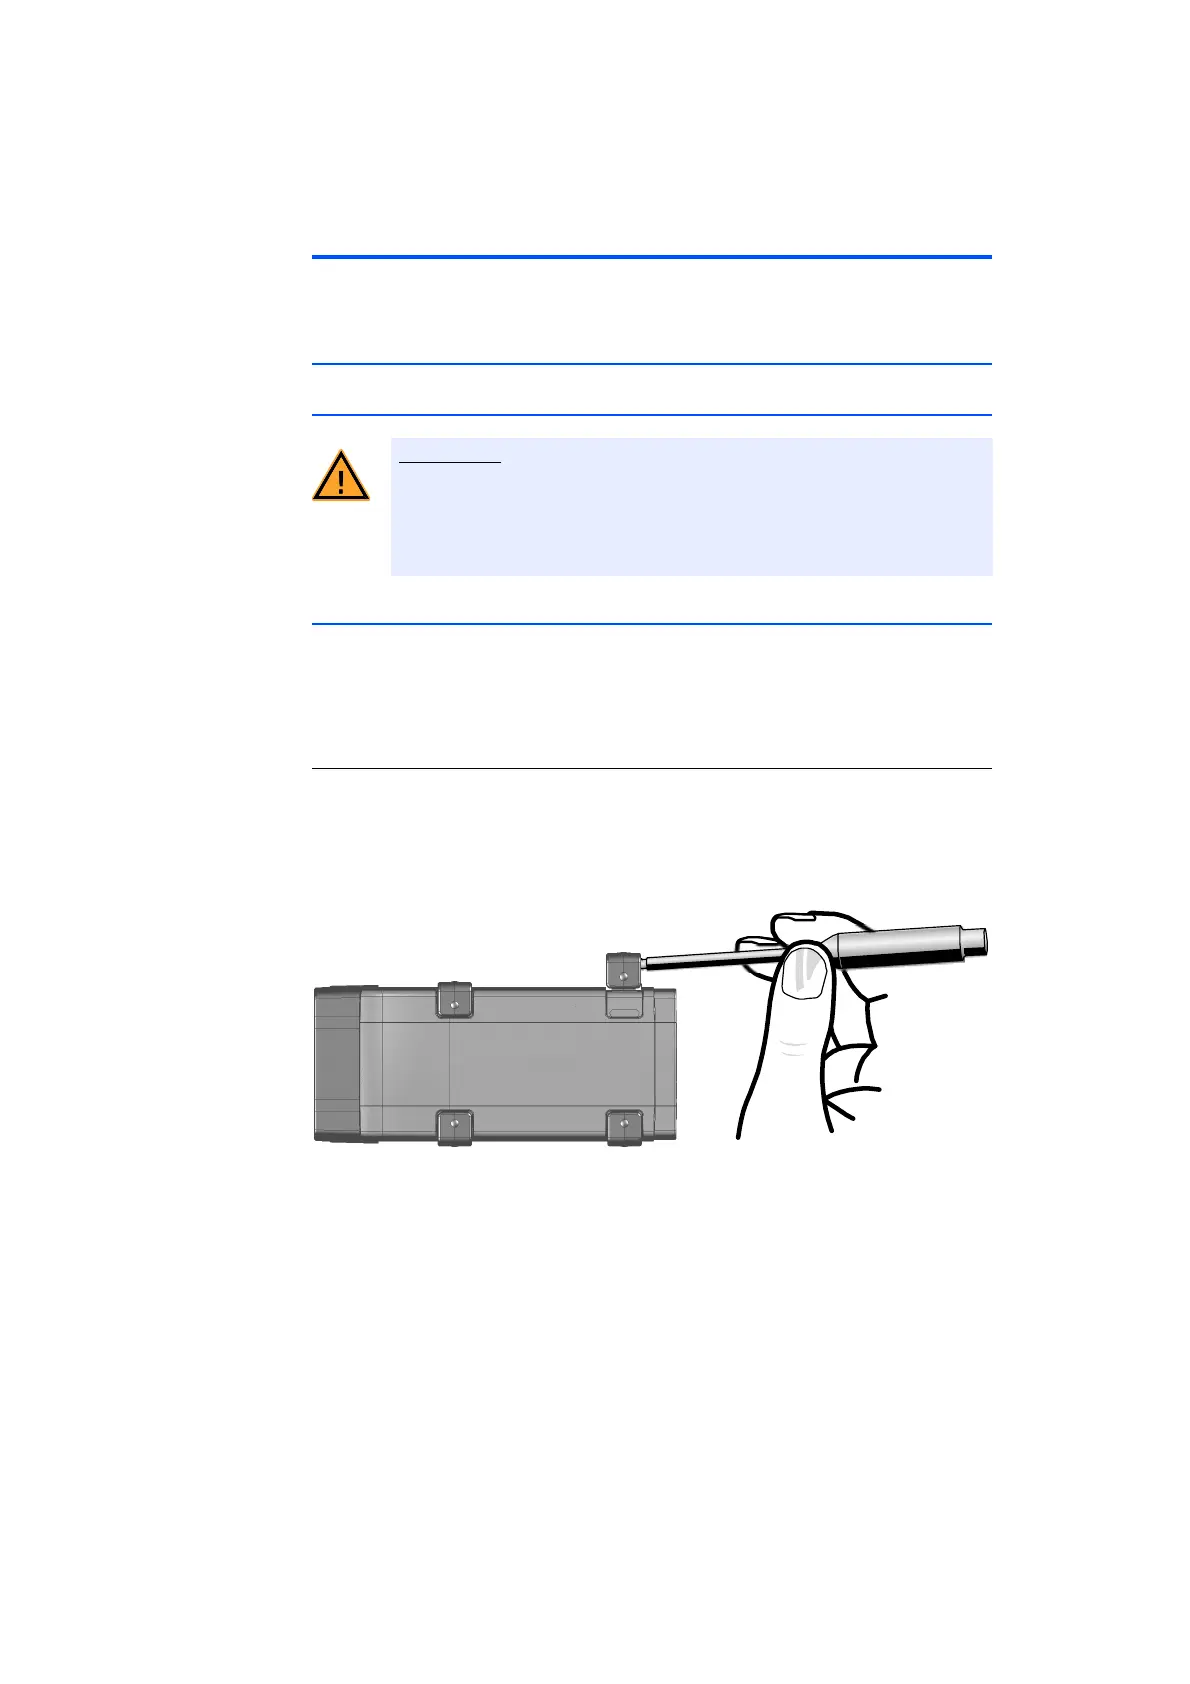
To fasten the ES720.1 housing:
• Remove the plastic feet from the bottom of the
module by pushing a minus screwdriver between
the housing bottom and the plastic foot. Lifting off
the plastic foot using the screwdriver as a lever.
Fig. 5-1 Levering Off the Plastic Foot
• A threaded hole will become visible under the plas-
tic foot. The threads for fastening the module are
lo
cated both on the bottom of the ES720.1 hous-
ing.
The module can be damaged or destroyed.
The modules are only admissible for assembly and operation on com-
ponents or in locations which guarantee adherence to the technical
data of the modules during operation (see chapter 8 on page 57).
 Loading...