Chapter 8 Installing Optional Products
> 8.2 Drive Enclosure Installation
ETERNUS DX60/DX80/DX90 Disk storage system User Guide
200
Copyright 2010 FUJITSU LIMITED
P3AM-3042-07ENZ0
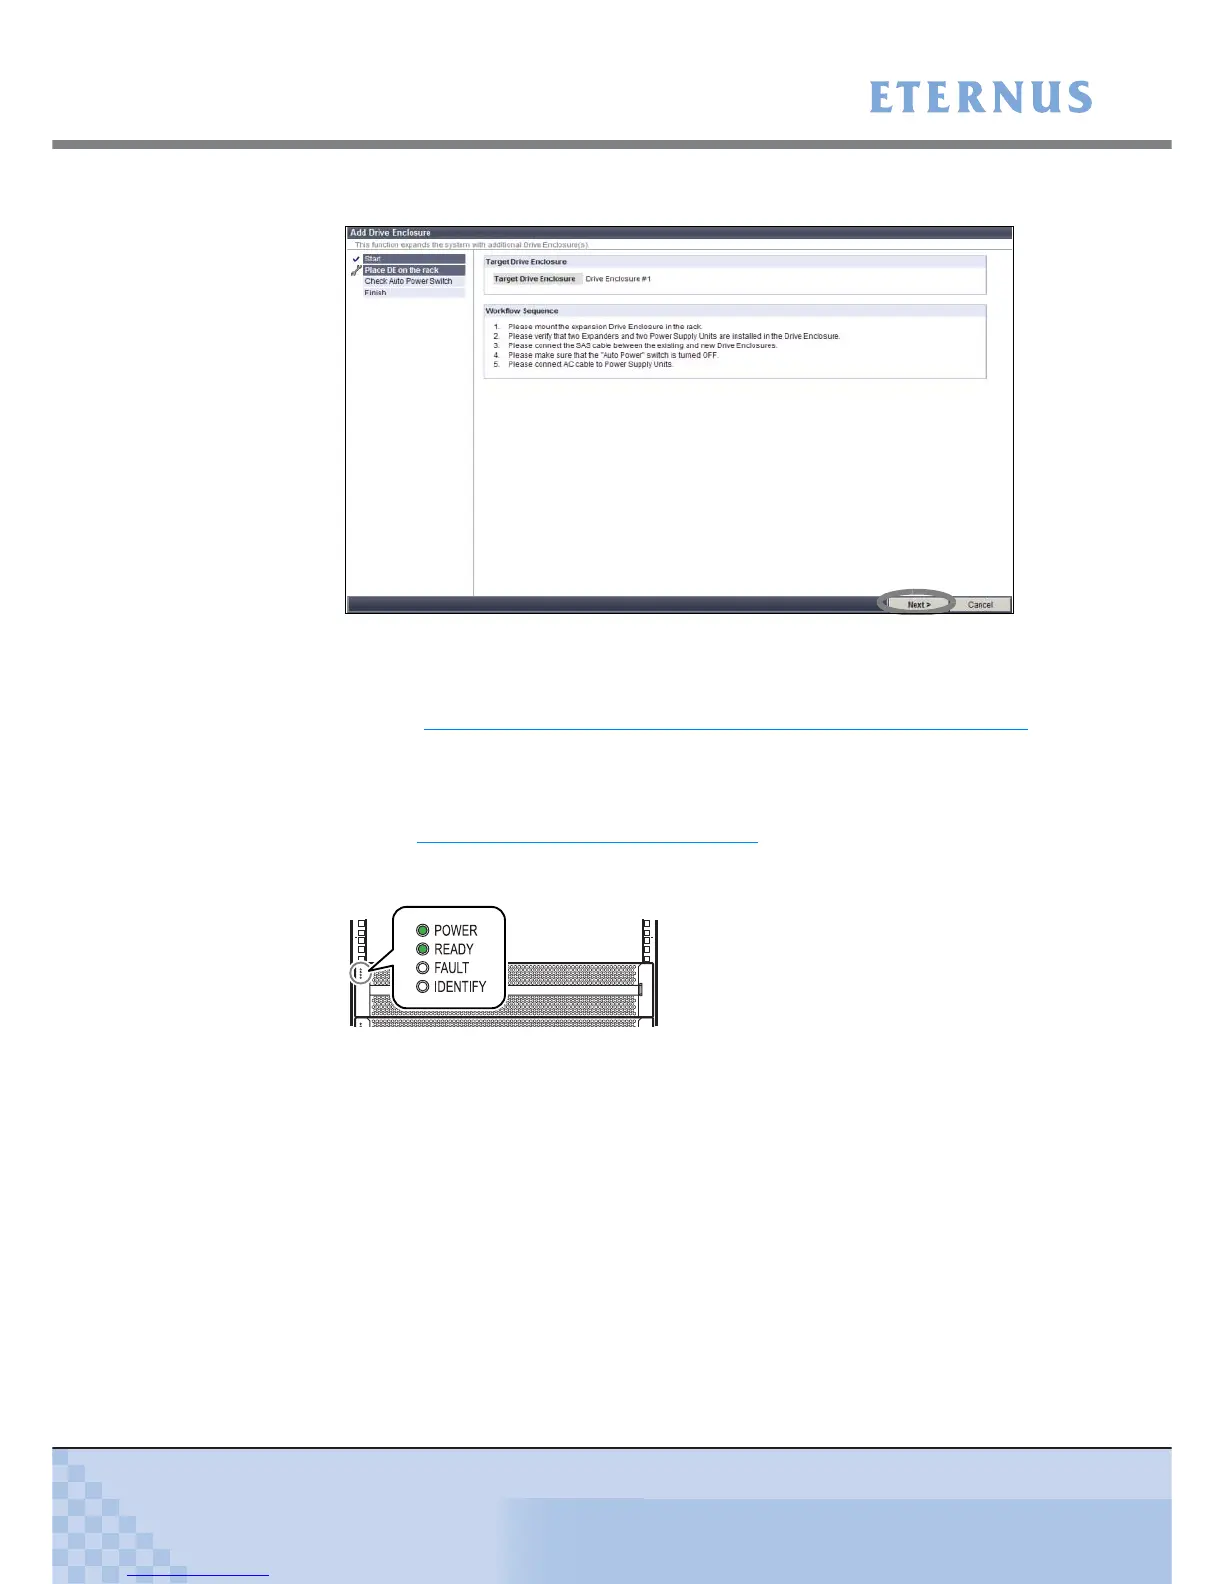
The screen that indicates a procedure for adding drive enclosures appears.
Figure 8.4 [Add Drive Enclosure] - Workflow Sequence screen 1
5 Connect the miniSAS cable (for drive enclosures).
Refer to "6.6 MiniSAS Cable Connection (For Drive Enclosures)" (page 117) for the
appropriate procedure.
6 Connect the drive enclosure’s power cord.
The drive enclosure turns on.
Refer to "6.7
Power Cord Connection" (page 123) for the appropriate procedure.
7 Check that the drive enclosure's POWER LED and READY LED are on.
8 Click the [Next >] button.
The drive enclosure recognition process is performed. When the process completes, the
drive enclosure's AUTO POWER switch check procedure screen is displayed.
Drive enclosure