Chapter 8 Installing Optional Products
> 8.2 Drive Enclosure Installation
ETERNUS DX60/DX80/DX90 Disk storage system User Guide
201
Copyright 2010 FUJITSU LIMITED
P3AM-3042-07ENZ0
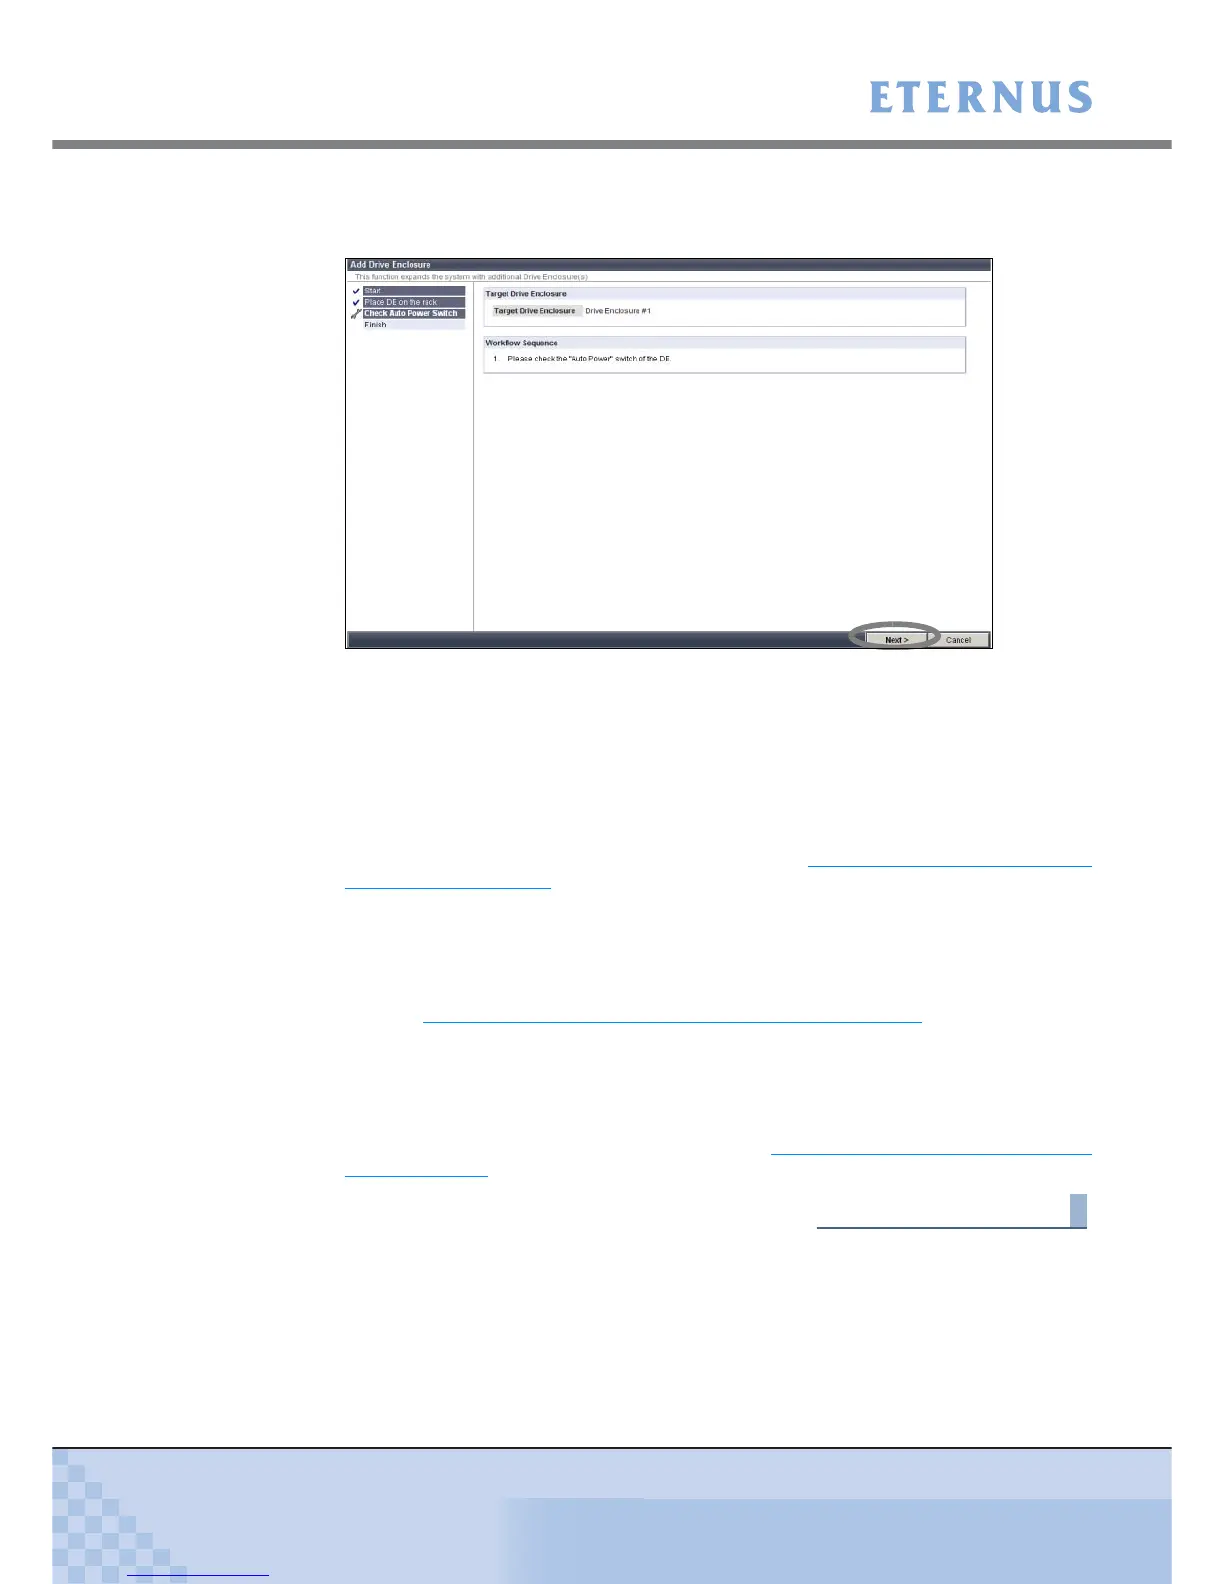
9 Check the drive enclosure's AUTO POWER switch is OFF, and click the [Next >]
button.
Figure 8.5 [Add Drive Enclosure] - Workflow Sequence screen 2
The expansion completion screen is displayed.
10 Click the [OK] button.
The [Add Drive Enclosure] screen is closed.
11 For 2.5" type drive enclosures, attach the supplied flange cover.
For details on how to attach the flange cover, refer to "3.4 Attaching and Removing the
Flange Cover" (page 78).
12 On the Storage System Status screen, check that the added drive enclosures
have been recognized.
13 Install the disks.
Refer to "8.1.4 Additional Disk Installation Procedure" (page 186) for the appropriate
procedure.
14 Remove the wrist strap.
15 For 3.5" type drive enclosures, attach the front cover.
For details on how to attach the front cover, refer to "3.3 Attaching and Removing the Front
Cover" (page 75).
End of procedure