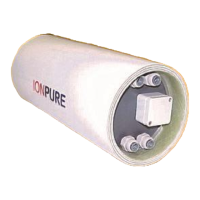
IONPURE
®
MX CEDI Modules
Page 12 of 32 IP-MAN-MX-Rev E
3. MX MODULE INSTALLATION
3.1. Moving the MX Module Into Place
Confirm that the pre-installation requirements outlined in Section 2 are met and the
system is ready for MX Module installation.
• Remove any packaging materials and move the module to its operating location. (See
section 2.1.1). Use safe lifting practices when moving the module.
• Remove the plug caps that seal the inlet and outlet ports on the cathode end.
3.2. Connect Plumbing Fittings
• Make sure all upstream pretreatment equipment and piping have been thoroughly
flushed with particle-free water before connecting them to the MX module.
• Flushing removes any particles left in the piping from cutting and assembly. If particles
remain, they could plug the passages inside the MX Module.
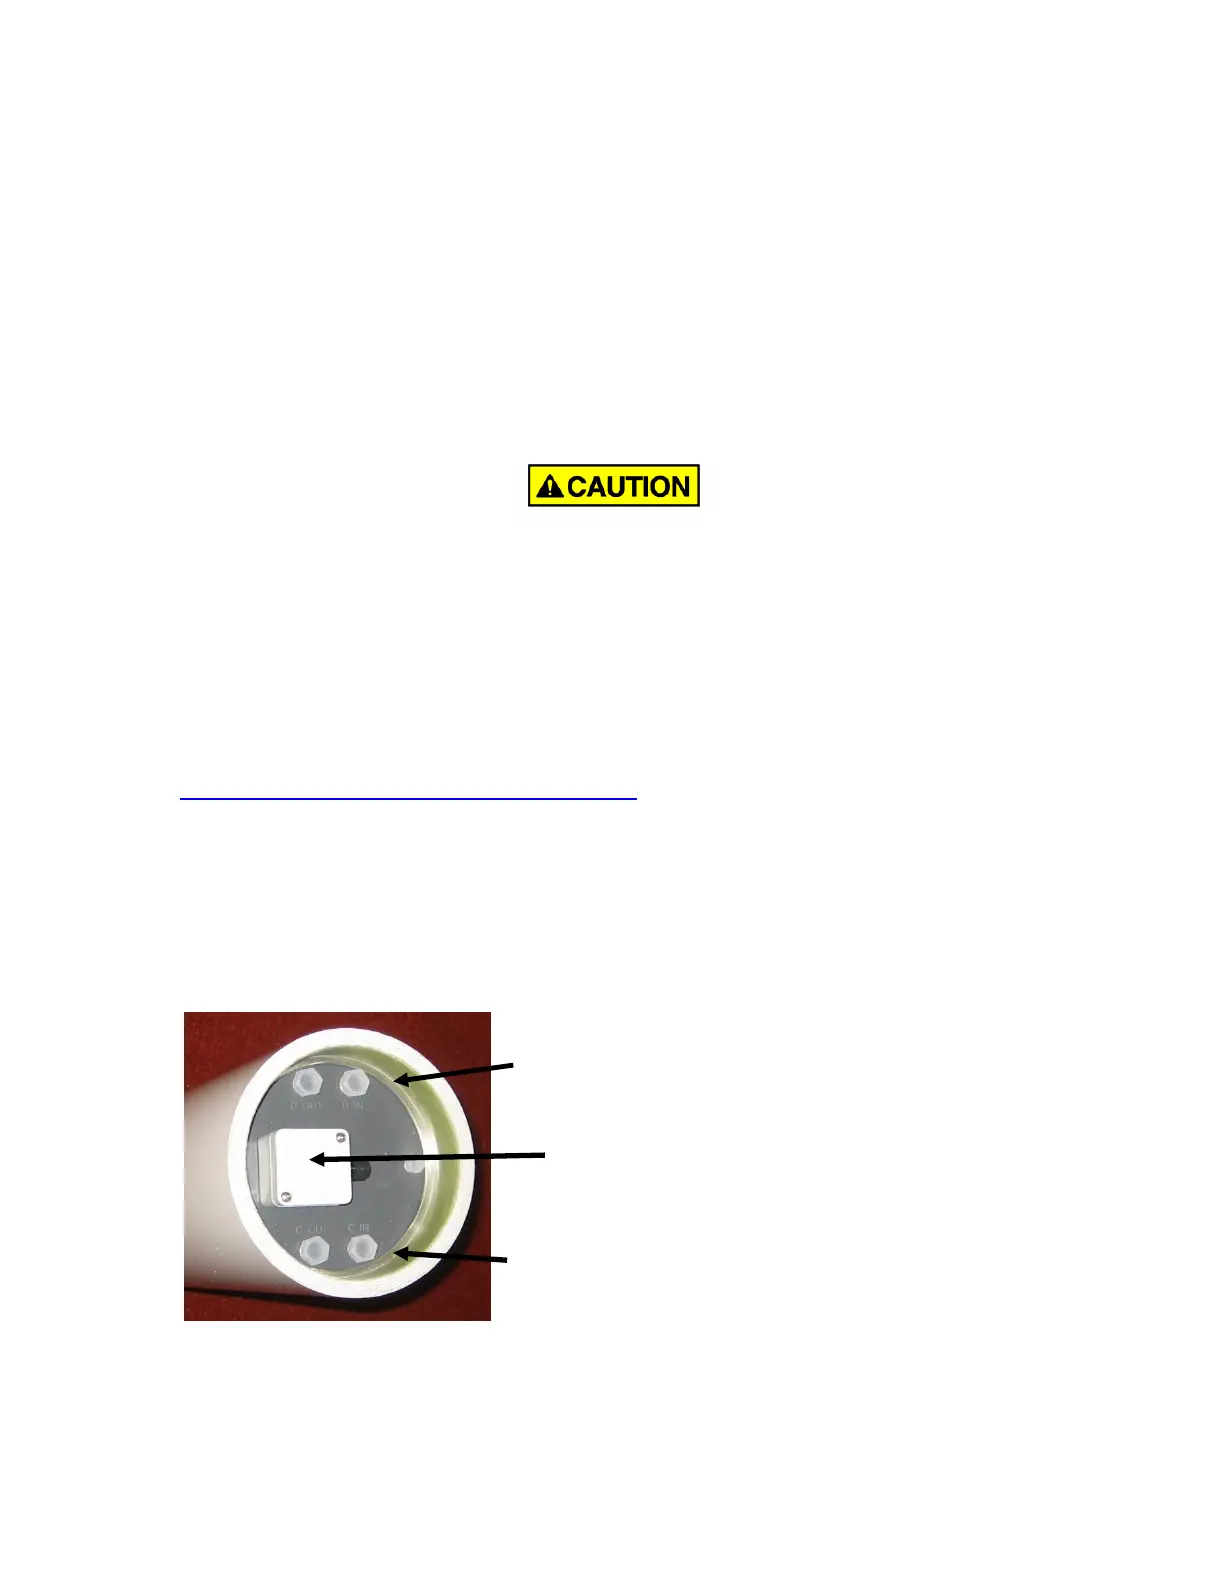
• Figure 3-1 and the drawing in Appendix B show the location of the module plumbing
connections. The product and reject ports are all 3/8” BSP tapered female. These
connections are British Standard Pipe thread which is NOT the same as National Pipe
Thread (NPT) !!! For more information on BSP thread, go to the web site
www.britishfasteners.com/threads/bsp.html.
• Non-metallic fittings are required - do not connect metal fittings directly to MX module.
• Do not over tighten the fittings. Over tightening can result in damage to the module
that can only be fixed in the factory. Teflon
®
tape may be used in the threads to ensure
a good seal.
• All plumbing connections are made to the cathode end (low voltage). The anode end
does not have plumbing ports.
Figure 3-1: MX plumbing connections – cathode end
Cathode junction box
 Loading...