9.3.5. Checking Track Deflection
▪ Reinstall the flanges with the socket head 6 x 12 mm screws
▪ Place the robot back on the ground by removing the block from under the robot. This is
essential for getting the right track deflection. A field
engineer can provide advice regarding the correct
deflection for your track type
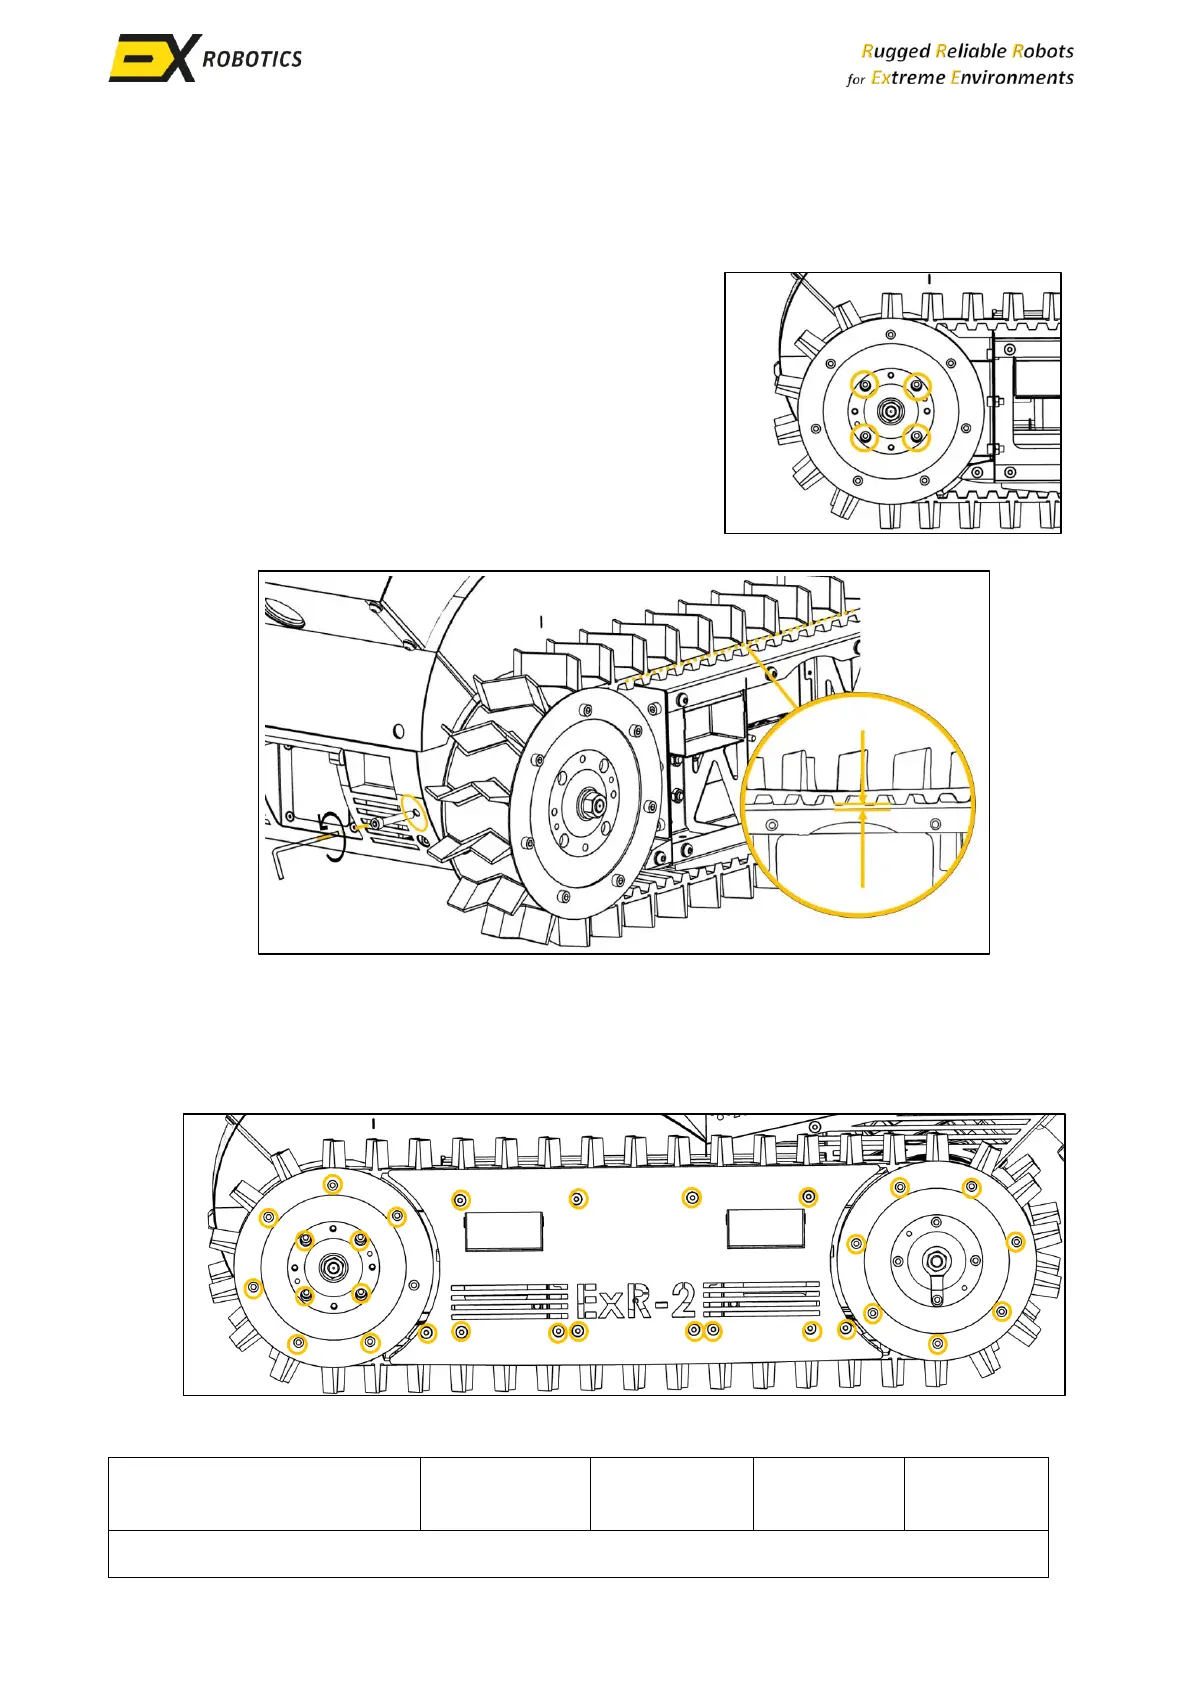
▪ To change the track deflection, first loosen the screws
in the indicated places by half a turn with an Allen key.
(these screws are accessed through holes in the
sprocket, they secure the sprocket to the hull.)
▪ Use an Allen key to change the track deflection by
rotating the tensioning screw in the front of the hull.
Once this is achieved, re-tighten the four screws that
connect the sprocket to the hull.
9.3.6. Reassembling & Checking the Components
▪ Re-attach the track guard using the corresponding screws. Ensure all the screws are properly
installed and tightened, don’t forget the 4 screws that fasten the sprockets to the body .