Room Scheduling System • Room Agent Installation and Configuration 34
Connect to the server
Connect to the server by entering your 25Live server name in the Server field (see
figure 35,
1
on the previous page).
NOTE: This value is the full URL of the address you use to log in to your regular
CollegeNET 25Live account and has the format:
https://25live.collegenet.com/<college-name>.
Configure panels
Configure the panels for 25Live as follows:
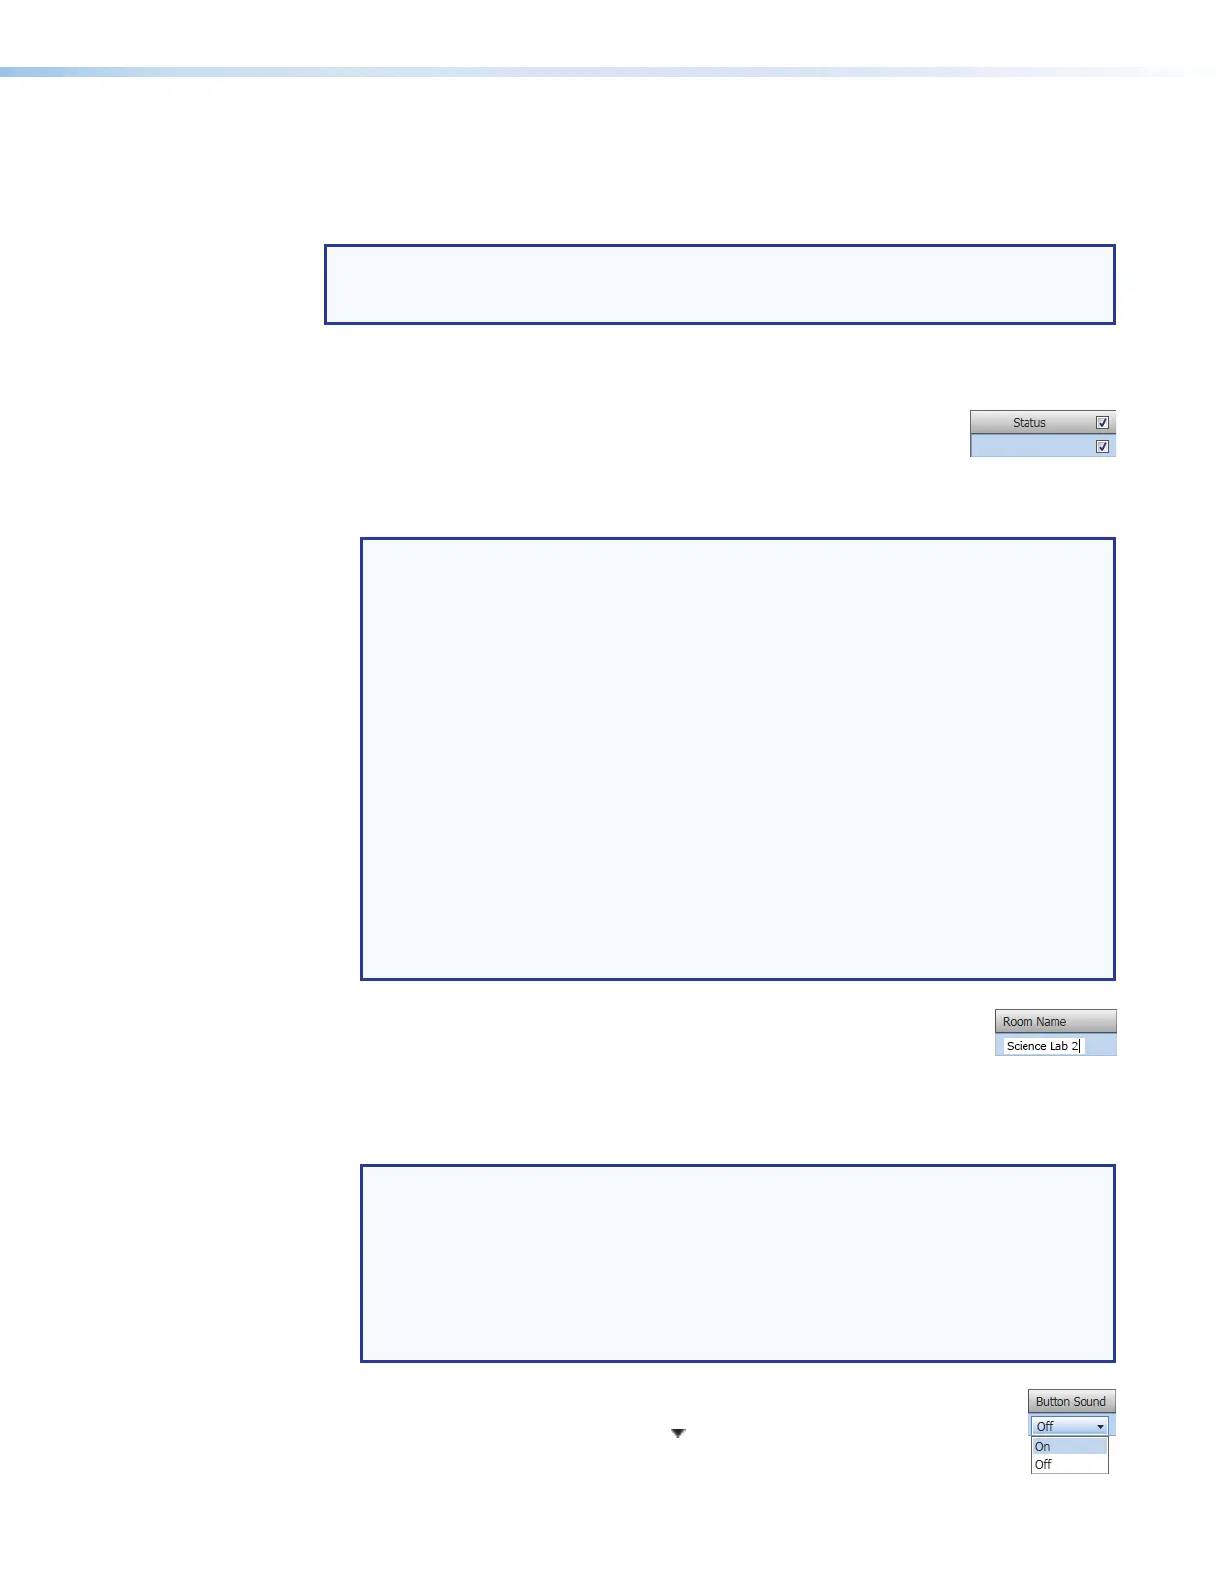
1. Select (check) one or more Status checkboxes (see figure 35,
2
).
2. For the direct entry settings, Room Name (
3
), User ID (
4
), User Password (
5
),
Space Name, (
6
), and Event Type (
7
):
NOTES:
•
The User ID and User Password entries must be for a user account that has
access to the desired space.
• The Room Name is what is displayed on the front panel. The Space Name is a
specific space that has been set up on the 25Live server in advance of Room
Agent setup. They may or may not match.
• Enter the Space Name exactly as it appears on the 25Live server.
• Enter an Event Type to be used for ad hoc events from the server.
• Event Types are created in the 25Live server. Certain Event Types in
25Live can have requirements, such as catering or facilities, that are not
applicable to ad hoc events. The requirements for these events are not
recognized by Room Agent.
•
An Event Type that properly coordinates with Room Agent, cannot have
any requirements beyond the Space Name and an organizer.
• Ad hoc is a suggested default Event Type, but you can create your own on
the 25Live server.
a. Click in the desired field.
b. Type the desired value.
c.
T
ype the keyboard <
Tab> key to exit the field.
3. For the drop-down lists, Language (see figure 35,
8
on the previous page), Button
Sound (
9
), and Panel Design (
¢
):
NOTES:
• The Language menu includes a number of different languages. See Supported
Languages on page 62 for a complete list.
• The Button Sound menu consists of On and Off.
• The Panel Design menu includes the DefaultTLPTemplate, which is the
default that is installed as part of the Room Agent installation, as well as any
templates that you have created and saved (see Templates pane on page 44).
a. Click in the desired field.
b. Click the drop-down list button ( ).
c. Click the desired setting.