Page 25
iLiL
iLiL
iL
OFT DUOOFT DUO
OFT DUOOFT DUO
OFT DUO
XX
XX
X
iLiL
iLiL
iL
OFT DUOOFT DUO
OFT DUOOFT DUO
OFT DUO
XX
XX
X
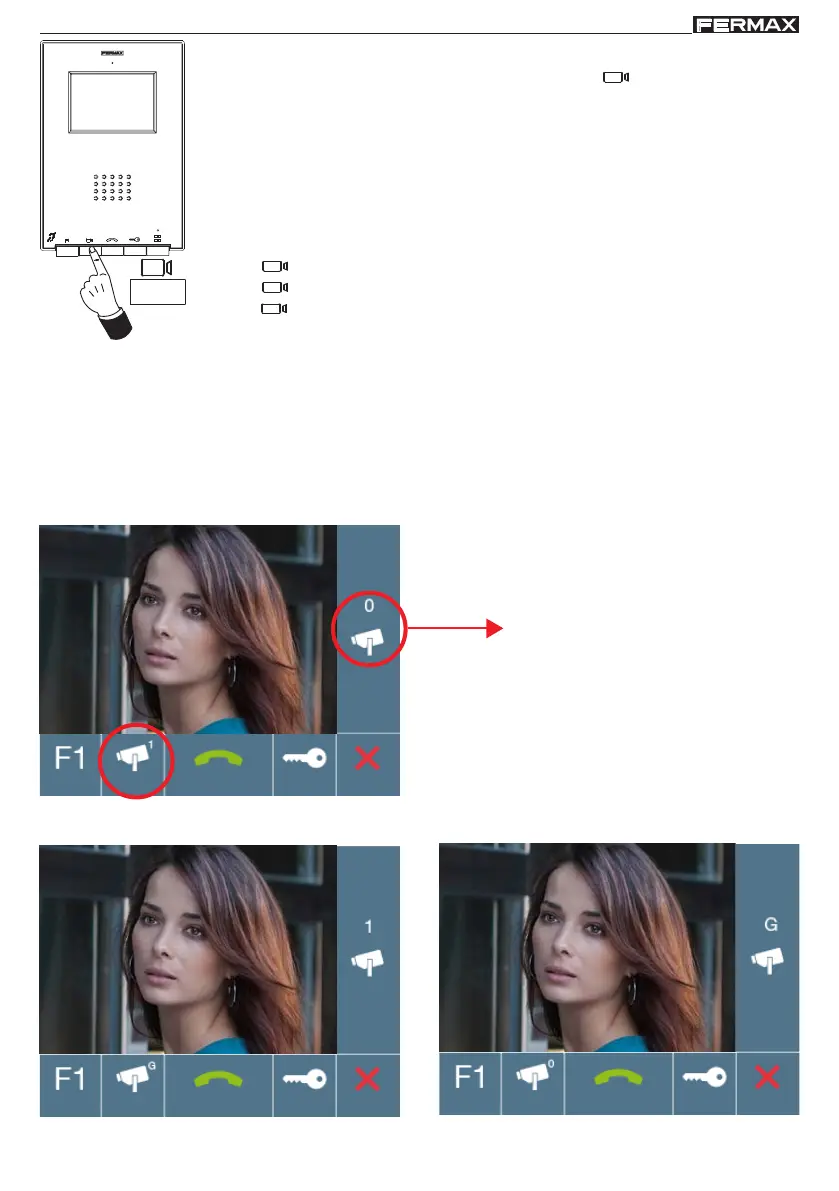
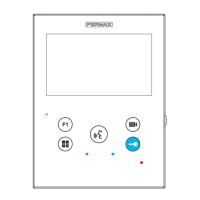
Manual Monitor Activation (Auto-Start)
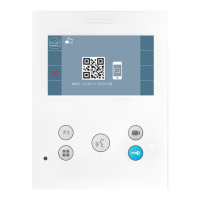
With the monitor on standby, press and hold this button (camera), to switch the
monitor on manually.
the monitor (if applicable). If there is no monitor, the auto-start is activated
on panel 1 of the same block, and if there is none, communication is
established with the configured panel, like 0 of the General Entrance.
Once having established communication with a panel, you can change
the same one via the displayed contextual menu, (pressing the
corresponding pushbutton):
- button
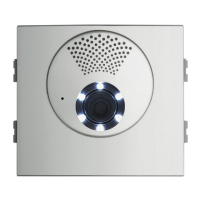
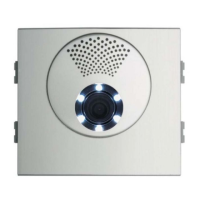
0: Panel 0 Camera of the block where the monitor is installed.
- button
1: Panel 1 Camera of the block where the monitor is installed.
- button
G: Panel 0 camera of the General Entrance.
The image is viewed on the indicated
camera. Panel 0 of the block where the
monitor is installed.
To auto -start, with the camera displayed on the contextual menu, upon pressing the
corresponding button. Panel 1 of the block where the monitor is installed.
Notes:
- Auto-start can only be done with the indicated panels. If you can not perform the auto-start,
ask your installer. Upon unsuccessfully completing the connection attempts with each of the
three possible panels, the monitor will issue an error tone and return to standby.
- After completing any communication with a panel, for the following 15 seconds if you re-press
the auto-start button it will connect with this panel.
Note: The contextual menu sequences the cameras as the presses are made.



 To Next Page