2. Fitting
2−11
Festo P.BE−MPA−EN en 0910d
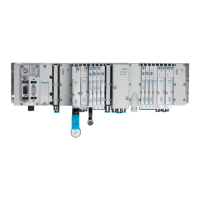
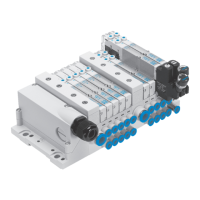
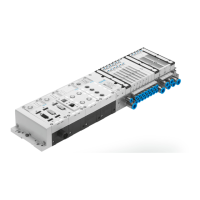
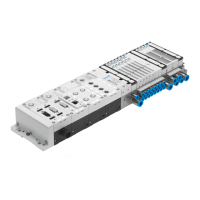
2.2.2 Mounting/dismounting from a wall
The end plates, the MP sub−base and pneumatic interface
contain holes for mounting the terminal onto a wall
(seeTab.2/3).
Caution
MPA−S valve terminals can become distorted and therefore
damaged if they are mounted on an uneven pliable
surface.
· Mount the MPA−S valve terminal only onto a flat fixed
surface.
Overstressing the fastening holes, bending the MPA−S
valve terminal with CPX terminal or internal vibrations can
cause damage.
· Observe the instructions in Appendix A, Tab.A/2 for
additional fastening of the MPA−S valve terminals if this
is longer than 280 mm.
· In these cases, use the additional mountings for the
CPXterminal (see instructions in the description of the
CPX system).
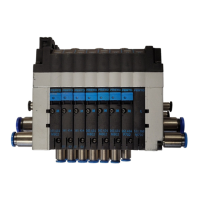
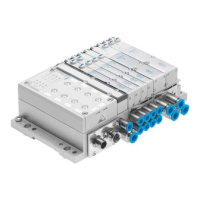
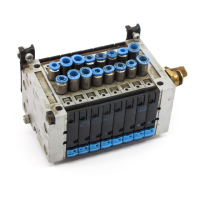
Mounting Proceed as follows:
1. Make sure that the fastening surface is flat and that
itcansupport the MPA−S valve terminal
(weightsseeappendix A, Tab.A/1).
Make sure there is sufficient space for connecting the power
supply cables and tubing.
2. Drill mounting holes in the mounting surface.
3. Fasten the MPA−S valve terminal with M4 or M6 screws of
sufficient length to the fastening surface as per Tab.2/3).