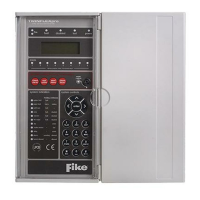
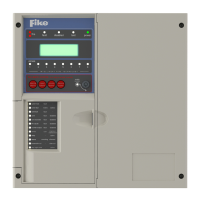
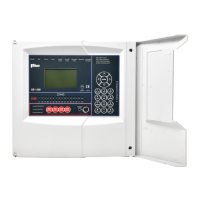
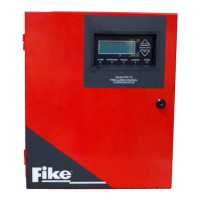
Quadnet Control Panel Engineering and Commissioning Manual
Commissioning
Installation 1
st
Stage
The installer needs to install the system wiring in the form of 2-core and screen loops returning to the
control panel
The cabling should be 2-core 1.5mm
2
, screened and fire resistant, of an MICC or FP200 equivalent type. 4-
core cable must not be used as a loop ‘feed & return’ due to the possibility of data corruption.
The loop should be left as a complete loop with no devices connected, and must be tested and documented
for conductor continuity and for insulation integrity, with a high voltage tester as required for general
electrical installations. If using legacy Sita Multipoint detectors, use the shorting links provided within each
base to provide continuity in the positive core.
The control panel back box should be mounted, with the mains supply tested, connected and isolated at the
un-switched fused spur, ready for the commissioning engineer.
The installer needs to provide a set of As-Wired drawings, completed configuration sheets and proof of
loop continuity and insulation test readings etc., to enable commissioning to proceed. This information
is essential for commissioning and programming to proceed, and may be entered onto the forms provided
at the rear of the manual.
Installation 2
nd
Stage
Once the commissioning engineer is satisfied with the continuity / integrity of the loop, the devices may be
installed, noting the serial numbers for each device on the configuration sheets.
NB. Ensure that the next section, ‘Initialisation’, is read and understood before the devices are installed.
Initialisation
The addressable device loops may now be initialised. This is when the control panel interrogates the loops
one device at a time, for type, serial number and position, before allocating a loop address number.
Initialisation is carried out from the control panel keypad by utilising one of the three loop initialisation
commands located within the Access Level 3 (Engineer) menu.
Install one device (and note its serial number as normal), as near to the control panel as possible and
initialise the system. If initialisation fails the problem may be tracked quickly, and if needs be the device is
easily removed to facilitate further high voltage testing. If the device appears to be at fault then try another
Electronics Module and reinitialise. If this has no effect, then check terminations carefully and inspect the
connector carefully for damage. Further to this a common fault on installations utilising existing cabling is
the omission to remove old incompatible devices. Once the system is initialised and happy with its single
device then proceed as below.
Add the rest of the devices in batches of 10-25, initialising each time to prove correct operation. If a fault is
found, or initialisation fails, then the relevant batch of devices may be partially removed and added in
smaller numbers until the problem is tracked.
Note: There is no need directly to initialise in sections in this manner, but we recommend this
method as good engineering practice, in order to provide a controlled process of building up the
system in sections.
The system can only indicate faults present when the loop is fully initialised. If the initialisation fails then you
will need to find faults manually. You may run the initialisation backwards by reversing the loop
connections, or one ended by removing one end of the loop. You may also use the Quadnet OSP software