5-42
Charging curve SetUp
To set up the charger, follow the instruc-
tions:
• Use a screwdriver to remove the
small black plastic cap
• Set-up the internal dipswitches ac-
cording to the following table
The dipswitches are divided in two cou-
ple. The higher couple are the dip-
switches 1 and 2, the couple down are
the dipswitches 3 and 4. The follow-
ing table shows how to setup the dip-
switches 1 and 2.
Set-up of Charging Curve
DP1 DP2 Set Up Flash
OFF OFF Wet cell batteries 1
ON ON Gel TROJAN 2
OFF ON Generic GEL or
AGM batteries
3
ON OFF Gel EXIDE SON-
NENSCHEIN
4
DP3: OFF (not used)
DP4: OFF (not used)
Restore the the small black plastic cap.
Error Codes of Charger
The charger have an alarm system. The
alarm code is shown by blinks of the yel-
low led.
Error code
Flash Description
1 Wrong battery, Inverted polarity,
short circuit to the exit
2 Timeout alarm, Defect of the bat-
tery
3 Defect of the Charger
4 Overtemperature alarm
5.4.4 ECO Function
Once activated the ECO function (with
the proper button), lower the brushdeck
and let the brush motor and the vacuum
motor work. With the ECO mode acti-
vated, check if the noise of the vacuum
motor and the brush motor is reduced.
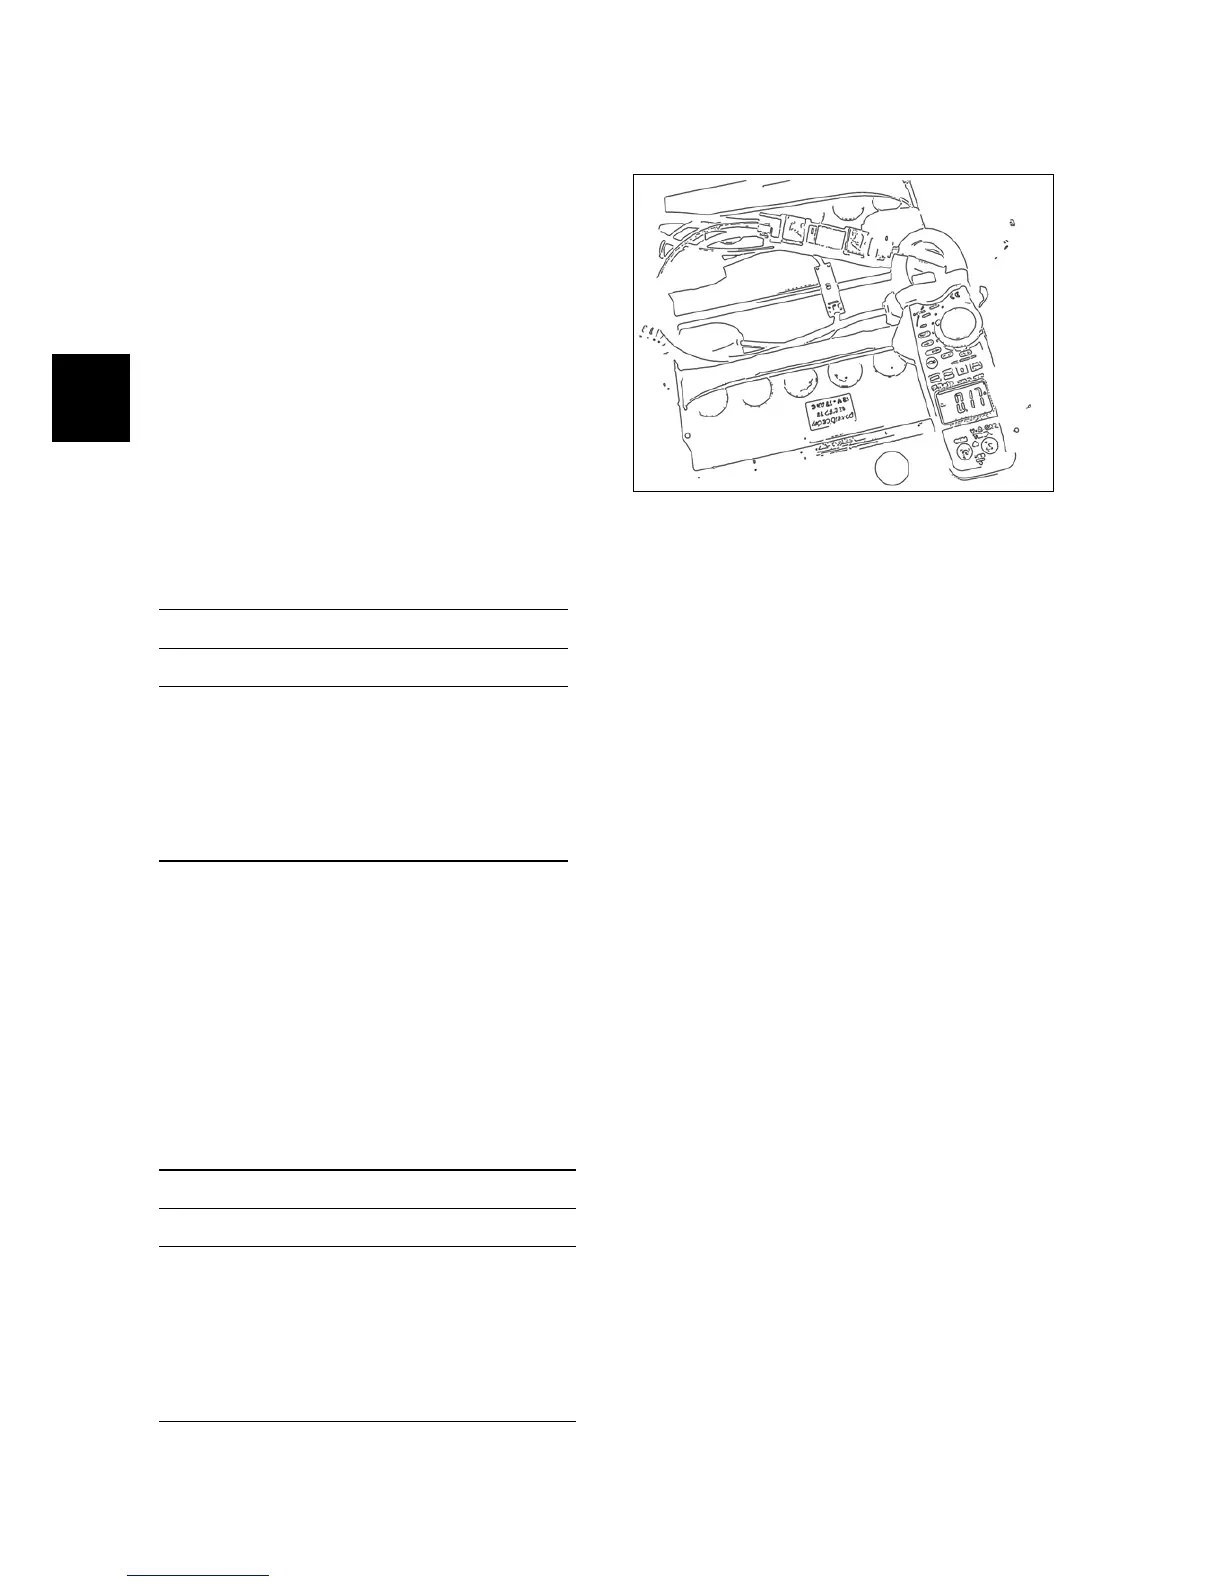
Connect an Amperometric to the positive
cable of the batteries and check if the
current consumption in ECO mode is
less than normal function (without ECO
mode). ATTENTION. We don’t give the
amperometric reference values because
they can change depending of the work-
ing conditions of the machine.