Using the Main Menu15
Note
You must connect an RCA audio input device (such as a self-powered microphone; not included) to the
system to use audio recording. It is recommended to install the microphone near the camera for channel
1.
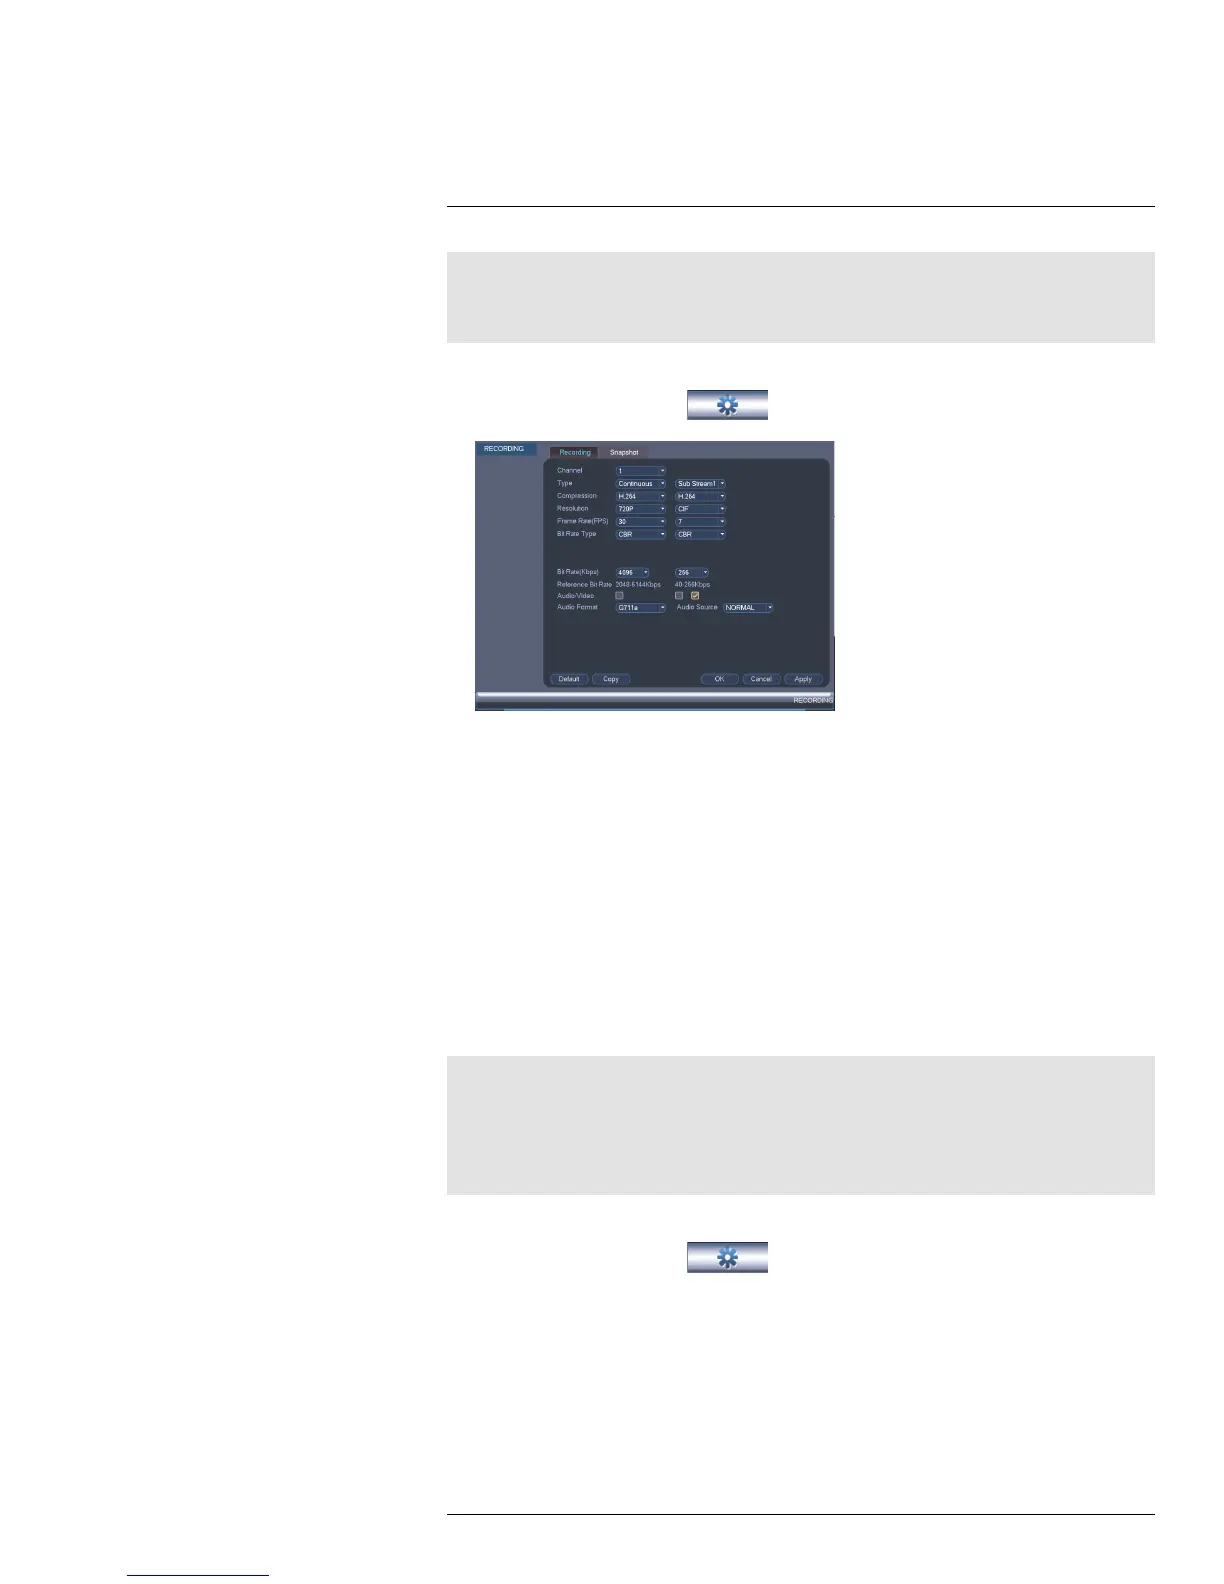
To configure audio recording:
1. From the Main Menu, click
and select Recording>Recording.
2. Under Channel, select 1.
3. Check the left Audio/Video checkbox to enable audio recording. Check the middle
checkbox to enable audio streaming to remote devices (such as a smartphone). Check
the right checkbox to enable video streaming to remote devices.
4. Under Audio Format, select the format that will be used to record audio. G711a is
recommended.
5. Under Audio Source, select Normal to use the system’s RCA audio input.
6. Click OK to save changes.
15.1.4 Configuring Snapshot Recording Settings
The system can be set to record snapshot images when a camera detects motion. These
snapshots can be viewed through the Search menu or can be attached to email alerts and
push notifications. The Snapshot tab in the Recording menu controls the quality and re-
cording parameters for each camera.
Note
In order to enable Snapshot recording, the following menu options must be configured:
• The Snapshot schedule must be enabled for times that you would like to save snapshots. See
15.3.14 Configuring the Snapshot Schedule, page 58.
• Snapshot recording must be enabled for motion detection in the Event menu. See 15.3.7 Configuring
Motion Detection, page 52.
To configure snapshot recording settings:
1. From the Main Menu, click
and select Recording>Snapshot.
2. Under Snap Number, select the number of snapshots the system will take when the
snapshot button is pressed.
#LX400028; r. 1.0/16141/16141; en-US
42
 Loading...


