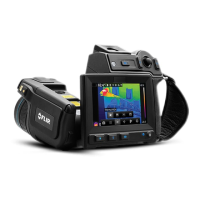
8.3 Working with measurements
8.3.1 Laying out a spot
➲ The camera requires a warm-up time of 5 minutes before accurate measurements
can be expected.
ActionStep
Press MENU/YES to display the vertical menu bar.1
Point to Meas. mode on the vertical menu bar and press MENU/YES.2
Select Spot in the Meas. mode dialog box and press MENU/YES.3
Press SEL until small brackets appear around the spot. You can now move the
spot by pressing the navigation pad left/right or up/down.
To add additional spots, repeat step 1–4. A maximum number of three spots can
be added.
4
The temperature will be displayed in the top right corner of the LCD.5
8.3.2 Laying out a measurement area
➲ The camera needs a warm-up time of 5 minutes before accurate measurements
can be expected.
ActionStep
Press MENU/YES to display the vertical menu bar.1
Point to Meas. mode on the vertical menu bar and press MENU/YES.2
Select Area max, Area min or Area avg in the Meas. mode dialog box and press
MENU/YES.
3
The temperature will be displayed in the top right corner of the LCD.4
8
44 Publ. No. 1558407 Rev. a155 – ENGLISH (EN) – February 6, 2006
8 – Tutorials