CORRECTIVE MAIKfTENANCE
7-43
3.
Reinstall the new battery cover.
Bat^ry^GOver
Gastef replacement
1 . Remove th e batte ry cover (
Item 1
7)
.
2. Use a pair of tweezers
to pull the elastic gasket (item
18)
from
the battery cover.
3. Mount the new elastic gasket
on the battery cover.
NOTE: Take
care that the gasket is nof damaged.
A correctly fitted gasket assures the
sealing of the
ScopeMeter
Battery cover Torx
screws and Feet repiacement
1 . Rem
0ve th e batte ry cover.
2. The black
M3 Torx screws are of
a captured type (Item 20). Remove screws
by unscrewing them
with
a
Torx
screwdriver. Add a little pressure
with another small screwdriver
at the back of the
screw.
NOTE: Do riot force the
screws bypressing them
in or out The screw action Is vital for the
captured
screws.
3. Pull
the two rubber feet (Item
19}
from
the battery cover.
4. Push the
new rubber feet onto the
battery cover.
5. Reinstall the (new)
black M3 Torx screws Into the battery
cover.
7. 2.
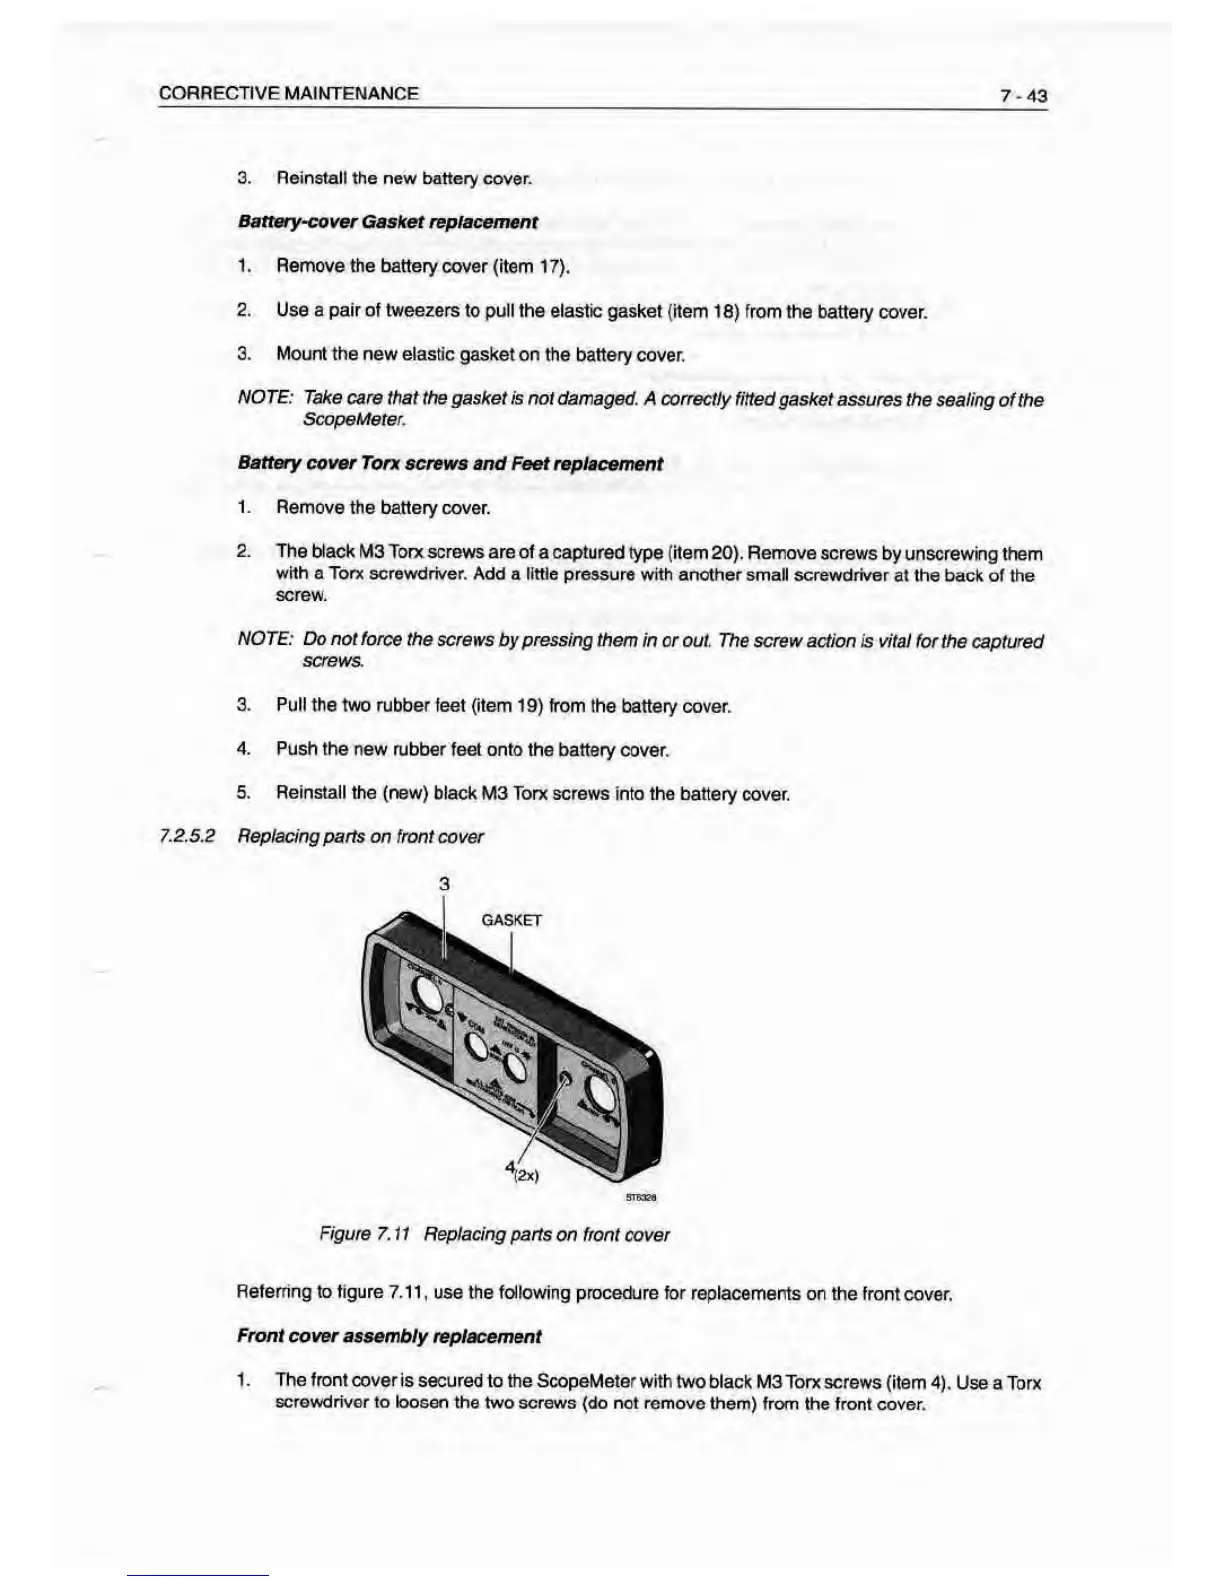
5. 2 Replacing parts on front cover
3
Figure 7. J 1 Replacing parts
on front cover
fletemng to figure
7.11, use the fol lowing procedure for replacements
on the front cover,
Front cover
assembly replacement
1 . The front cover
Is secured to the ScopeMeter with
two black M3 Torx screws (item
4). Use a Torx
screwdriver to loosen
the two screws (do not remove them)
from the front cover.