DSP-4000 Series
Users Manual
3-24
1. Attach a channel link interface adapter to the main unit.
2. Turn off any PC nodes connected to the cable you are testing.
3. If you want the Autotest to report cable length, remove the terminator from the
far end of the cable.
4. Turn the rotary switch to AUTOTEST.
5. Verify that the test standard and cable type displayed are correct. You can
change these settings in the SETUP mode.
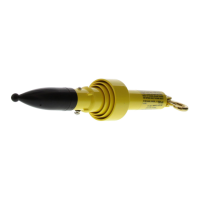
6. Remove the terminator from the near end of the coaxial cable. Use the RJ45 to
coaxial adapter to connect the test tool to the cable.
7. Press T to start the Autotest.
Autotest Results for Coaxial Cable
An Autotest on coaxial cable performs the following tests:
Characteristic Impedance
Note
Impedance measurements require a cable at least 5 m (16 ft) long.
Terminated cables shorter than this length will always pass the
impedance test. Unterminated cables shorter than this length will
always fail the impedance test.
The characteristic impedance test determines the approximate characteristic
impedance for the cable. A PASS result means that the impedance is within the
limit specified by the selected test standard. A FAIL result means that the
impedance exceeds the limit. You can use the HDTDR test to plot the locations
and sizes of all impedance anomalies on the cable.
 Loading...