13
Installation
General remarks The installation of a plasma welding system depends on many factors, e.g.:
- the application
- the material to be welded
- the available space
- influences of robots and robot control system or other automation apparatus
- accessibility
- Environmental conditions
For detailed information on the work steps, please refer to the documentation for the
individual components.
WARNING! An electric shock can be fatal. If the machine is plugged into the
mains electricity supply during installation, there is a high risk of very serious
injury and damage. Only carry out work on the machine when
- the mains switch is in the “O” position,
- the machine is unplugged from the mains.
CAUTION! Falling equipment can cause injury. Make sure PlasmaModule 10
and the PlasmaModule holder stand firmly.
1. Set up the individual components of the plasma welding system according to the
intended application (see also the section „Configuration examples“)
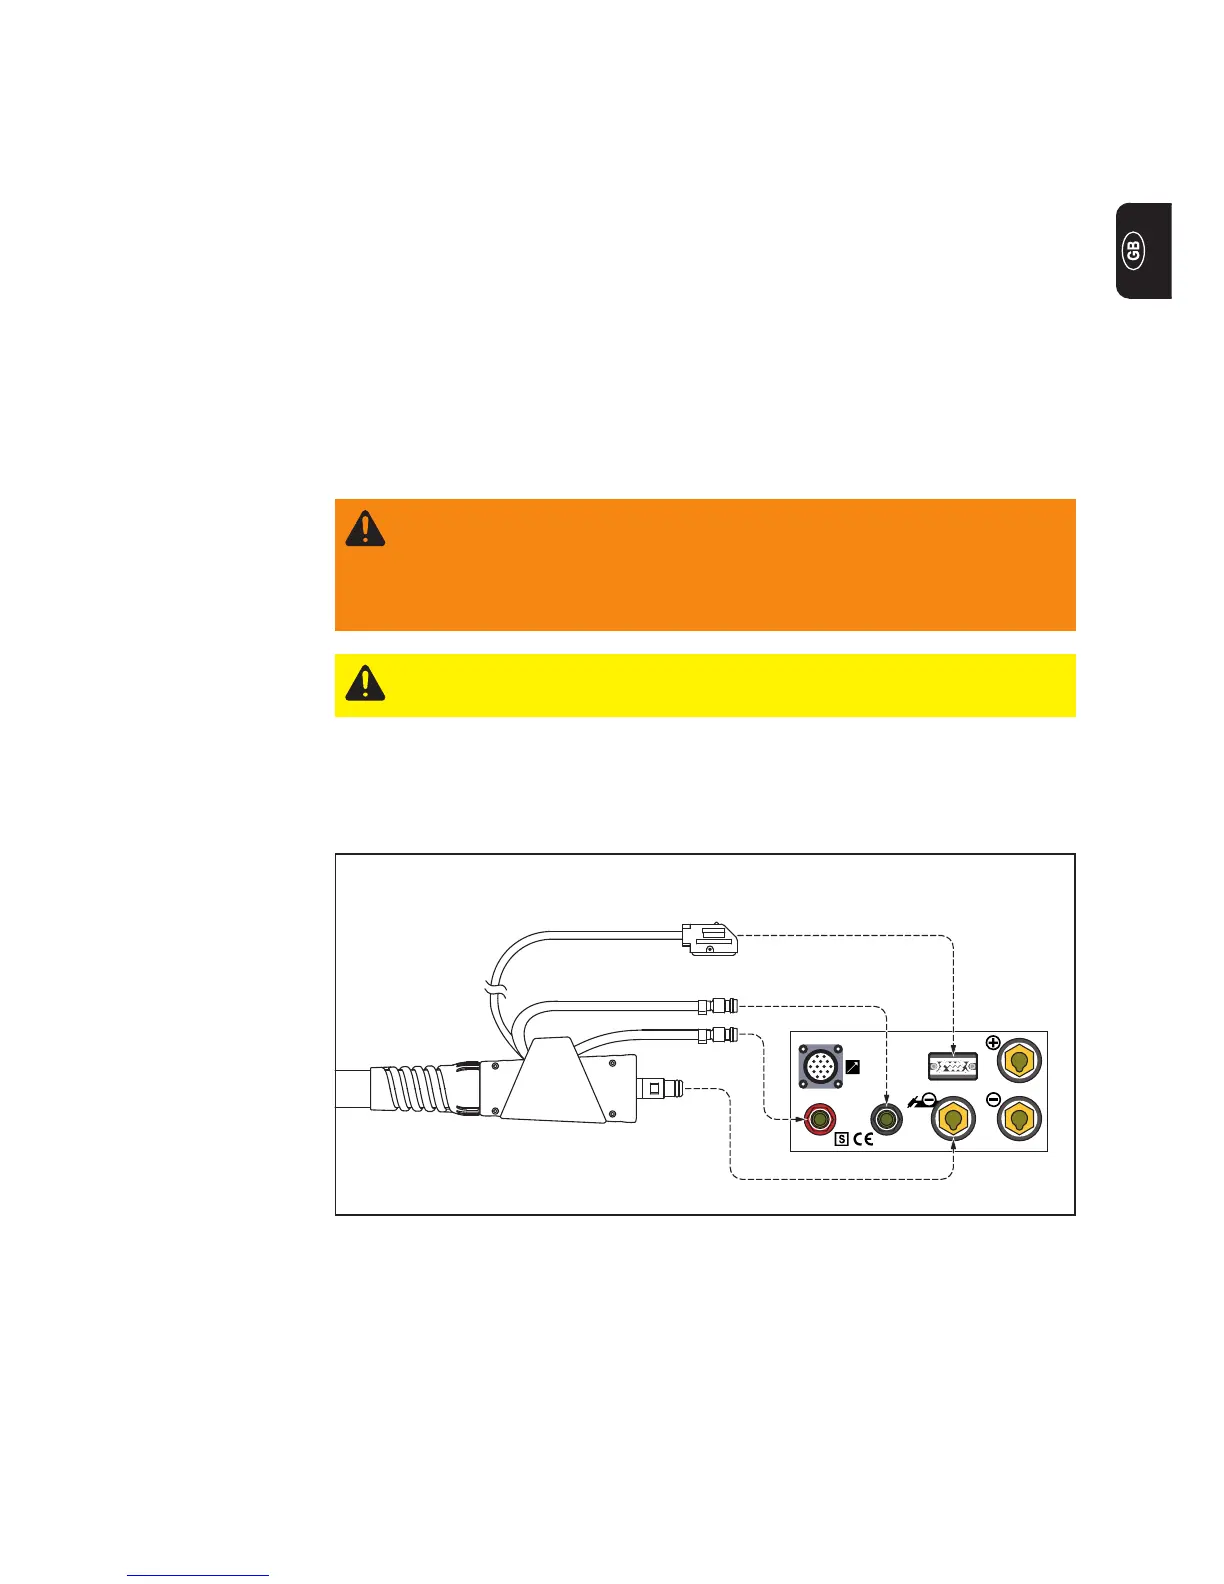
Connecting the
interconnecting
hosepack to the
TIG power sour-
ce
Fig. 7 Connecting the interconnecting hosepack to the TIG power source TransTig 2600 / 2600 CEL / 3000
TransTig 2600 / 2600 CEL / 3000