16
Commissioning
Commissioning
For detailed information on the work steps, please refer to the documentation for the
individual components.
General remarks
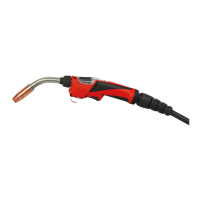
1. Insert a tungsten electrode in the plasma welding torch
Important! The tip angle of the tungsten electrode should be approx. 30°
2. Check the distance between the plasma nozzle and the tungsten electrode (approx.
1 - 2.5 mm or 0.04 - 0.1 in.) with an adjusting gauge
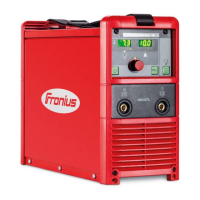
3. Turn the main switch of the power source to the „I“ position
4. Connect PlasmaModule 10 to the mains and turn the main switch to the „I“ position
Important! The PlasmaModule 10 must reach a certain operating temperature before
it can regulate the gas accurately.
If the ambient temperature is below 20°C (68°F), let the PlasmaModule 10 run for
about 10 - 15 minutes without any load to allow it to reach this operating temperature.
5. On the power source select current type „DC“
6. Set the cooling unit to permanent operation (Setup menu on power source, parame-
ter C-C = ON )
7. On MagicWave power sources, switch off „Reverse polarity ignition“ (Setup menu
on power source: Parameter rPi = OFF)
8. On the TIG power source, set „High-frequency ignition“ to „Start with external arc
starters“ (Setup menu on power source, parameter HFt = EHF)
9. Set welding parameters on TIG power source and on PlasmaModule 10
10. Purge shielding gas and plasma gas for at least 30 seconds
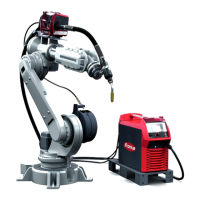
11. Ignite pilot arc on PlasmaModule 10 manually or via the robot control unit
12. Start plasma welding by pressing the torch trigger or via the start signal from the
robot control unit
Notes on operati-
on
To reduce wear, the pilot arc should burn throughout the operation.
Shielding gas flow rate in operation: at least 12 l/min (25.71 CFH)
The robot control unit should emit a permanent plasma gas command value
- for the pilot arc,
- so that the „Gas Test“ function can be performed on the PlasmaModule 10.
With robot control, if a hot wire power source is used, provide a separate „ground“ for
the hot wire power source.