17
3.28 Fryer Part Probe
The Fryer Part Probe can only be used to automatically measure X and Y
axis positions. It cannot be used to measure in the Z axis. Optional part
probes are available to perform 3-axis measurements.
If you ordered the part probe during the original build of the machine it is
located in the tool library where manual tools are stored. However, it must
be calibrated before using it to set up your work offsets.
Fryer Part Probe Calibration
1. To set up a new FRYER probe in the tool table. it needs to be in the
manual tool location in the library. It is important to remember your
probe is wired which is manually inserted and removed the tool from
the spindle.
2. Define the tool as a 3D probe. When adding the new tool, you will
need to press the other button to access the 3D tool option. It is
important that you fill out the correct tool diameter.
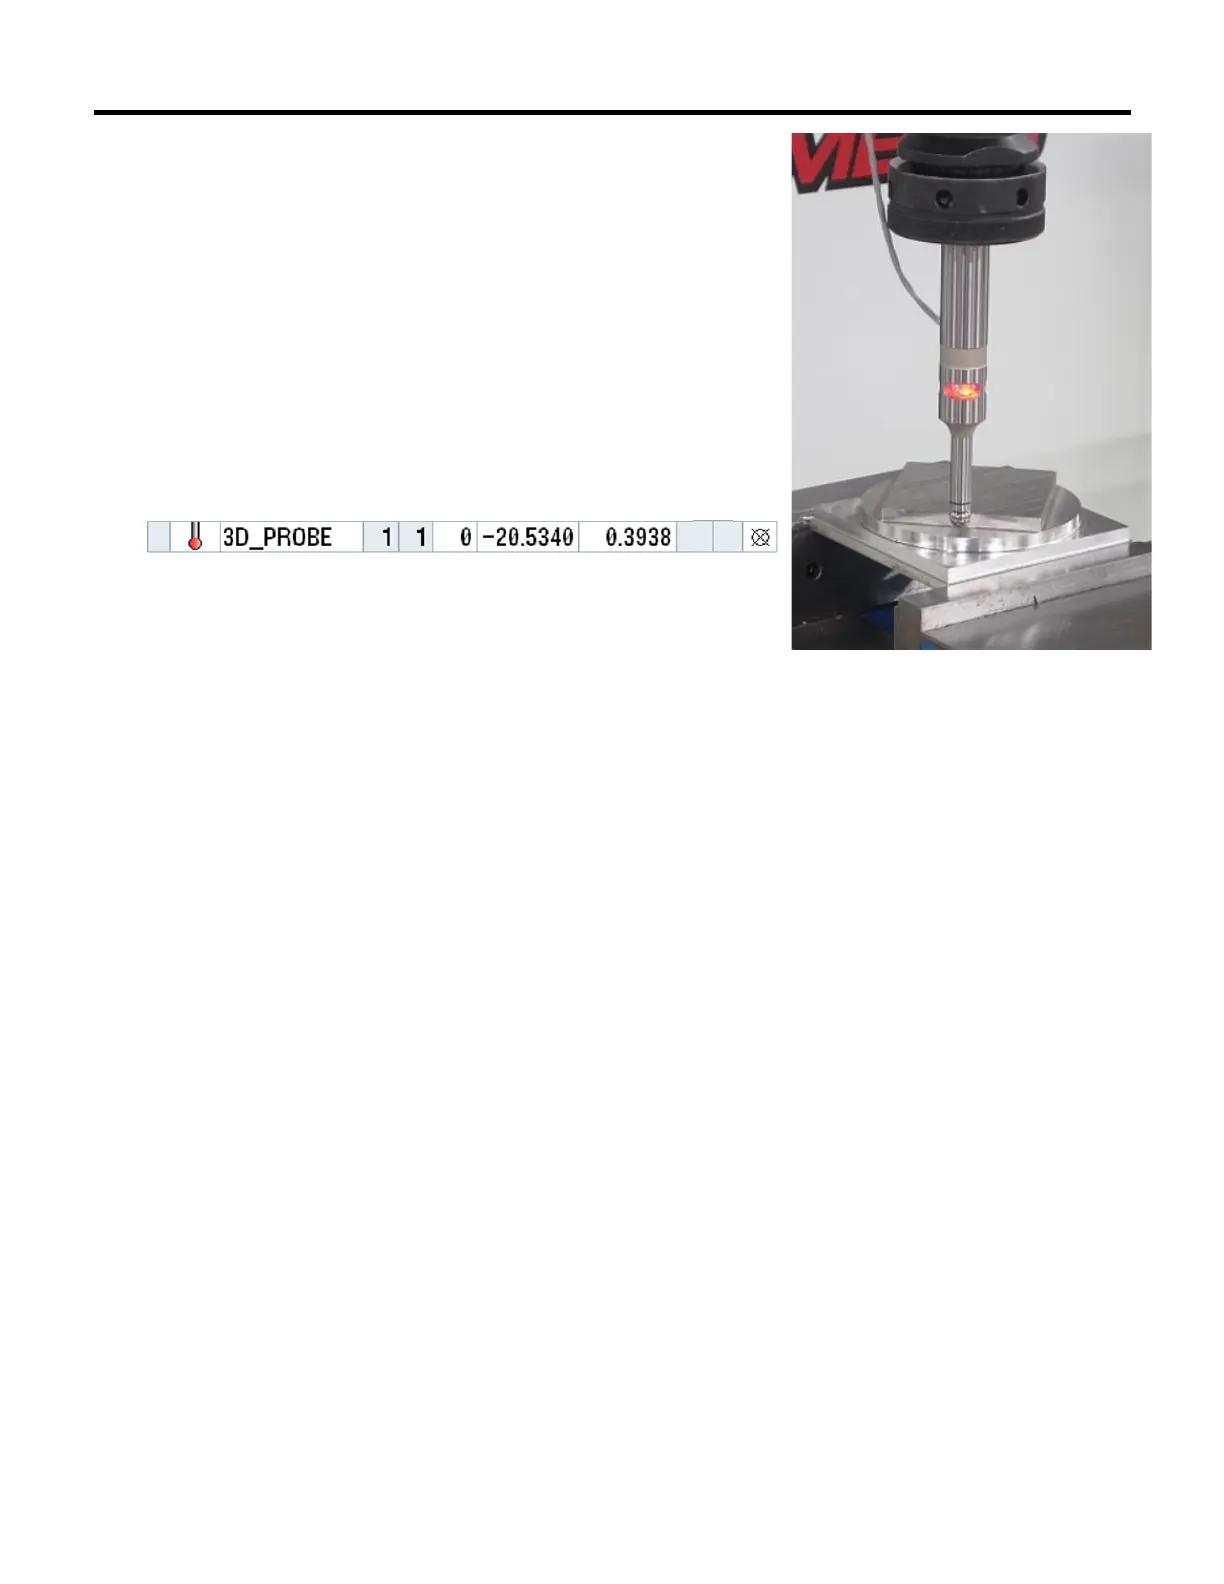
3. Load the probe into the spindle. Make sure the control recognizes the
probe.
4. A ring gage is required for this next step. (A 2” diameter gage is
recommended).
5. If a different diameter is required, change parameter MD51770 to change diameter dimension. Refer to Section
4.1 for directions to access parameter screens.
6. Mount the gage to the machine table and use an indicator to find the center of the gage.
7. Once in the center, set a work offset in the middle. Make sure the offset is called up in the control.
8. Position the part probe at X and Y zero (middle of the gage). The Z axis should be roughly ¼” below the top of the
ring gage.
9. Select WORKP. ZERO
10. Select CALIBRATE PROBE
11. Select DIAMETER. The diameter value must equal the diameter of your gage.
12. Press CYCLE START. Once complete the probe should be calibrated in the X and Y axis.
13. At this point the part probe is calibrated and ready for use.
14. Remove the ring gage and store it in a safe place.
 Loading...