Setup
227
Tools
5
3
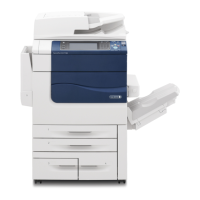
Select [No Billing] or [Billing].
4
When [Billing] is selected, using the
keyboard displayed on the screen or the
numeric keypad on the control panel, enter
the time for one unit charge (0.1 to 255.9
seconds in 0.1 second increments).
5
Select [Save].
6
Exit the System Administration mode.
Internet Fax Profile
Set the format of the Internet Fax profile.
A profile is specified to restrict attribute information such as the image resolution and paper
size for transmissions between Internet Fax-compatible machines.
TIFF-S
This profile is the Internet Fax standard. For documents that are larger than A4, the size is
reduced automatically to A4 for transmission.
TIFF-F
Select this profile when you specify super-fine for the resolution or when you send A3 or B4
documents.
TIFF-J
Select this profile for sending documents in JBIG.
When the [Delete Entry] Button is Selected
Selecting this button deletes all the information registered for the selected address. To delete
all the registered information, select [Delete].
Important • Deleted information cannot be recovered.
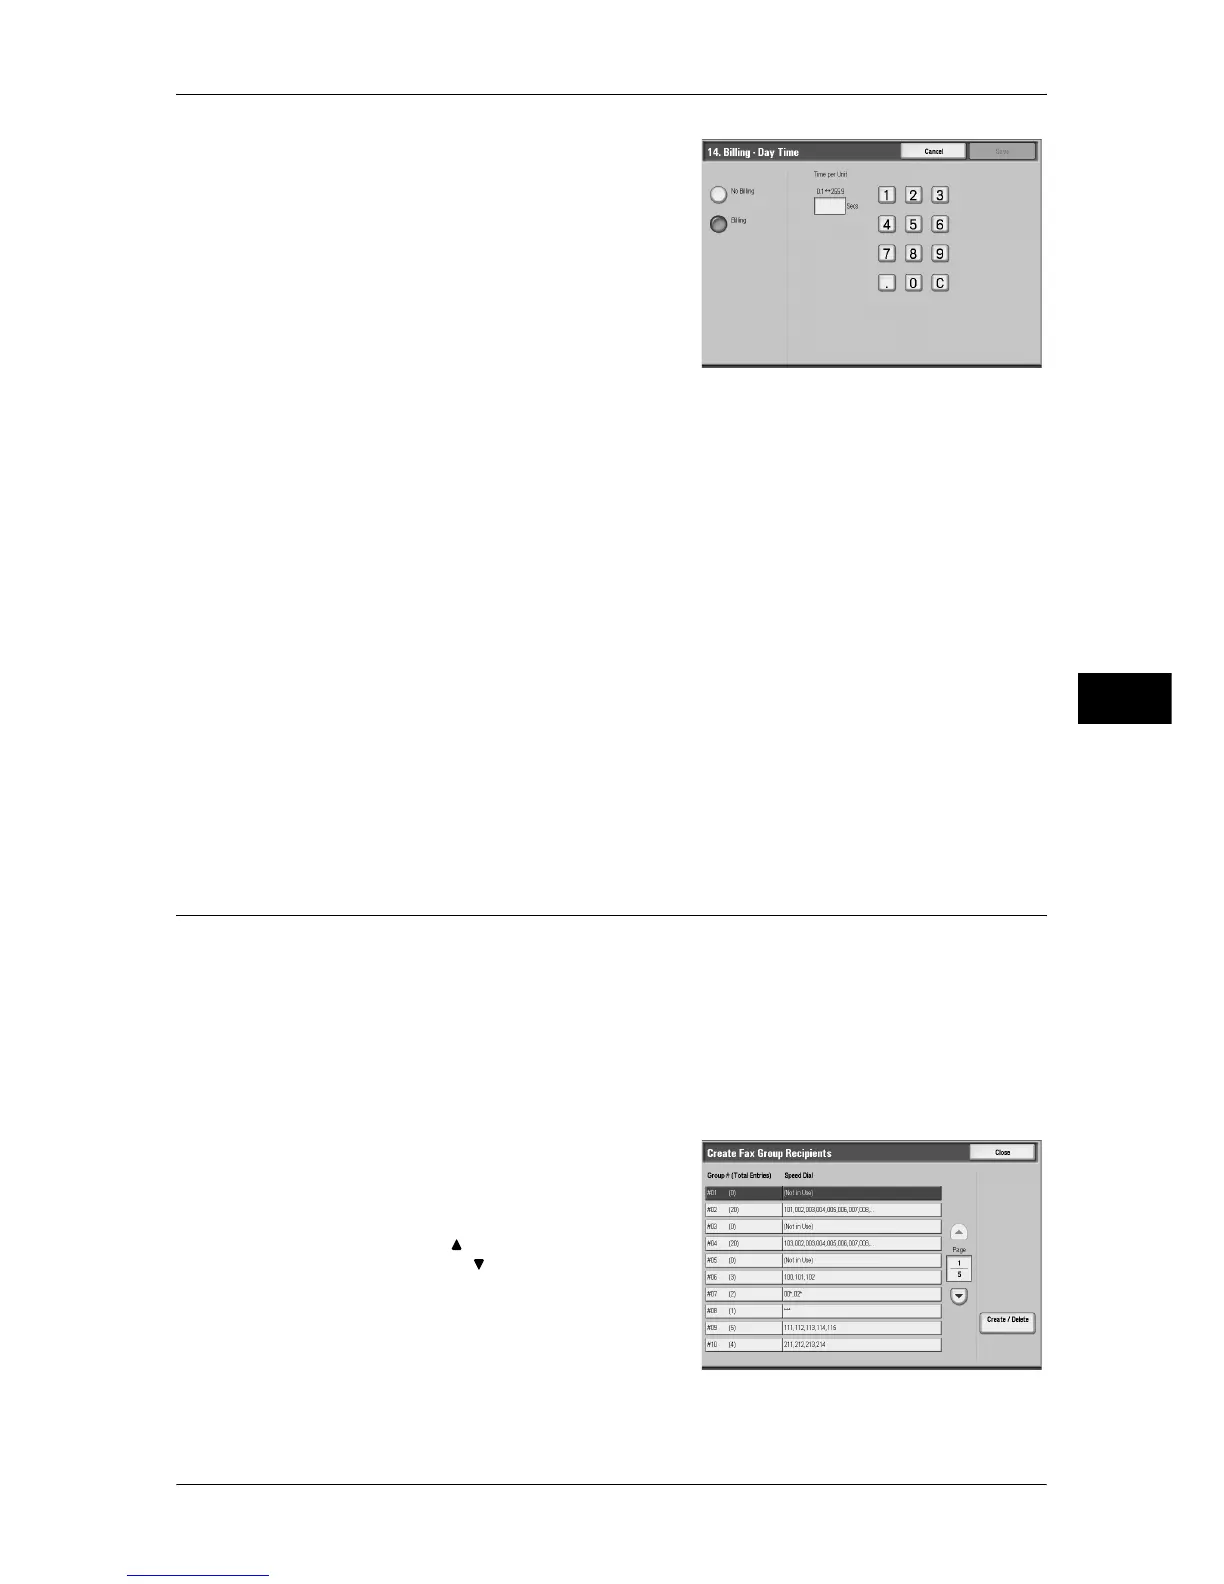
Create Fax Group Recipients
You can register addresses for broadcast transmission as a group. Each group can
include up to 20 address numbers. The maximum number of groups that can be
registered is 50.
Note that recipients to be added to a group must already be stored in the address book.
Note • It is not possible to include a group in another group.
• As shown in the following example, you can use wildcards for specifying the numbers.
-01∗ : Specifies the 10 addresses with address numbers 010 to 019.
- ∗∗∗ : Specifies all address numbers.
1
Select [Create Fax Group Recipients].
2
Select a group number you want to register,
and select [Create/Delete].
Note • Select [ ] to return to the previous
screen or [ ] to move to the next screen.
 Loading...