10 Job Status
354
Job Status
10
Private Print feature is suitable for authenticating and managing specific users
managed by the system administrator.
If received print jobs are set to be saved with Private Charge Print, the jobs are saved
for each authentication user ID.
Note • An application (sold separately) is required to use the feature that associates sub users with
the user ID of a login user. For more information, contact our Customer Support Center.
• [Private Charge Print] is displayed when [Receive Control] in [Charge/Private Print Settings]
is set to either of the following:
• Select [According to Print Accounting] in [Receive Control], and then select [Save as
Private Charge Print Job] in [Job Login Success].
• Select [Save as Private Charge Print Job] in [Receive Control].
• When the Private Charge Print feature is selected, you cannot specify normal print, Secure
Print, Sample Set, Delayed Print on the print driver.
The Private Charge Print feature restricts the use of the machine through either user ID authentication
or card authentication (only the IC Card Reader is available, or the combination of both. For
information on the types of authentication, refer to "13 Authentication and Accounting Features" >
"Authentication" > "Types of Authentication" in the Administrator Guide.
To delete a print job instructed with an invalid user ID, display the list of print jobs after logging in
as a system administrator, and then select the job to be deleted. For more information, refer to "3
Maintenance" > "Deleting a Private Charge Print Job with an Invalid User ID" in the Administrator
Guide. For information on how to set a User ID, refer to "5 Tools" > "Authentication/Security
Settings" > "Authentication" > "Charge/Private Print Settings" in the Administrator Guide.
The following describes how to print or delete a job stored with the Private Charge Print
feature.
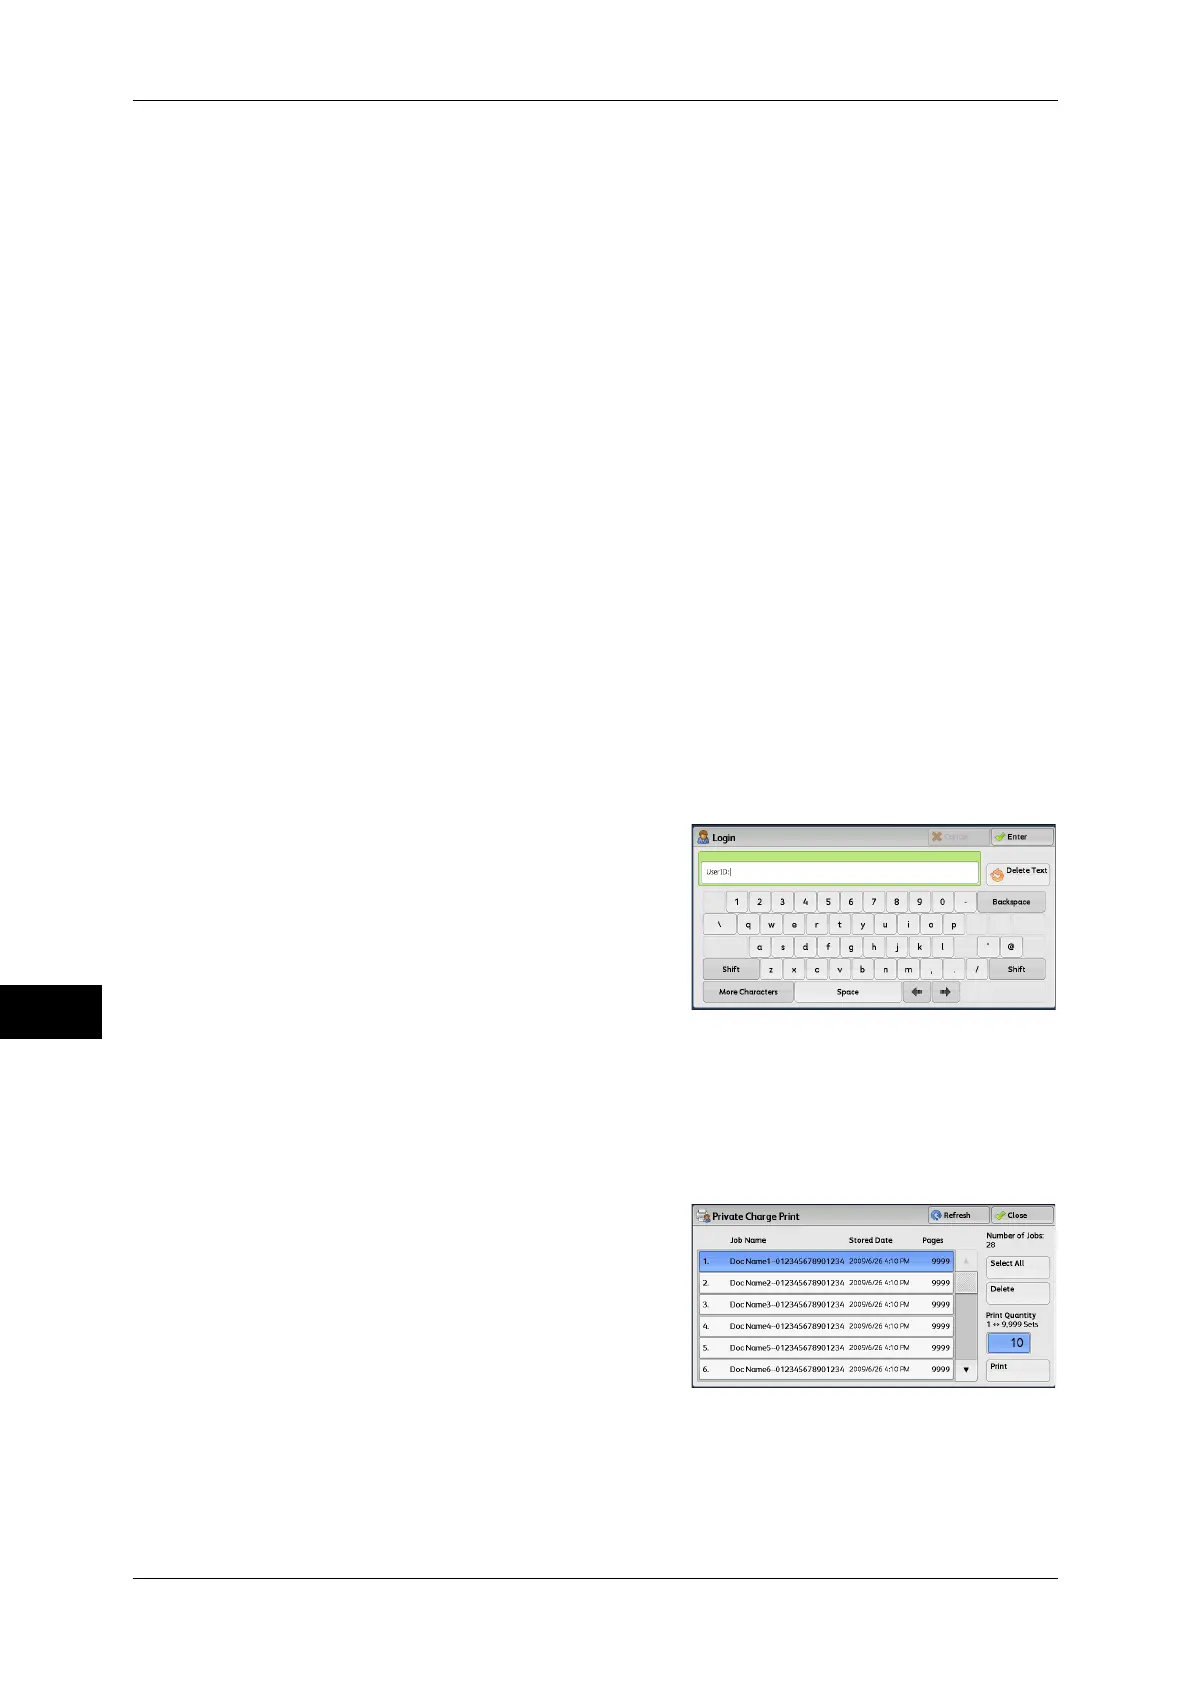
1 Press the <Log In/Out> button on the control panel, or select the login information field
on the touch screen.
2 Enter the user ID, and select [Enter].
Note • When the passcode is set, enter the user
ID and select [Next]. Then, enter the
passcode and select [Enter].
• While the user is authenticated, the <Log
In/Out> button lights up on the control
panel.
• To log out of the machine, press the <Log
In/Out> button on the control panel, and
then select [Logout] from the pop-up menu displayed.
3 Select [Private Charge Print].
Note • If you are authenticated as a system administrator, selecting [Private Charge Print] will
display a list of authentication user IDs. Select a user ID from the list, and then select [Job
List] to display a list of jobs stored for the selected user.
4 Select the job to be printed or deleted.
Note • You can select up to 100 files
simultaneously to print or delete the files.
If you select multiple files, they are printed
in the selected order.
5 Select any option.
6 When printing, specify the number of print sets using the numeric keypad.
 Loading...


