Chapter 9
64
Scanning using the SCAN key 9
If you want to use this function, install the Multi-Function Suite and connect the machine to your
PC with a USB cable.
Load your document. (See How to load documents on page 44.)
Press (Scan).
Press or to choose Scan to PC.
Press OK.
Press or to choose a scan type (File, E-mail or Image.)
Press OK.
Do one of the following:
To change the scan settings, or to select Yes, and then press OK. Following the LCD
instructions to change the settings you want.
To use the default scan settings, press or to select No, and then press OK.
Press Start.
The machine starts the scanning process.
SCAN key settings 9
You can change your machine’s Scan key settings using ControlCenter4.
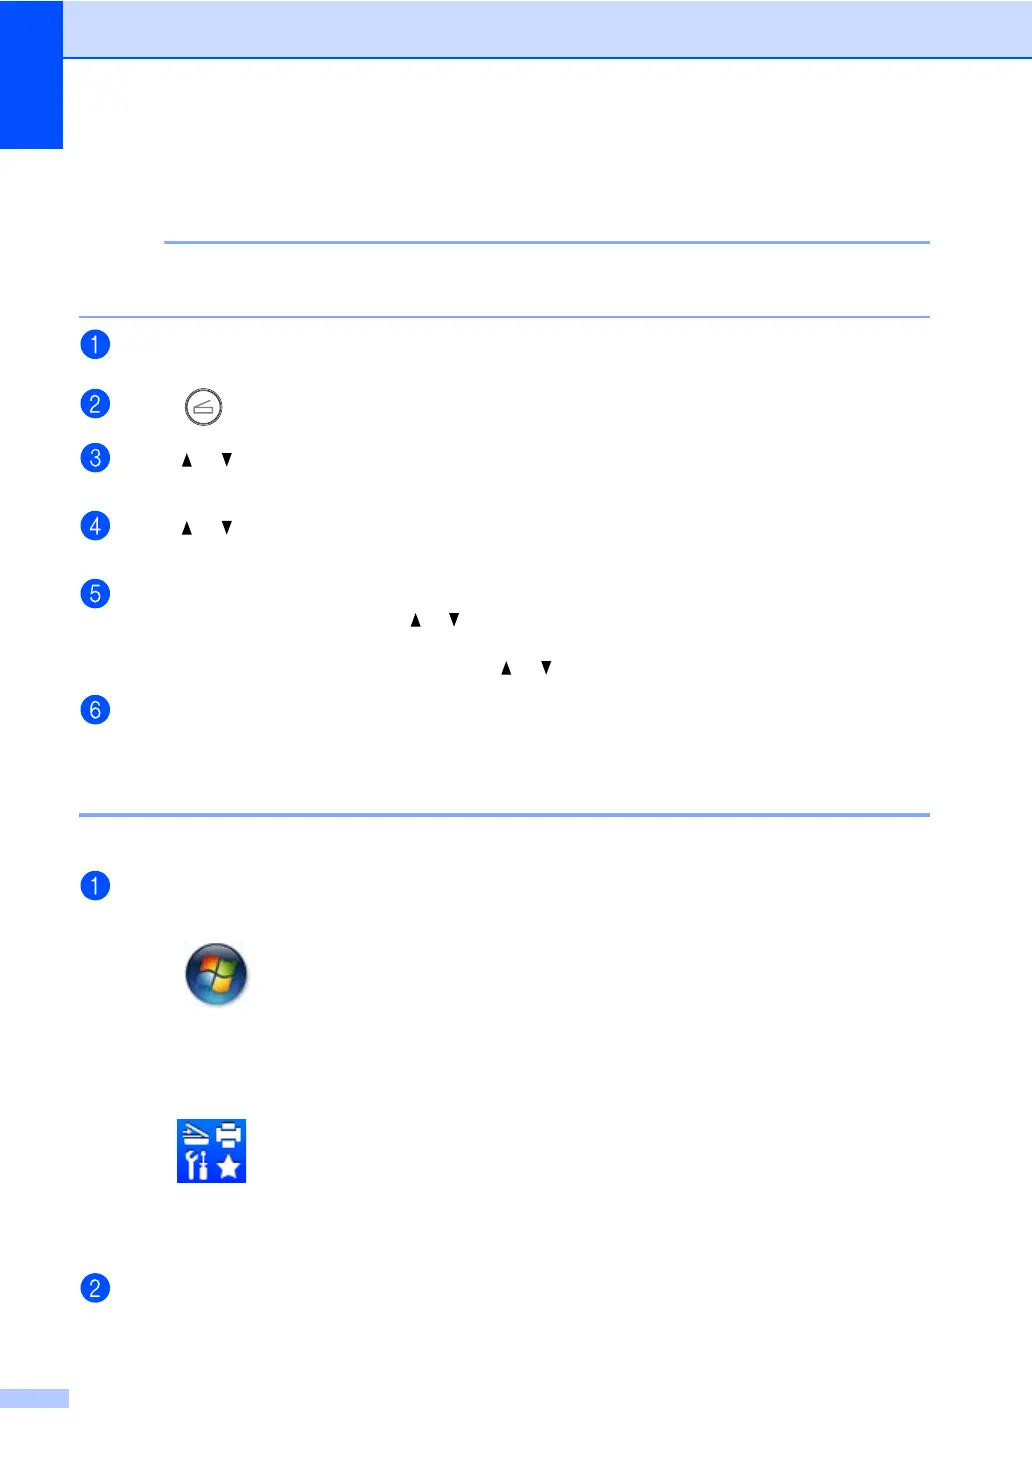
Do one of the following:
(Windows
®
XP, Windows Vista
®
and Windows
®
7)
Click (Start) > All Programs > Fuji Xerox > Fuji Xerox Utilities, and then click
the drop-down list and select your model name (if not already selected). Click SCAN in the
left navigation bar, and then click ControlCenter4.
The ControlCenter4 application will open.
(Windows
®
8)
Click (Fuji Xerox Utilities), and then click the drop-down list and select your model
name (if not already selected). Click SCAN in the left navigation bar, and then click
ControlCenter4.
The ControlCenter4 application will open.
Click the Device Settings tab.
 Loading...