28 Service Supplement RX200 S4
Replacing the system board Replacement routines
© cognitas. Gesellschft für Technik-Dokumentation mbH 2008 Pfad: J:\RX200S4\Doku\Suppl\EN\rx200s4-ss-en.k04
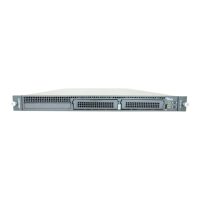
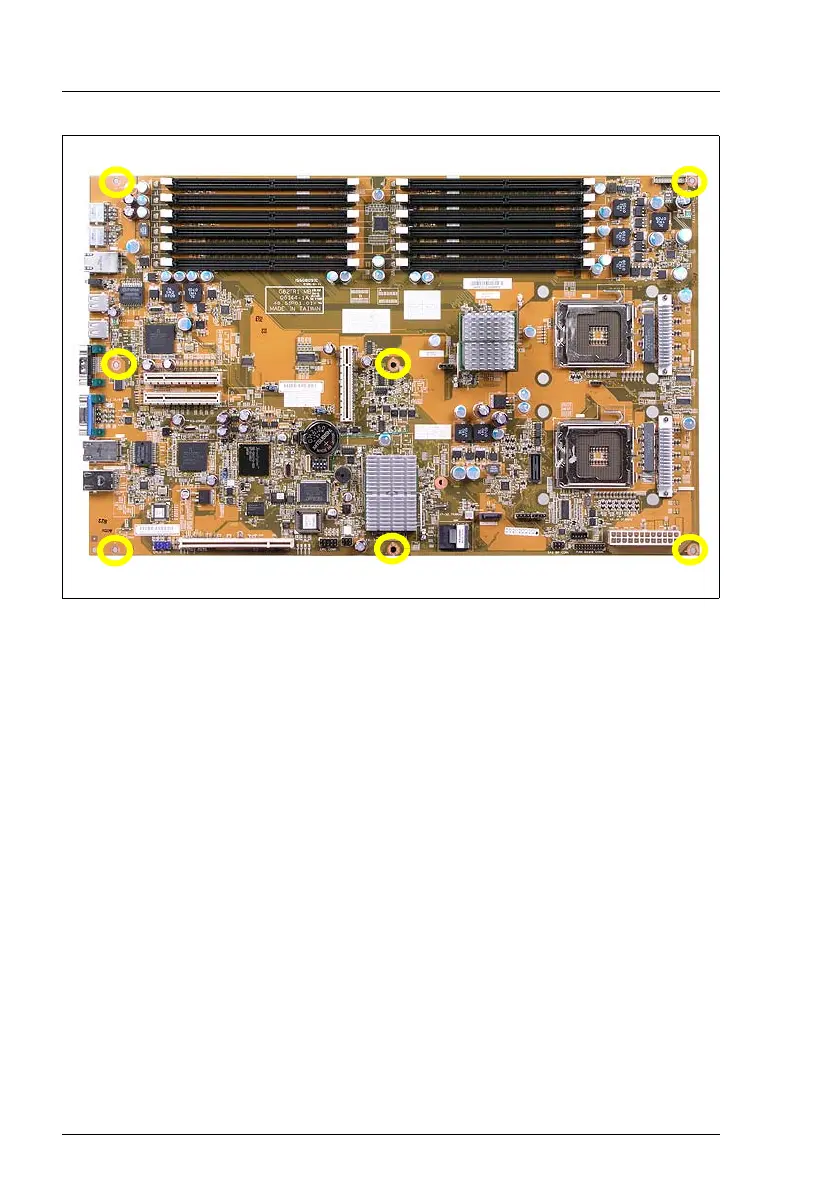
Figure 14: Position of the screws of the system board
Ê Loosen the seven screws of the system board (see the circles).
Ê Push the system board about 1 cm in the direction of the housing front. This
pulls all the plug connectors out of the external connection panel.
Ê Hold the system board on both sides and lift it carefully out of the housing.
Ê Insert the new system board at a slight angle and push the connectors into
the external connection panel. You will have to overcome a slight spring
resistance.
Ê Carefully lower the system board into the housing.
If necessary, adjust the position of the system board by turning it slightly.
Ê Fasten the system board with seven screws (see figure 14).
Ê Reconnect all cables (see the cabling plan in the Options Guide).
Ê Reinstall the riser card holder (description see the Options Guide).
Ê Reinstall the processor(s) and the heat sink(s) (description see the Options
Guide).
 Loading...