How to Perform a Scan (for Windows users)
68
4. Click the [OK] button to close the ScanSnap setup dialog box.
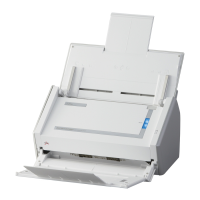
5. Load the document in the ScanSnap.
For details about how to load documents, refer to "How to Load Documents" (page 31).
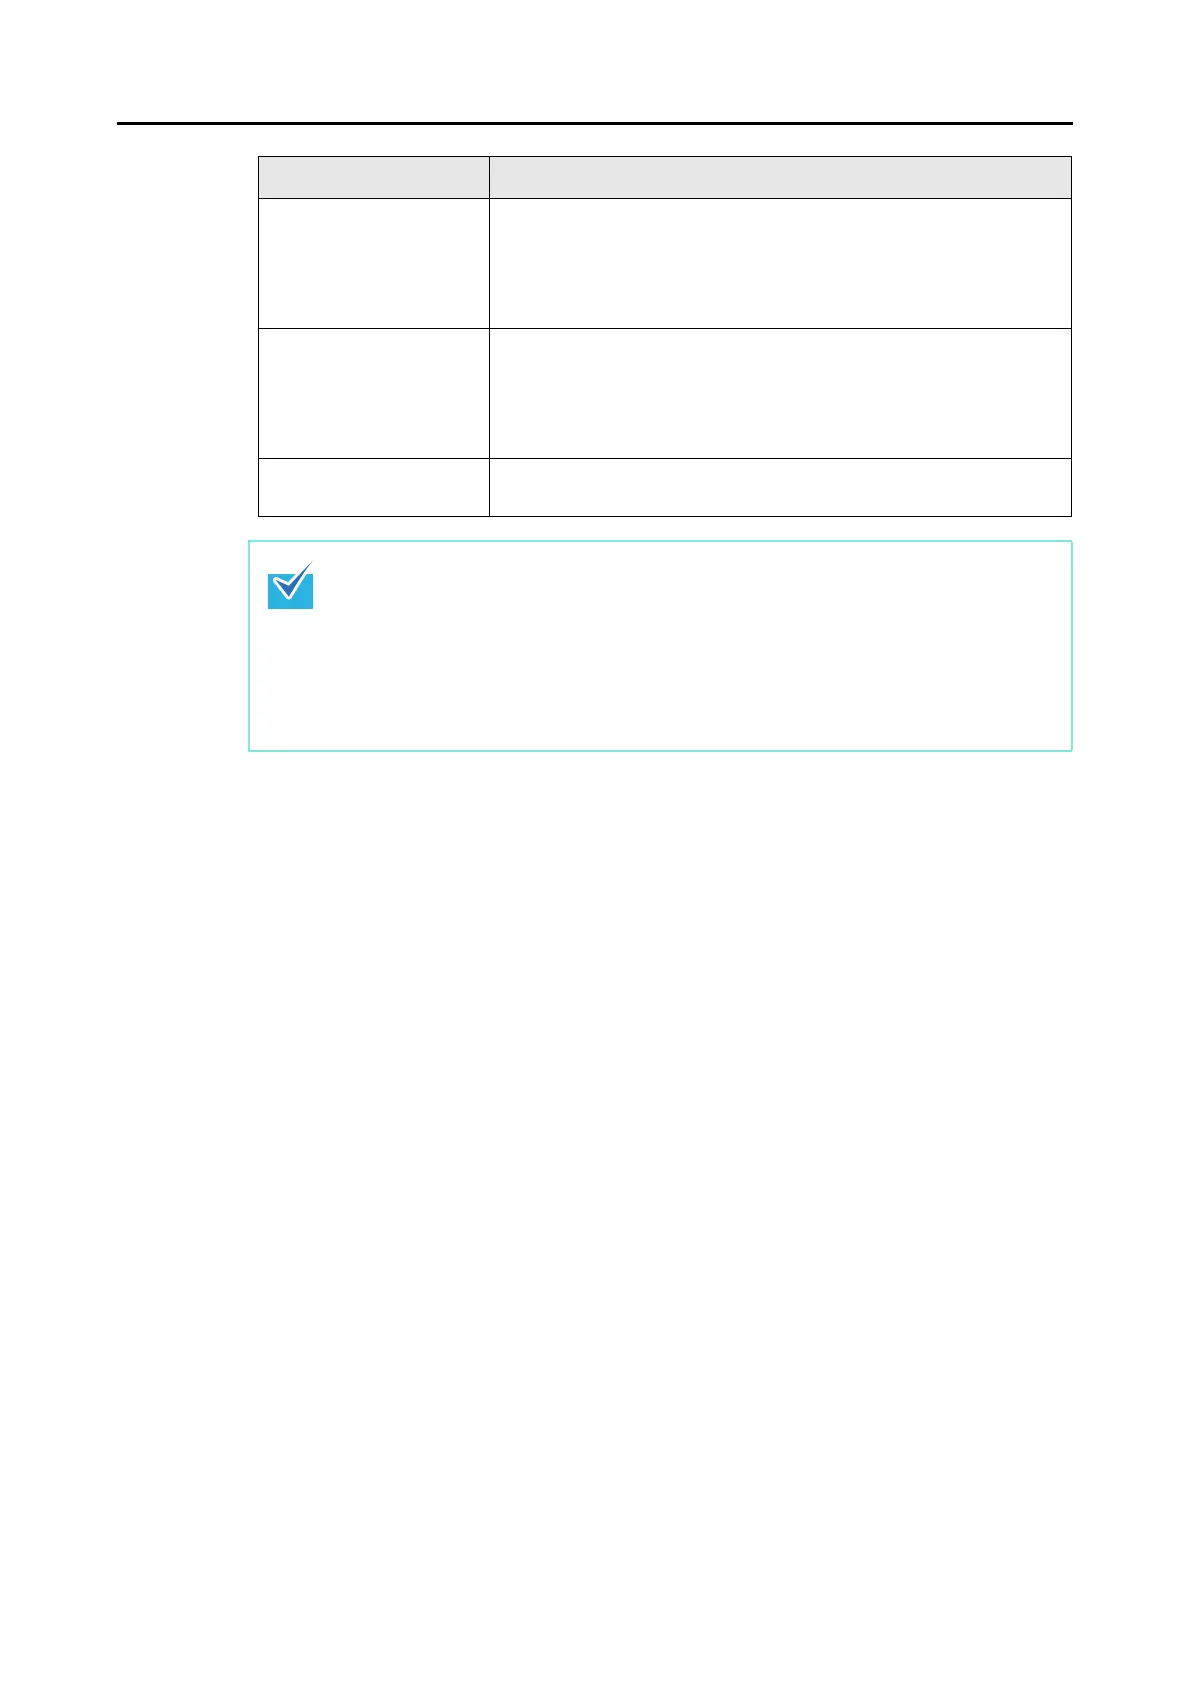
[Small File] button Settings are [Normal] (Color/Gray: 150 dpi, B&W: 300 dpi) for [Image
quality] in the [Scanning] tab in the ScanSnap setup dialog box and
default for other settings.
It is recommended that you select this button when you want to reduce
the file size.
[High Quality] button Settings are [Best] (Color/Gray: 300 dpi, B&W: 600 dpi) for [Image
quality] in the [Scanning] tab in the ScanSnap setup dialog box and
default for other settings.
It is recommended that you select this button when you want to scan
documents in high quality.
[Customize] button Default settings are the same as the [Recommended] settings.
Scan settings can be changed depending on your scanning purpose.
z The [Recommended] button is selected in default.
z For details about the default settings when using the Quick Menu, refer to the
ScanSnap Manager Help.
z You cannot change the settings for the [Recommended], [Small File], and [High Quality]
buttons. If you change any of these settings, the profile automatically switches to [Cus-
tomize].
For details about how to change scan settings, refer to "How to Configure Scan
Settings" (page 82).
Profile Button Description