Using the ScanSnap in Various Ways (for Mac OS Users)
407
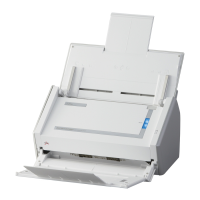
7. Place the end with the black and white pattern as the leading edge in the
direction of the arrow.
Set the back side of the document facing towards you.
Secure the Carrier Sheet with the side guides to avoid skewing.
8. Press the [Scan] button on the ScanSnap to start a scan.
D Scanned image is saved.
z The scanned image is output at the center of the page in the size specified in the
[Paper size] pop-up menu of the [Carrier Sheet Settings] window.
z If [Automatic detection] is specified for [Paper size] in the [Carrier Sheet Settings]
window, an optimal size will be selected automatically from the available standard sizes
(A3, B4 or 11 × 17 in.) from the same pop-up menu.
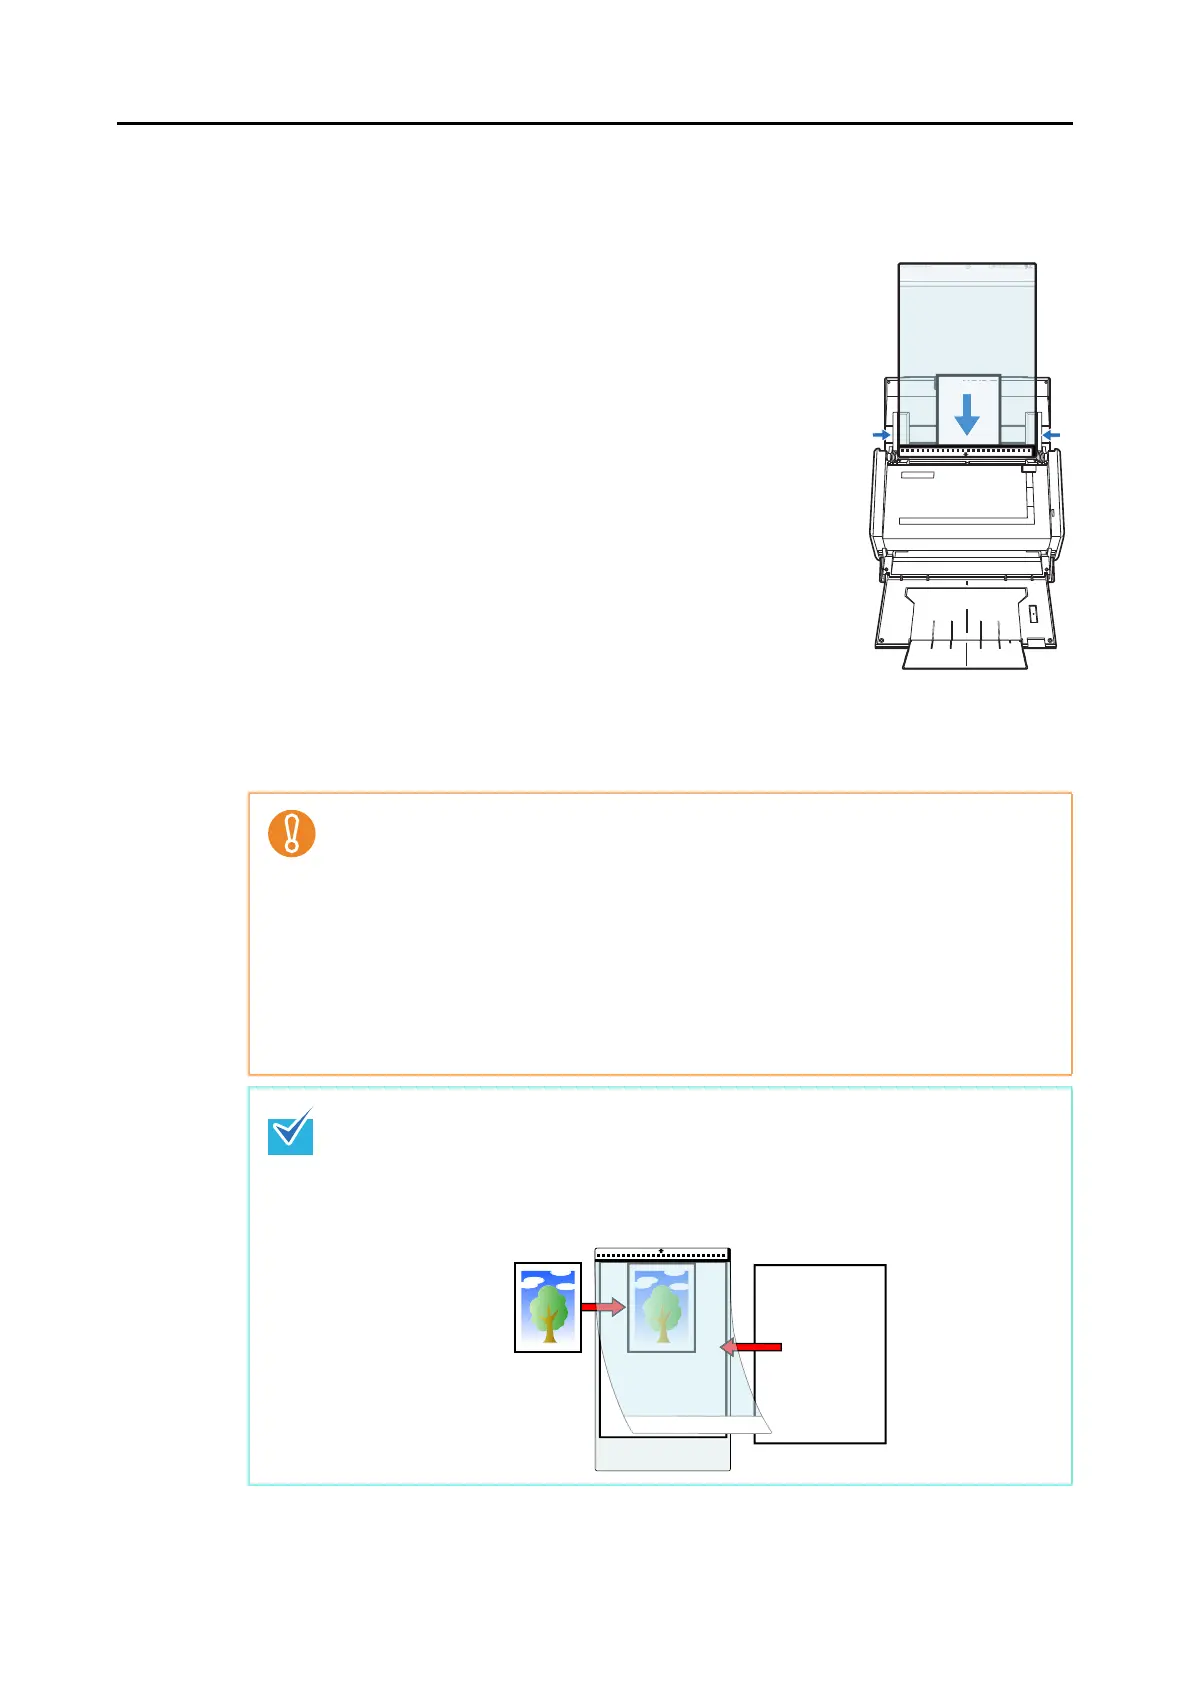
Note that the size of the image may become smaller than the original document
depending on the document scanned, or part of the image may appear missing.
Example: When an A5 size image is printed in the center of an A4 size document, the
image is output in A5 size.
To output the scanned image in its original size, specify the document size in the [Paper
size] pop-up menu.
In the following cases, place a blank (white) sheet of paper underneath the document when
scanning:
z The scanned image is not saved in the correct size (when [Automatic detection] is
selected in the [Paper size] pop-up menu of the [Carrier Sheet Settings] window)
z Shadows appear around the edges of the scanned image
z Black lines appear around the edges of a uniquely shaped cutting
ack

 Loading...