Replacing the hard drive kit
www.gateway.com
41
Replacing the hard drive kit
Tools Required
You need a small Phillips screwdriver to
replace the hard drive kit.
If you would like more hard drive capacity, you can replace your original drive
with a higher-capacity drive.
To replace the hard drive kit:
1 Create a Drivers and Applications Recovery disc. For more information, see
“Creating Drivers and Applications Recovery discs” in the online User
Guide.
2 Print the “Recovering Your System” chapter from the online User Guide for
use in Step 23.
3 Back up any data you want to transfer to the new hard drive. For more
information, see “Backing up files” in the online User Guide.
4 Follow the guidelines under “Preventing static electricity discharge” on
page 38.
5 Turn off your convertible notebook.
6 Make sure the LCD panel is in notebook mode, then close the LCD panel.
7 Disconnect the AC adapter, modem cable, and network cable.
8 Disconnect all peripheral devices and remove any PC cards.
9 Unplug from the optional port replicator from the notebook.
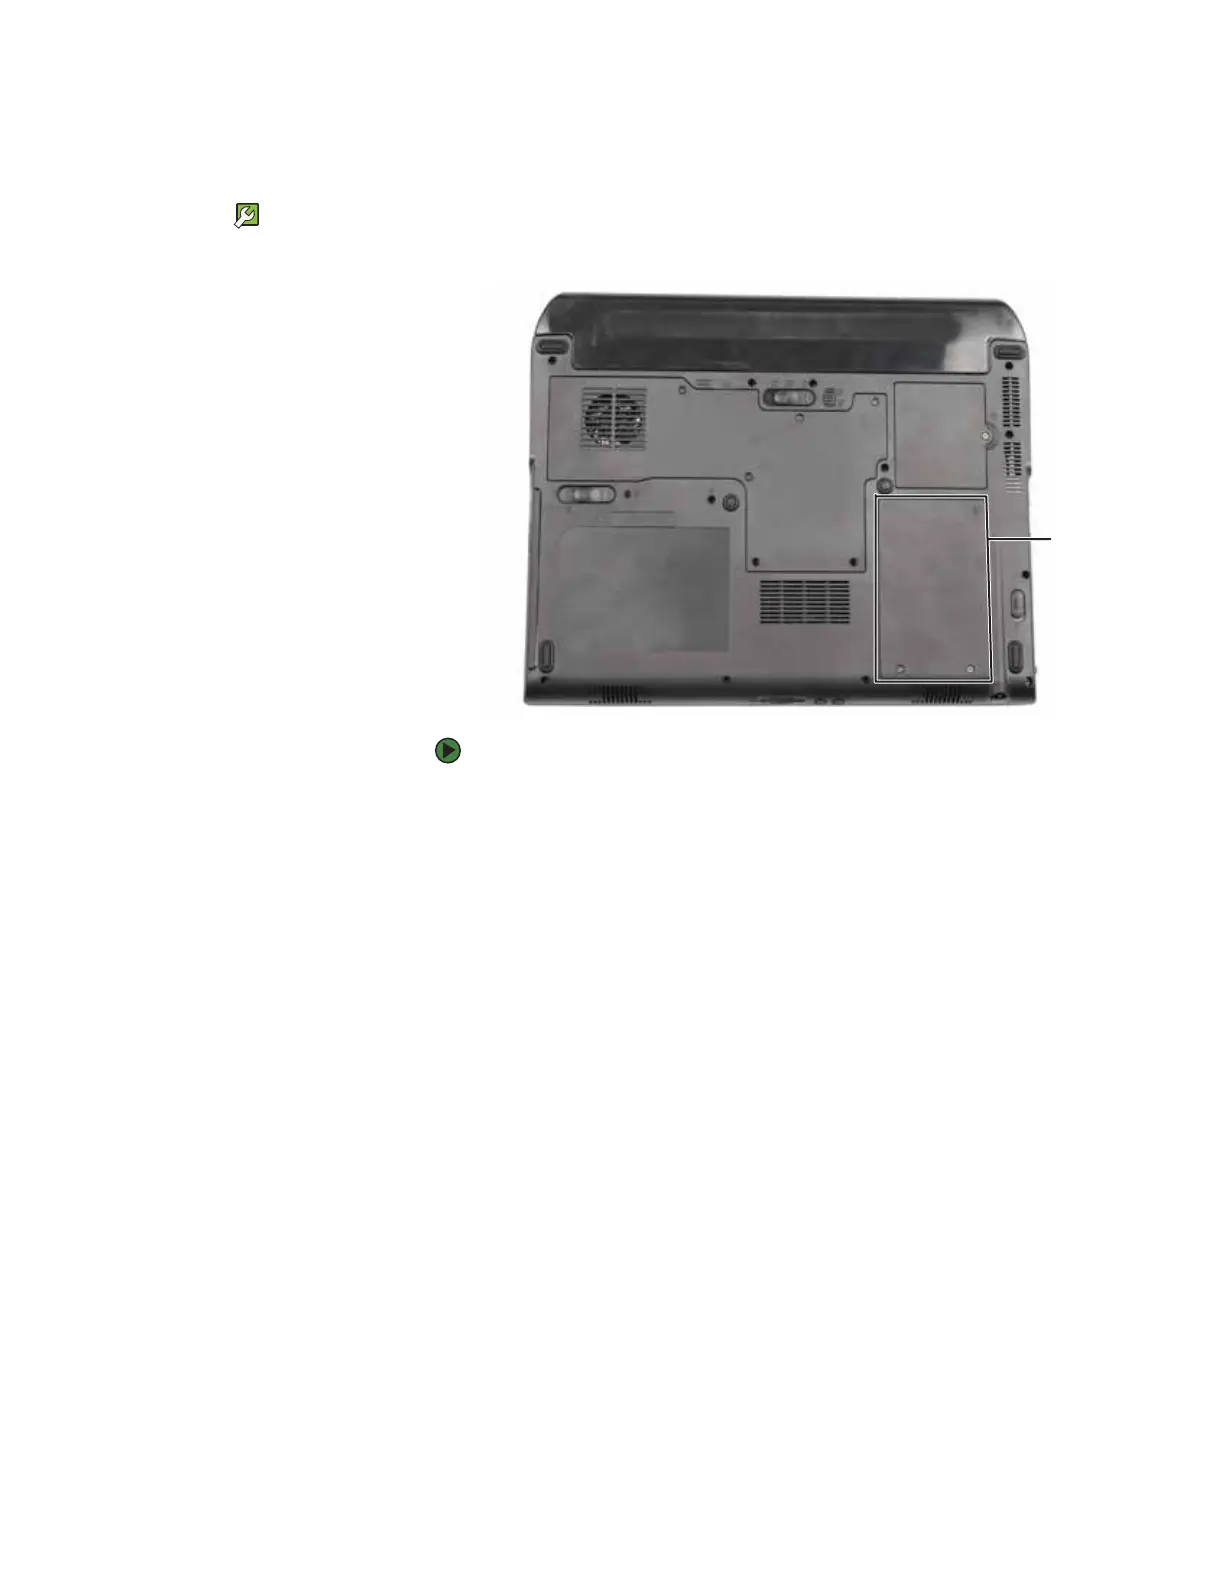
10 Turn your convertible notebook over so the bottom is facing up, then
remove the main and optional multibay battery. For more information, see
“Changing batteries” on page 34.
Hard
drive