2.5 Cable Connection
The cutting plotter communicates with a computer through a USB (Universal Serial Bus) or
a Serial port (RS-232C). This chapter shows you how to connect the cutting plotter to a host
computer and how to set up the computer and cutting plotter interconnection.
NOTICE: When USB connection is enabled, serial port will be disabled automatically.
2.5.1 USB Interface
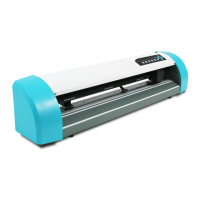
AR-24 build-in USB interface are based on the Universal Serial Bus Specifications Revision
2.0 (Full Speed).
2.5.1.1 Connecting your GCC cutter
1. Turn on the machine.
2. Connect the USB connector to the machine and then USB driver will installed
automatically. It will take a few minutes to find the device. Please DO NOT disconnect the
USB cable until the installation has completed.
3. You can double click the USB icon on the taskbar to make sure the USB device is
detected.
2.5.1.2 Installing the driver
Use the USB One-click Installation for quick driver installation. Follow the simple steps
below for driver setup.
Step 1 Put the installation DVD into your CD-ROM. Please make sure that the USB
device is connected before you start the driver installation.
Caution!!
If you are using Windows 7 and above as your operating system,
make sure you log in using the “Administrator” account.