89
CAUTION
If your work piece is small, please apply 4" focal lens for operation to
prevent the lens carriage from colliding with the rotary attachment.
4) Prepare the graphic you would like to engrave with the rotary attachment, and print it to GCC
laser print driver, and go to “Paper” page of the Print Driver.
5) At the Paper Page, the first thing is to check the “Rotary Fixture” option. The Paper Size and
Rotary Parameter will change to allow for proper input based on the rotary attachment setup.
6) Under Paper Size column, the X value represents the length of the work piece. Enter the
length of your work piece in this field
a) Under Paper Size column, the Diameter value represents the diameter of the work piece
(at the position where to be engraved). Enter the diameter of the work piece in this field.
Again remember the proper diameter value would be measured at the location where laser is
going to do engraving.
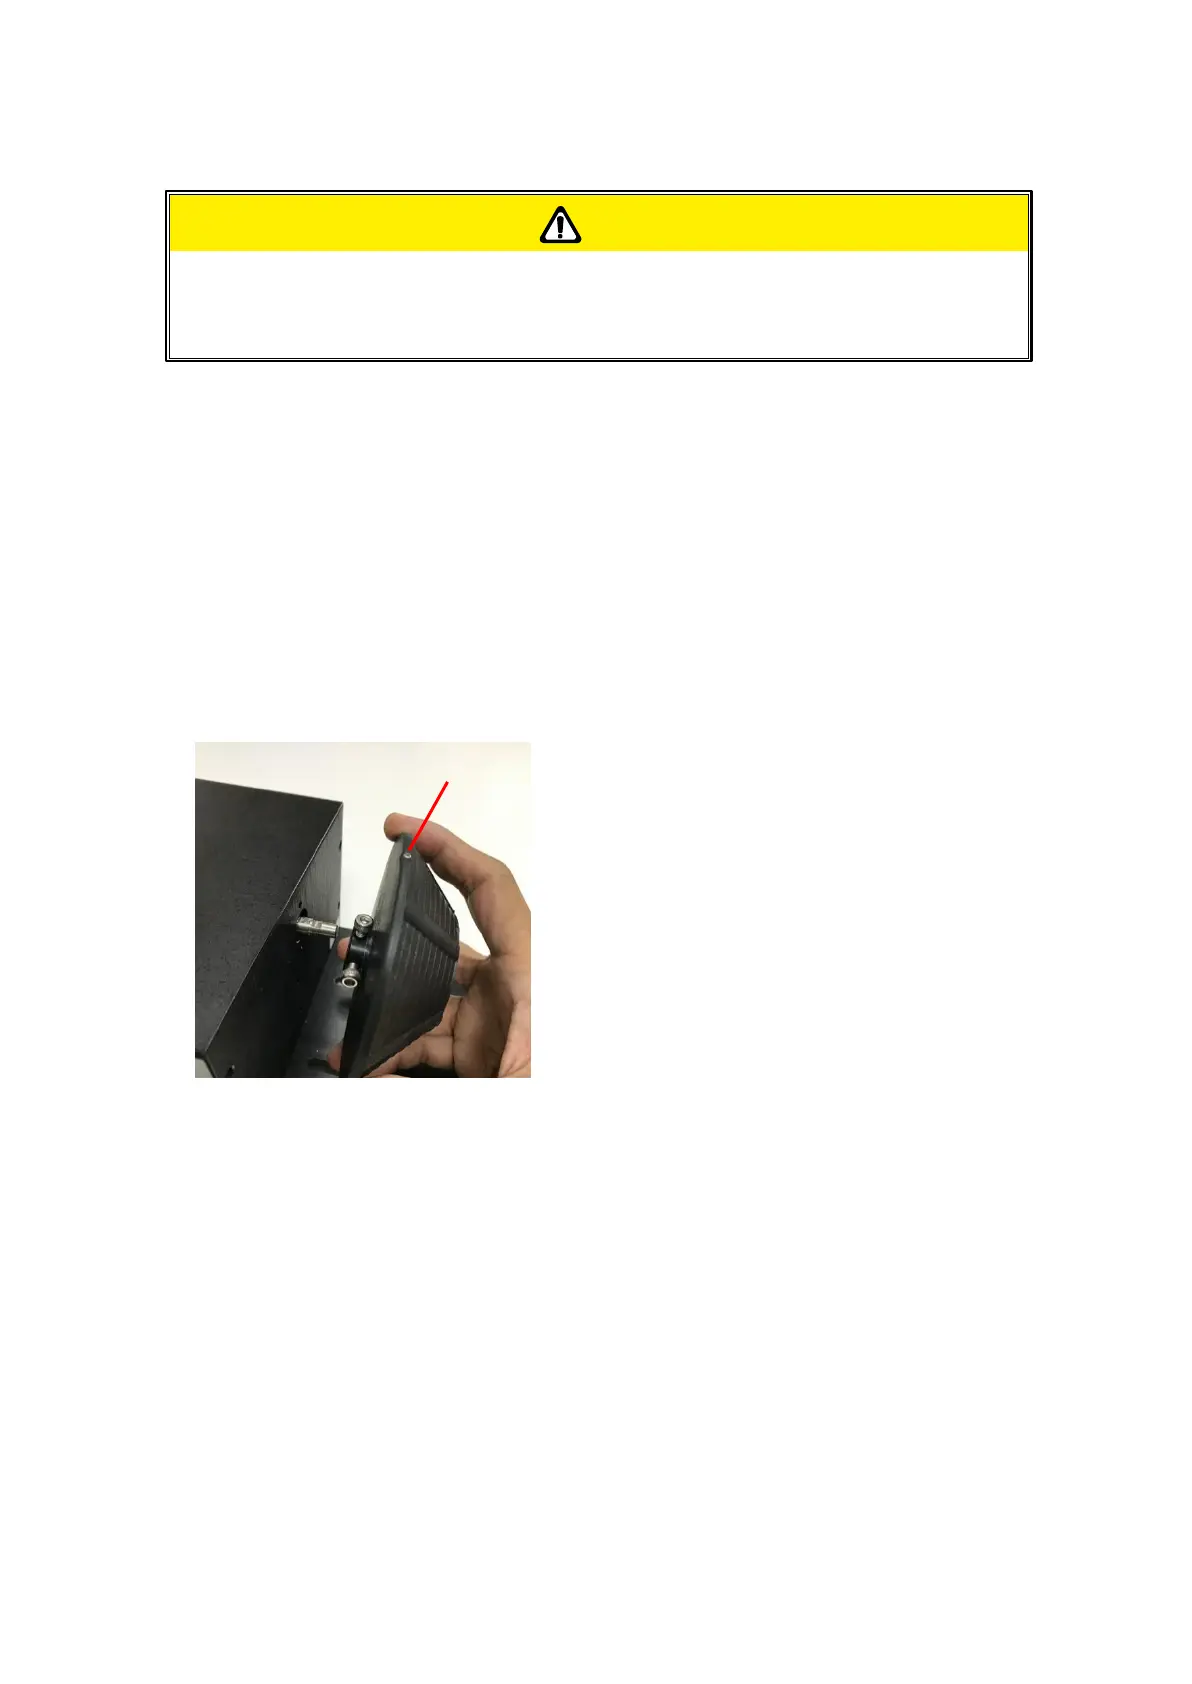
b) Under Rotary Parameter column, the Offset value represents the distance from machine
default origin to where you would like to start laser job. The default offset value is zero.
Please make sure the red beam is pointed to the “Origin Point” as below picture.