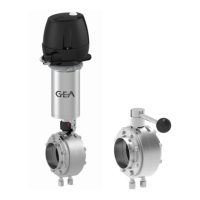
Tools
●
Belt wrench
●
Jaw wr
ench a/f 10
●
Jaw wrench a/f 13
●
Jaw wrench a/f 17
●
Jaw wrench a/f 21
●
Jaw wrench a/f 23
●
Ring wrench double-open size 21x23
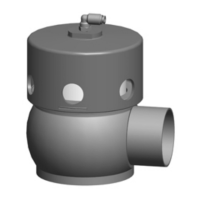
ATTENTION
Sensitive sealing surfaces in the actuator
The sealing surfaces on the cylinder can become damaged.
●
Take care no dirt enters the actuator.
1. Push the lantern (9) onto the actuator
(A).
2. Push
the bearing disk (4) with bearing
(2) and seal disk (3) with seal ring (1)
onto the valve disk (15).
3. Screw the lock nut (10) to the valve
disk (15) using 2 jaw wrenches.
®
Observe torques, see table ‘Tight-
ening torques’.
9.6.1 Tightening
torques
.
66 / 104 - 9.6 Installing the valve
0000000881 - 001 - EN-GB

 Loading...