EasyManuals Logo

GEA VARIVENT X R Series User Manual

GEA VARIVENT X R Series
104 pages
To Next Page IconTo Next Page
To Previous Page IconTo Previous Page
Page #67 background imageLoading...
Page #67 background image
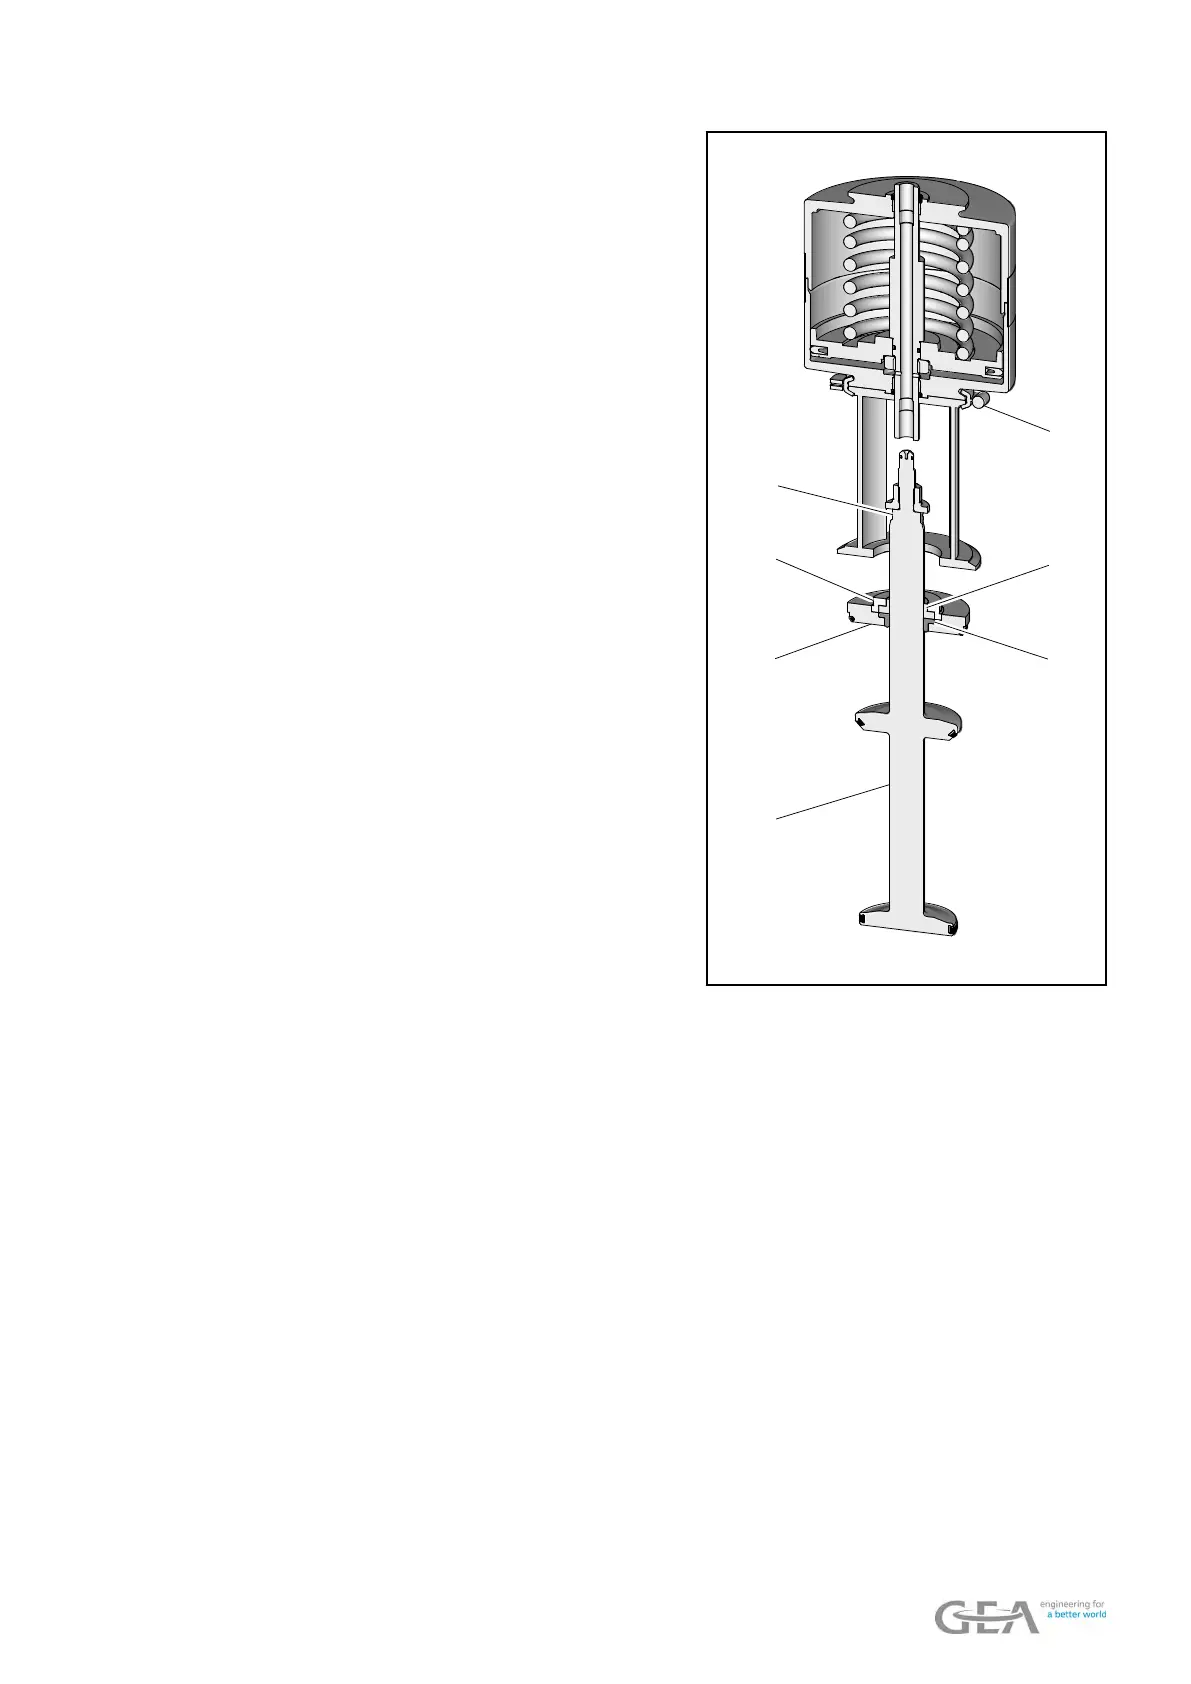
4. Screw the valve disk (15) along with
the
bearing disk (4), the bearing (2),
the seal ring (1) and the seal disk (3)
into the actuator. Hold tight the valve
disk (15) on the wrench at surface
(15.1).
®
Observe torques, see table ‘Tight-
ening torques’.
9.6.1 Tightening
torques
.
5. Mount the clamp connection (46) be-
tween the lantern and the actuator.
®
Observe torques, see table ‘Tight-
ening torques’.
9.6.1 Tightening
torques
.
3
4
1
2
46
15
15.1
Þ
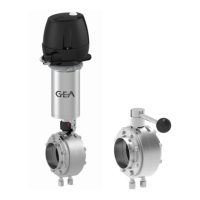
The valve insert is assembled from individual parts.
9.6 Installing the valve - 67 / 104

Table of Contents

Questions and Answers:

Question and Answer IconNeed help?

Do you have a question about the GEA VARIVENT X R Series and is the answer not in the manual?

GEA VARIVENT X R Series Specifications

General IconGeneral
BrandGEA
ModelVARIVENT X R Series
CategoryControl Unit
LanguageEnglish

Related product manuals