in.xe TechBook
49
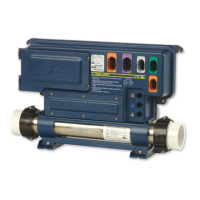
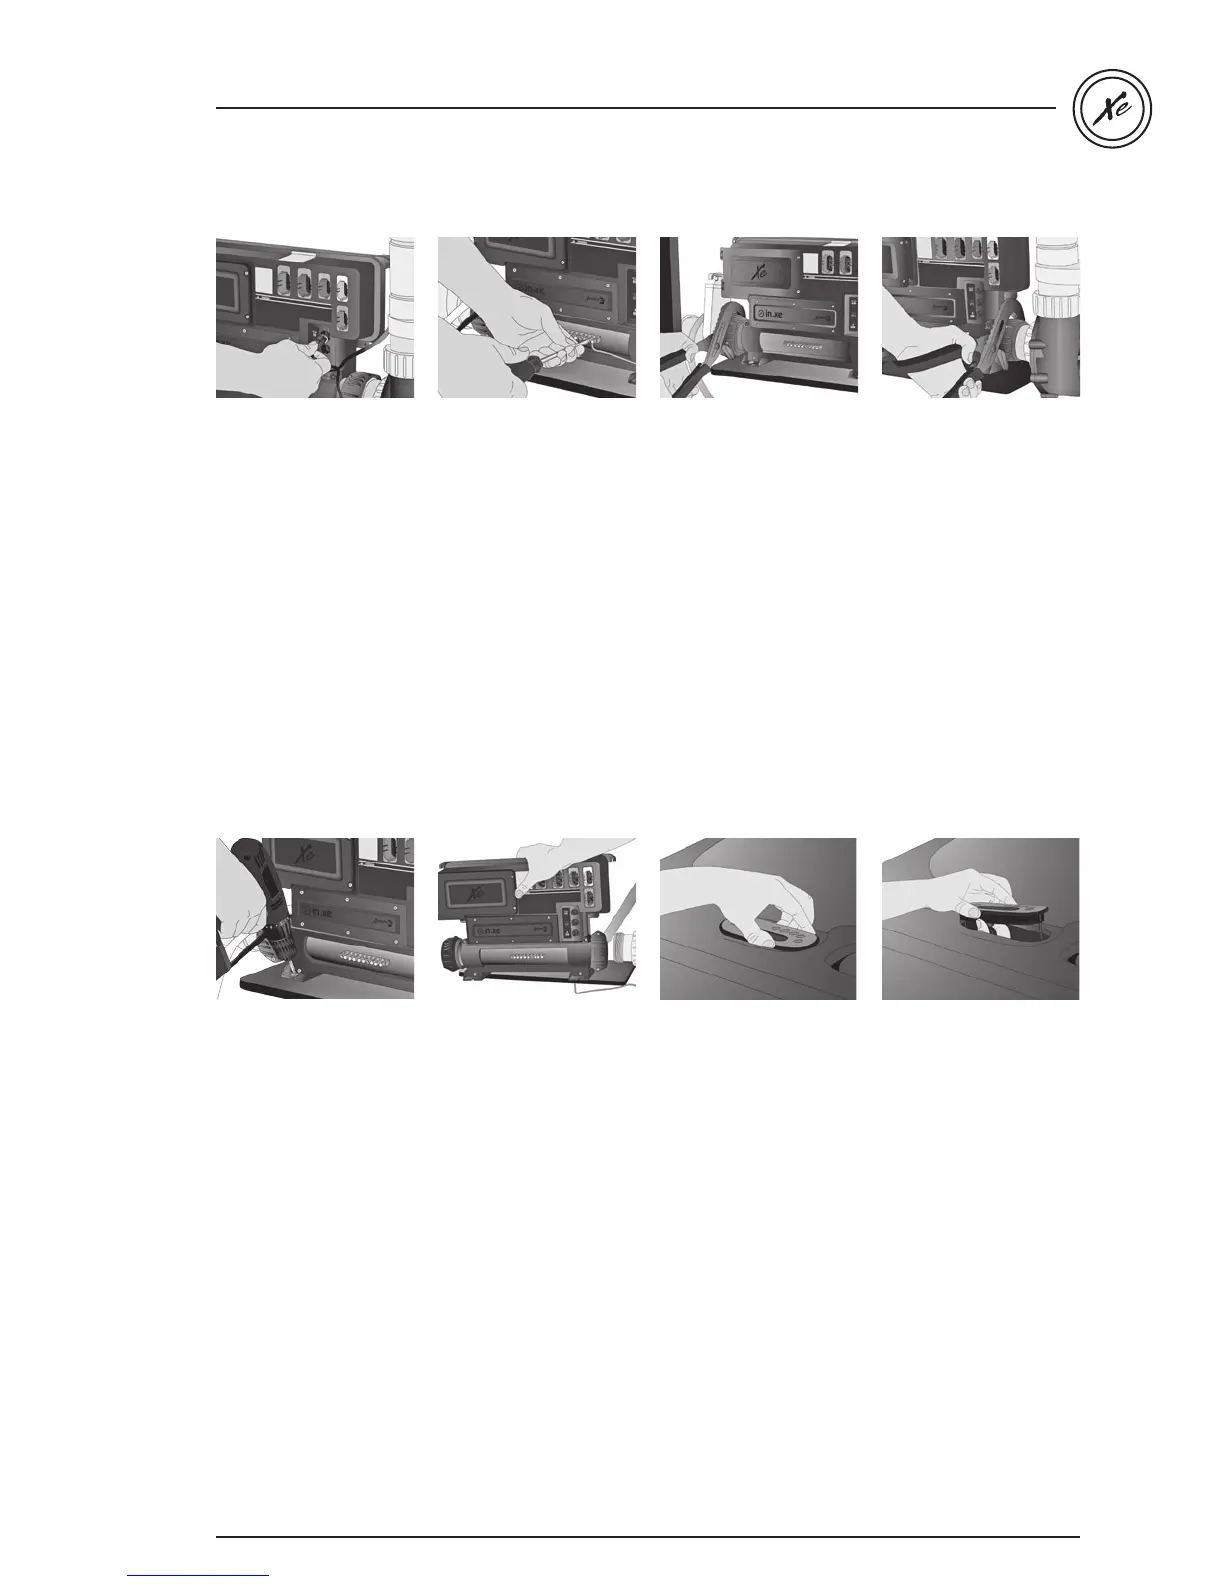
Disconnect the grounding
cable from the bonding
lug of the in.xe spa pack.
Using an open-ended
adjustable wrench loosen
both 2" plastic nuts at each
end of the in.xe heater, as
illustrated.
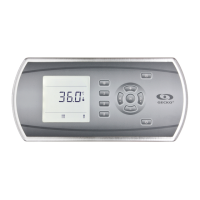
Unplug all LC (Low
Current) outputs. e.g.:
main keypad, light or any
other accessory.
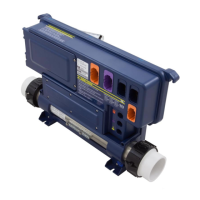
Release the 2" heater nuts
from both ends of the spa
piping. Release the in.xe
spa pack by sliding the unit
away from the guide plate
that holds the backside of
the unit's feet in place.
Remove the defective in.xe
spa pack from the spa.
Once that is done, remove
the old in.xe keypad from
the spa.
Note: the procedure on
keypad replacement
shown here is for
educational purposes only.
It is not always necessary to
replace the keypad, unless
it may be the cause of the
malfunctioning of the in.xe
system. Common sense
should prevail.
When removing the
old in.xe keypad, make
sure to note the exact
model, available options
etc. Ideally, the new
replacement keypad
should be of the exact
same model as the old one.
If it's not, contact our
Technical Support
Department for a keypad
compatibility list.
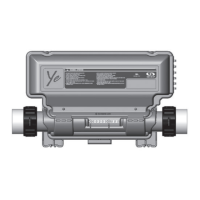
Remove the 2 screws that
hold the front of the unit's
feet attached to the spa
floor.
Note: the in.xe can also be
wall-mounted. For more
details on wall installation
procedure refer to the wall
installation section of the
in.xe techbook.