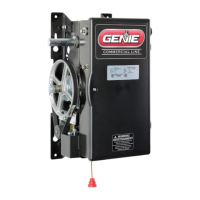
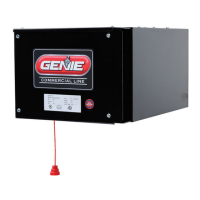
GCL-GCX
These instructions apply to either board. Although they perform different functions,
they mount in the same way.
2) Orient the module so mounting bracket tabs are to the left and wire
terminals are facing up.
3) Make desired wiring connections, in accordance with instruction manual
accompanying the module.
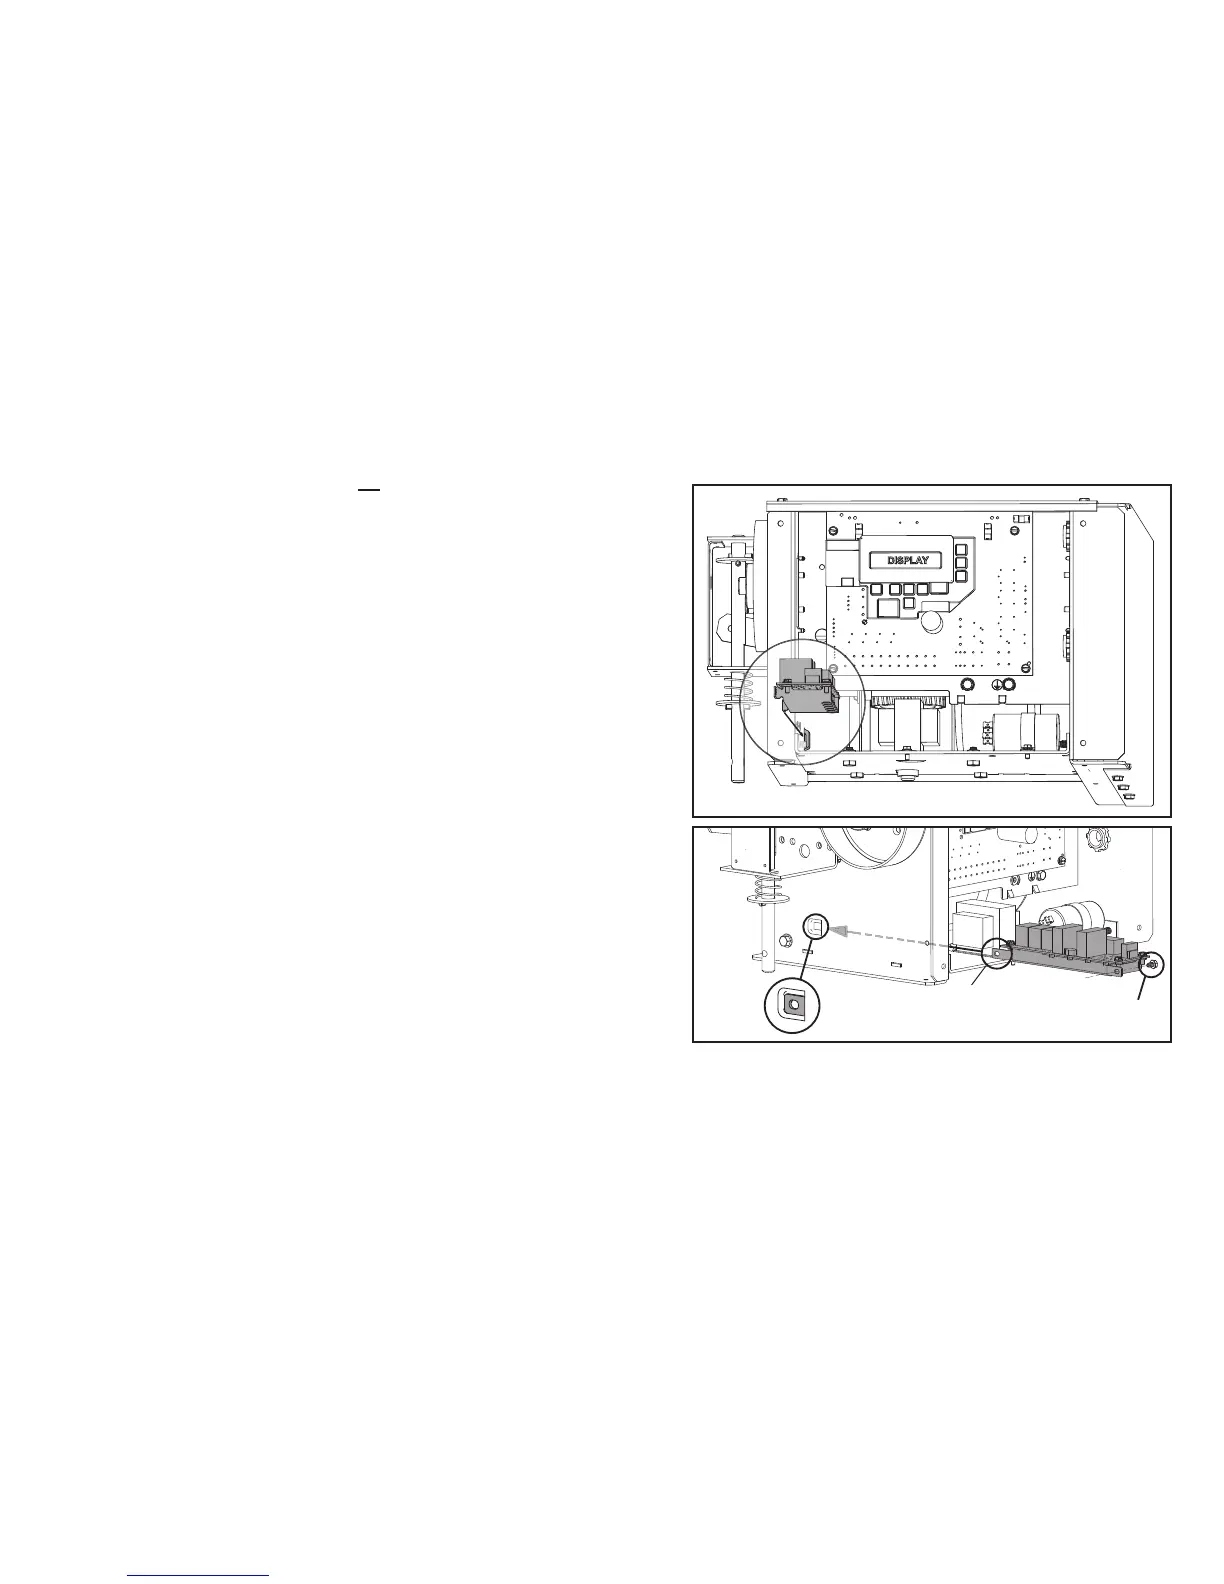
4) Insert module into the area indicated and slide front mounting tab into slot
on side panel of the enclosure. FIG. 10 & 11.
5) Adjust module so that it is level with GCX enclosure.
• There is a mounting hole on side panel of enclosure which will line up
with hole in module mounting bracket.
• Attach module by inserting self-tapping screw (provided in kit) through
module bracket and into hole in side panel. Do not overtighten.
6) Replace front panel.
Optional Timer-Close Module or Auxiliary Output Module
Figure 10
Figure 11
MOUNTING
BRACKET
TAB
Self tapping
screw
4.4
www.geniecompany.com 08-12
Counter Door Operator
 Loading...