4.1
Unless otherwise stated, these instructions will show right side mount installations.
Left side mount is opposite.
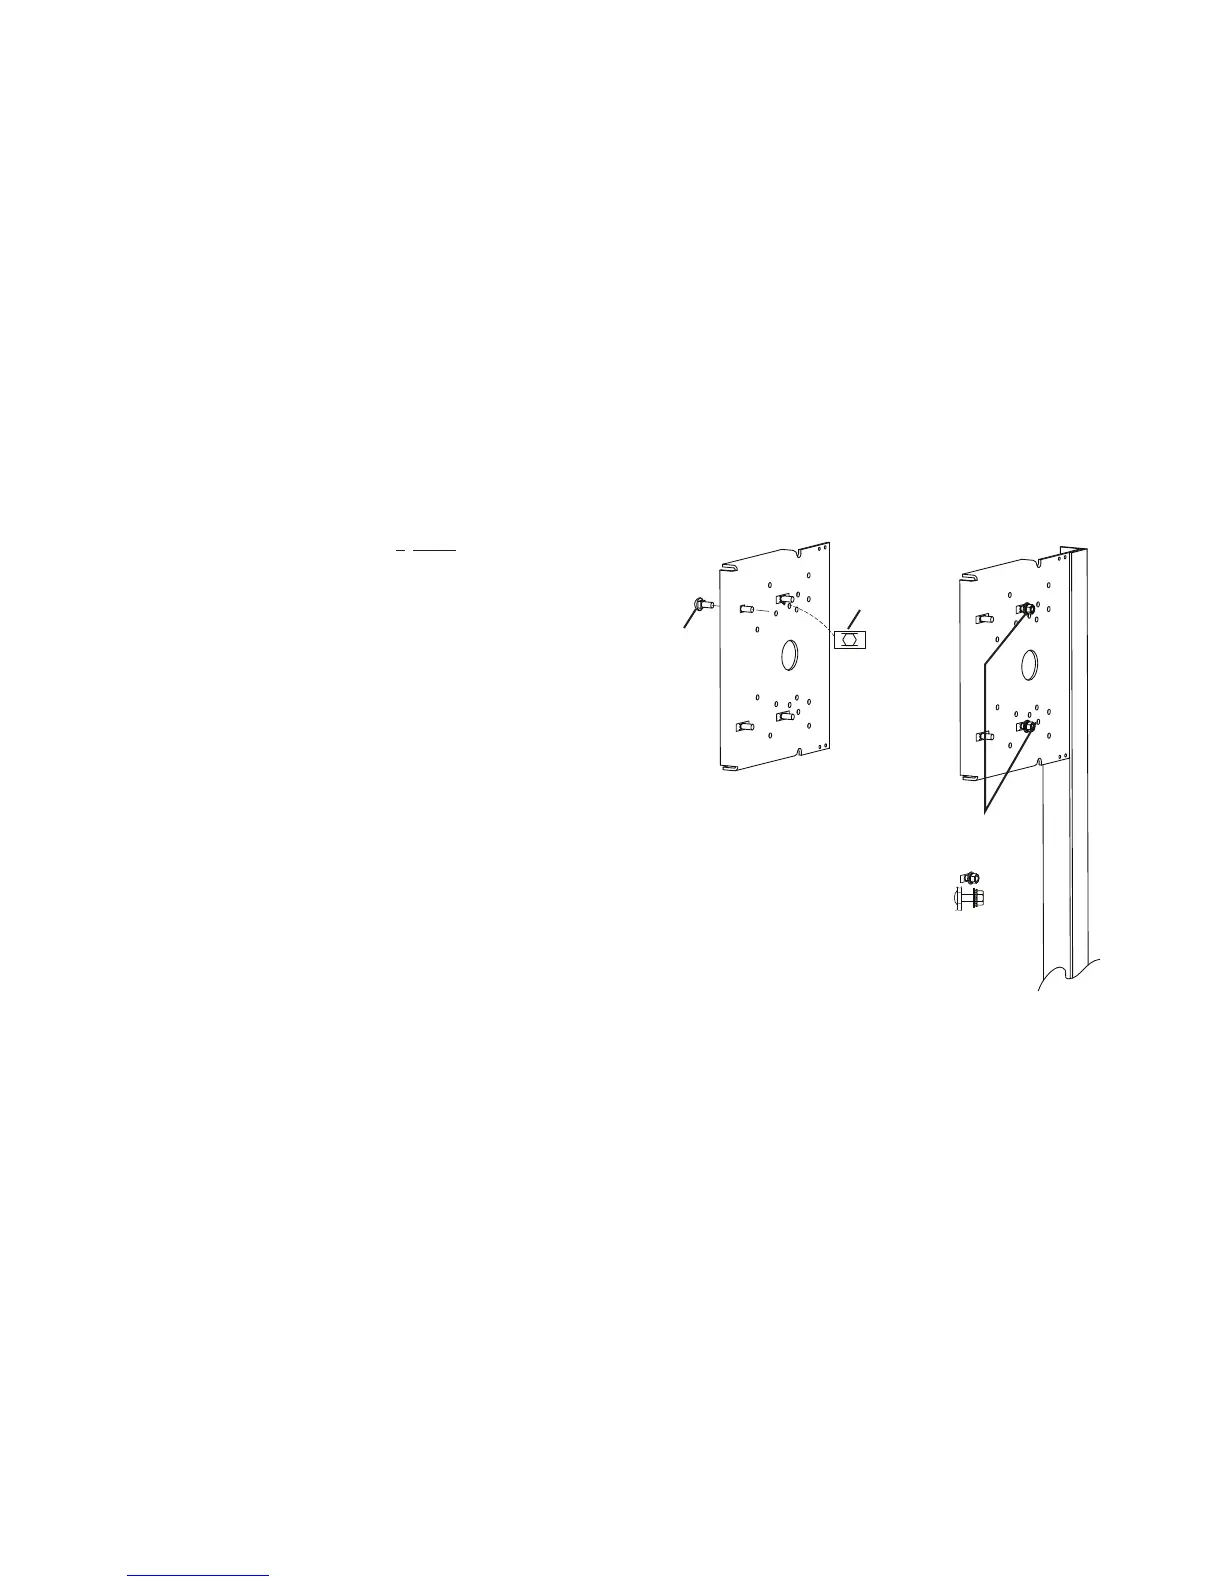
1) Insert four(4) 3/8"-16 x 1" carriage bolts into headplate. FIG. 1.
• Threads to outside of plate.
• Retain by pushing 4 speed nuts onto bolts.
2) Complete installation of door as instructed in door installation manual up to
"mounting of hood."
3) Make certain both headplates are at 90° to wall.
• If not at 90°, use temporary external brace to hold in place.
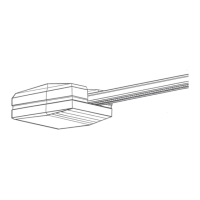
4) Install hood and secure with hood mounting screws.
• When hood is secure, remove temporary brace if used (in step3).
• Leave door in FULL OPEN position.
5) Place 3/8" flat washers and 3/8"-16 keps nuts on 3/8" carriage bolts closest
to wall. FIG. 2.
• Leave nuts flush with ends of bolts.
.rotarepo XCG morf draug niahc evomeR )6
Section 4: Installation
Mounting
Figure 1 Figure 2
CARRIAGE
BOLT
WALL
FLAT WASHERS
& KEPS NUTS
SPEED
NUT
nuts flush with
end of bolts
www.geniecompany.com 08-12
Counter Door Operator
GCL-GCX
 Loading...