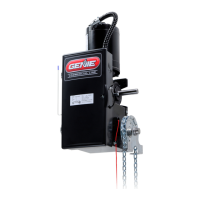
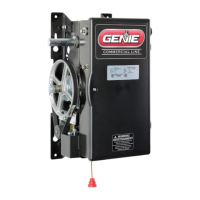
GCL-GCXGCL-GCX
Mounting (continued)
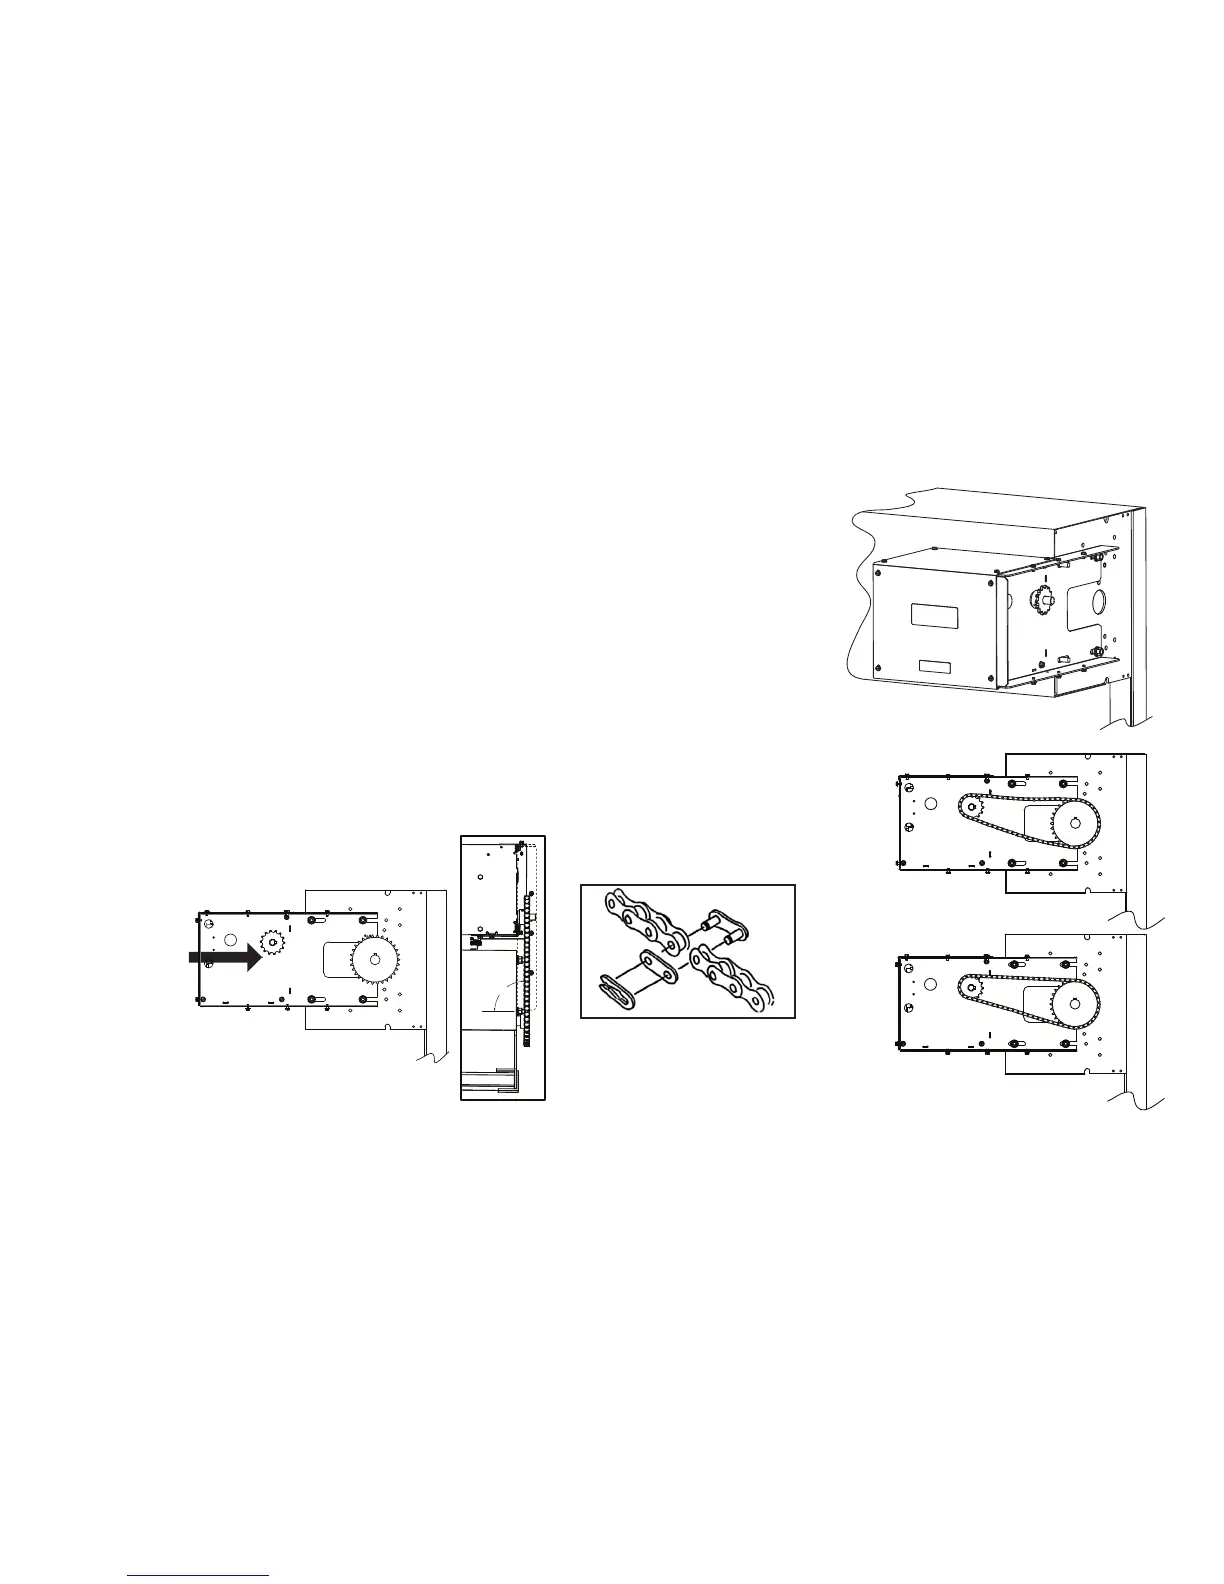
7) Slide open ended slots of frame under flat washers installed in step 5. FIG. 3.
• Locate other frame slots over remaining two(2) carriage bolts and bring frame
against headplate.
• Put 3/8" washers and keps nuts on remaining bolts.
• DO NOT fully tighten nuts.
• Slide operator toward wall as far as slots allow. FIG. 4.
8) Place driven sprocket and key on door shaft and align with output sprocket
on operator. FIG. 4A.
• Secure sprocket and key in place with set screws.
9) Wrap #25 roller chain around both sprockets and join with connecting link. FIG. 5 & 6.
• Chain length is correct for 9-1/2" headplate.
• For 11-1/2" headplate, add short #25 chain (provided) to long chain using extra
connecting link.
• Slide operator away from hood until drive chain is tensioned but not tight. FIG. 7.
• Tighten mounting nuts.
Figure 3
Figure 6
Figure 5
Figure 7
4.2
TOWARD WALL
AS FAR AS
SLOTS WILL ALLOW
Figure 4
Figure 4A
90°
www.geniecompany.com 08-12
Counter Door Operator
 Loading...