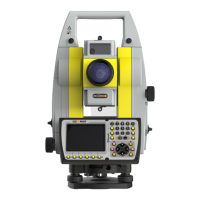
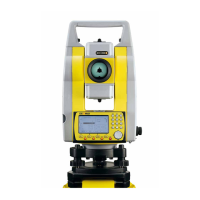
Zoom90 | 40Apps
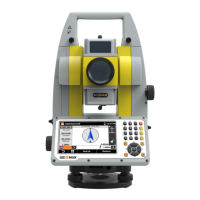
6.2.4 Adjusting the Circular Level of the Instrument and Tribrach
Adjusting the circular
level step-by-step
6.2.5 Adjusting the Circular Level of the Prism Pole
Adjusting the Circular
Level Step-by-Step
12. Repeat steps 8,9,10 and 11 for the second set. Continue with step 13.
13. The results are shown on the screen. If the values are okay, press OK to store or press ESC
to decline.
Step Description
Step Description
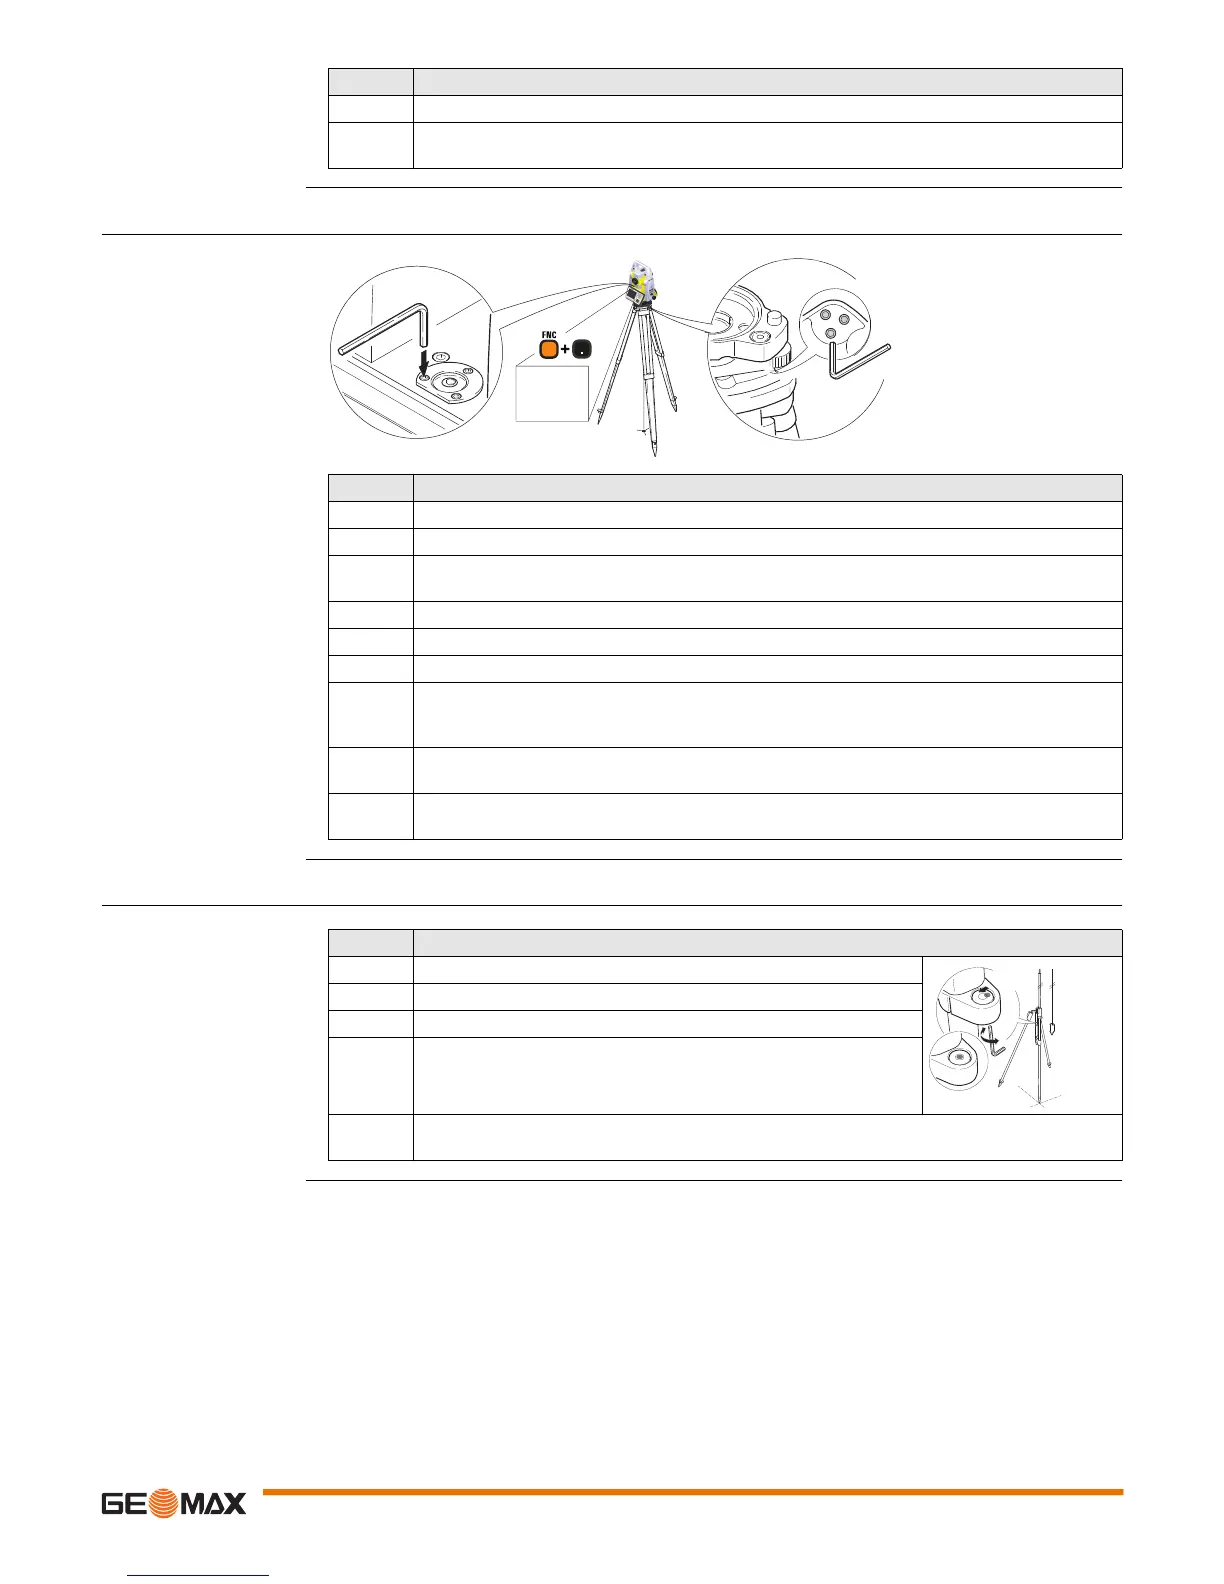
1. Place and secure the instrument into the tribrach and onto a tripod.
2. Using the tribrach footscrews, level the instrument with the electronic level.
3. Access the electronic level and laser plummet by using the key-combination <FNC>+<.> or
by starting GeoMax Toolkit and go to MAIN MENU screen and select Level.
4. Check the position of the circular level on the instrument and tribrach.
5. a) If both circular levels are centred, no adjustments are necessary
b) If one or both circular levels are not centred, adjust as follows:
Instrument: If it extends beyond the circle, use the supplied allen key to centre it with
the adjustment screws. Turn the instrument by 200 gon (180°). Repeat the adjustment
procedure if the circular level does not stay centred.
Tribrach: If it extends beyond the circle, use the supplied allen key to centre it with the
adjustment screws.
After the adjustments, all adjusting screws must have the same tightening tension and no
adjusting screw should be loose.
2
1
4
4
011052_001
Step Description
1. Suspend a plumb line.
2. Use a pole bipod, to align the prism pole parallel to the plumb line.
3. Check the position of the circular level on the prism pole.
4. a) If the circular level is centred, no adjustment is necessary.
b) If the circular level is not centred, use an allen key to centre it
with the adjustment screws.
After the adjustments, all adjusting screws must have the same tightening tension and no
adjusting screw should be loose.
1
2
4b
4a
TS_080
 Loading...