6
CHAPTER 2
Connecting and Installing the EDGE 2
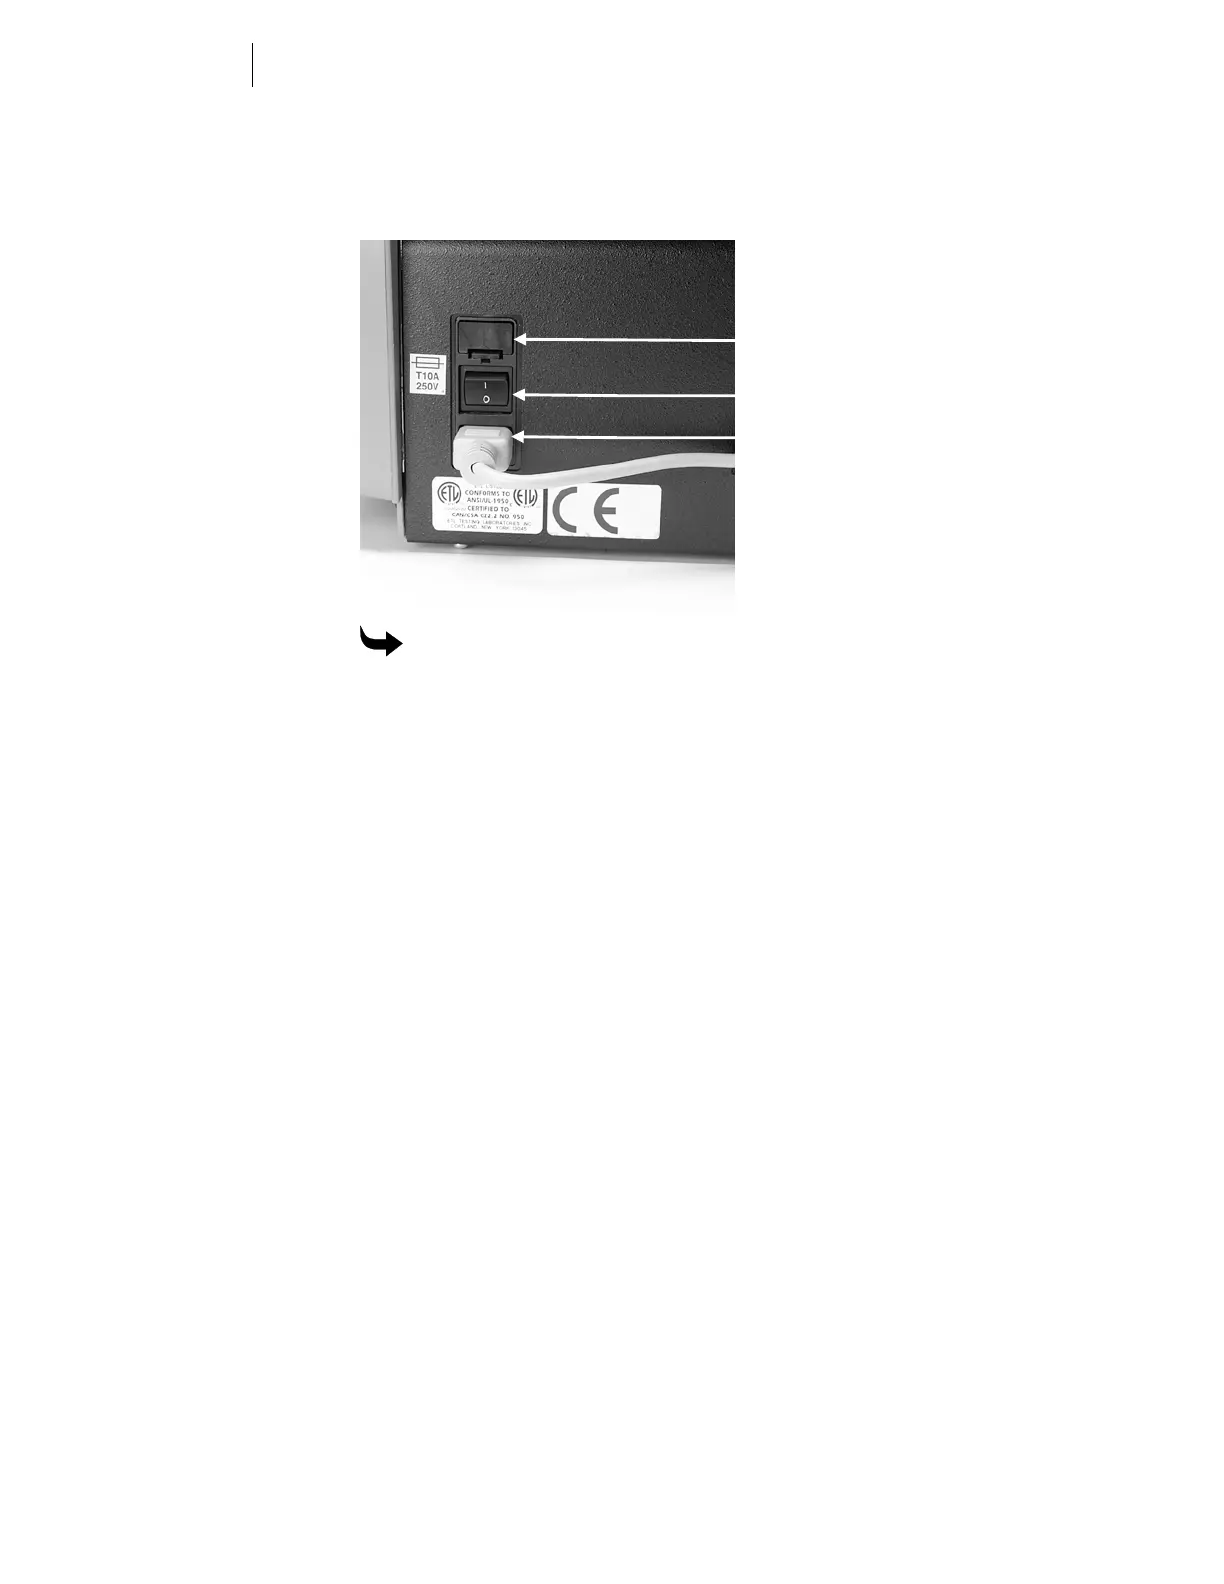
The power switch and power cord receptacle are located on the right
side of the EDGE 2 as shown below. The parallel printer connector is
located on the back.
To connect the EDGE 2 to the computer
1
Align and plug the printer cable connector that has thumbscrews into
the ECP computer port. Tighten the thumbscrews so the connector is
firmly seated.
2
Align and plug the printer cable connector without thumbscrews into
the receptacle on the back of the EDGE 2. Snap the wire bail locks up
into their seats on the connector so they hold it firmly in place.
3
Plug the receptacle end of the power cord into the power cord plug on
the right side of the EDGE 2. Connect it to an electrical outlet.
4
Turn on the computer. Turn on the EDGE 2 by pressing the rocker
switch next to the power cord receptacle.
Fuse carrier
late
On/Off switch
Power cord