19
Cutting the printed job on a plotter
When the job is designed in the Composer program, the printed shapes
and cut shapes are specified. When it is sent to GAPlot32, the vinyl
printer and plotter are assigned. Once the job is printed, it may be cut on
the designated plotter.
1 Take the tool out of the plotter tool carriage.
2 Load the material in the plotter according to your plotter or console
instructions.
3 Slew the tool carriage and material so that the registration mark is
visible through the barrel of the tool carriage.
4 Insert the eyepiece into the tool carriage so that it touches the vinyl. If
the barrel of the tool carriage has a key, align the groove in the
eyepiece with it so that the eyepiece can seat all the way down and
touch the vinyl.
Note: A Slow Slew mode is a feature of newer Gerber plotters. Slow Slew
helps you align the knife with the print registration mark. Please check your
owners guide or contact your Gerber distributor for details.
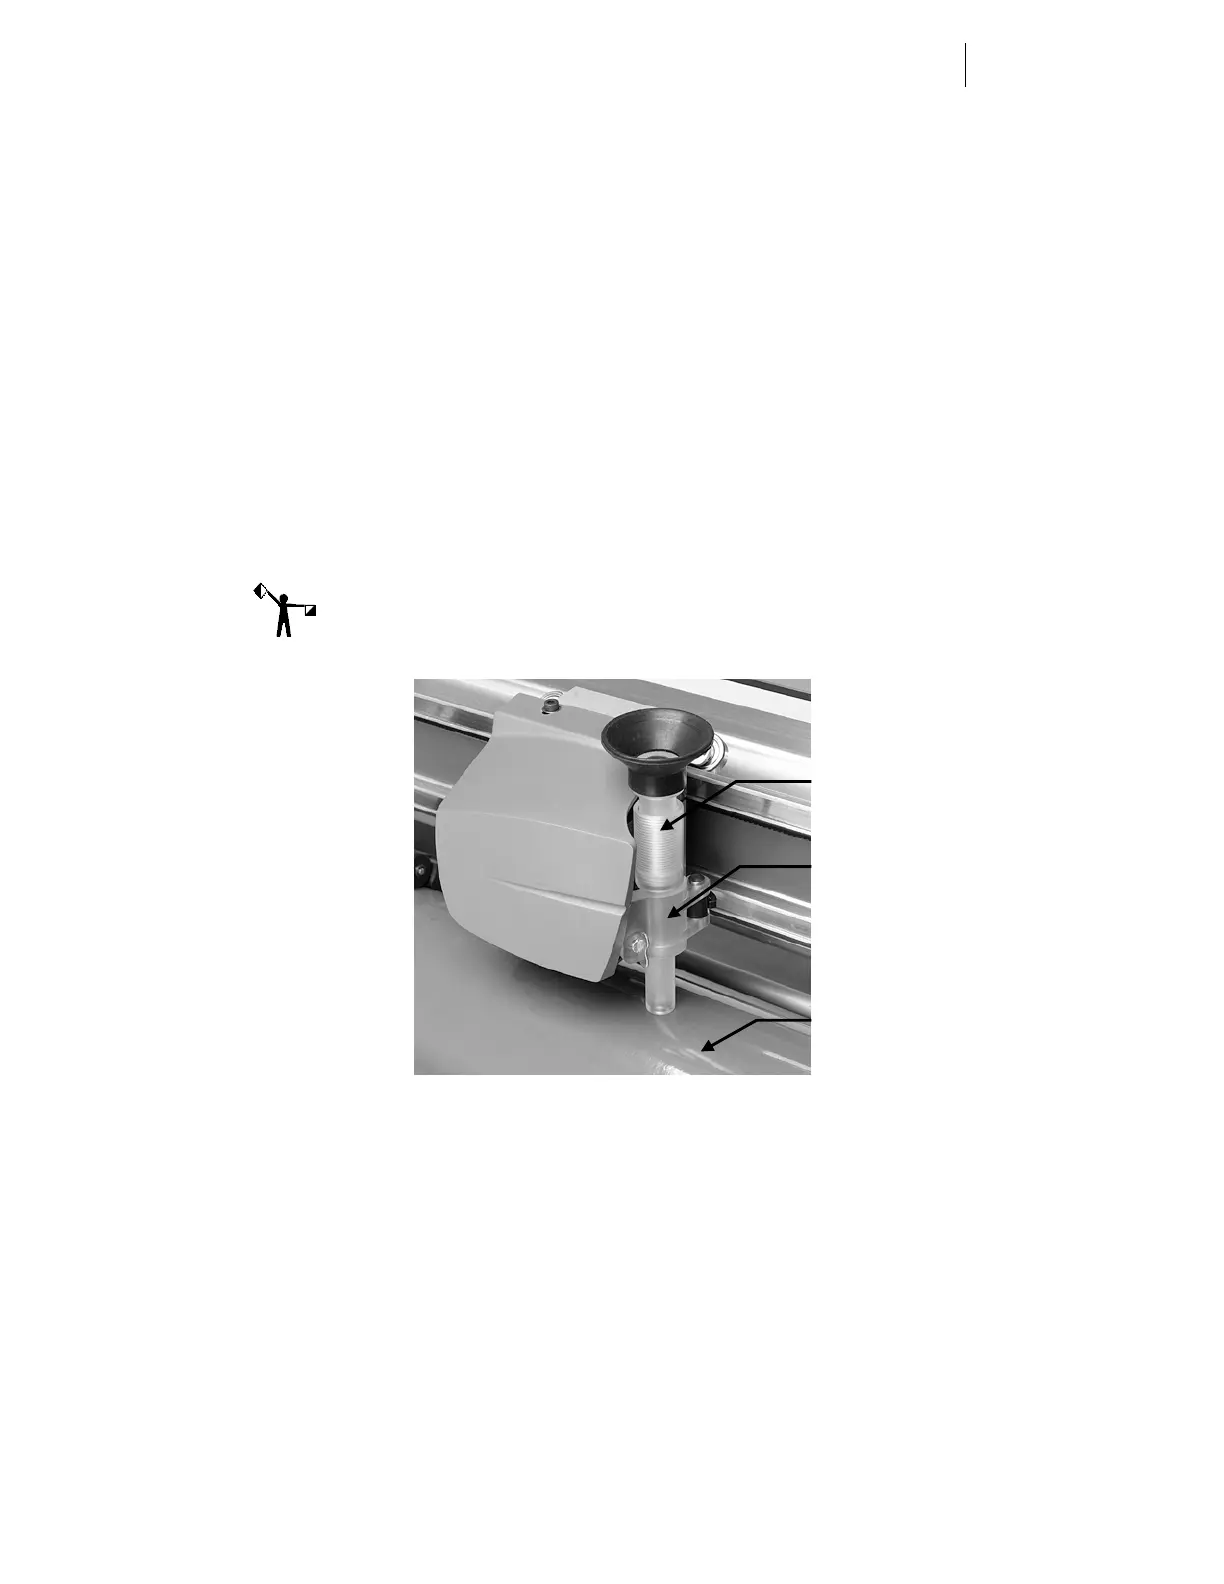
The eyepiece installed in a typical tool carriage.
Eyepiece
(bombsight)
Tool carriage
Vinyl