17
First steps
Gigaset SL400-SL400A / EN for IM-Nord / A31008-M2103-R201-3-SM19 / starting.fm / 01.02.2011
Version 4, 16.09.2005
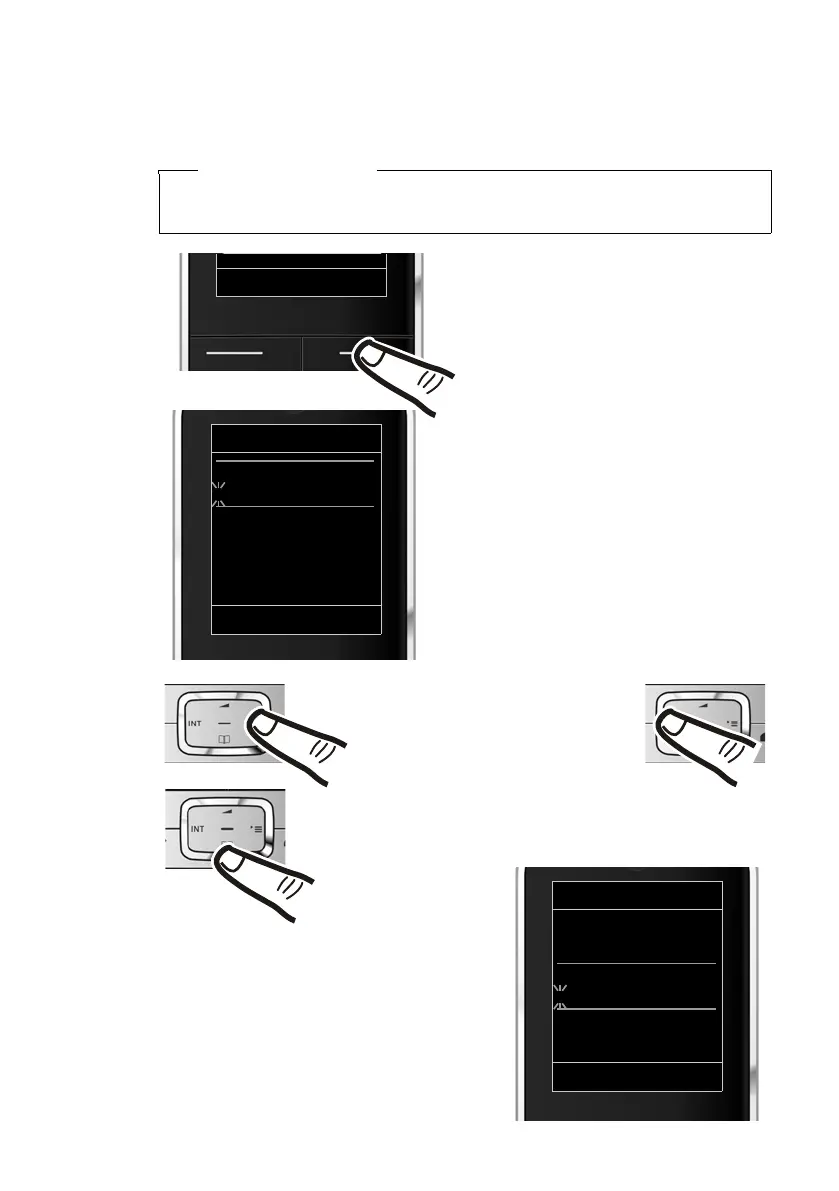
Setting the date and time
Set the date and time so that the correct date and time can be assigned to incoming
calls, and so that the alarm can be used.
Please note
Depending on your network provider, the date and time may be displayed auto-
matically.
Date/Time
Date:
04.04.2011
Time:
00:00
Back Save
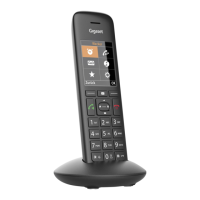
¤ Press the key below §Time§ on the dis-
play screen to open the input field.
(If you have already set the time and
date, open the input field via the menu
¢ page 28.)
The Date/Time submenu is shown on the
display.
¤ The active input position flashes.
Enter day, month and year as an
8-digit number via the keypad, e.g.,
Q4Q42Q
for 04/04/2011.
Date/Time
Date:
01.03.2011
Time:
00:00
Back Save
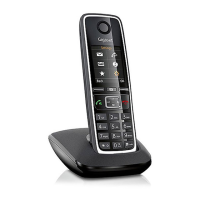
Press the right or left control key
to change the input position and
correct an entry.
¤ Enter the hours and minutes as four
digit numbers via the keypad,
e.g., QM5 for 07:15 am.
Change the input position with the
control key if necessary.
¤ Press down on the control key to switch
to the time input field.