27
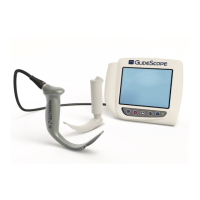
Operations & Maintenance Manual: Using the Device
PROCEDURE 2. INTUBATE USING THE GLIDESCOPE 4-STEP TECHNIQUE
When you are guiding the endotracheal tube to the distal tip of the video laryngoscope, ensure that
you are looking in the patient’s mouth, not at the video monitor screen. Failure to do so may result
in injury to the tonsils or soft palate.
WARNING
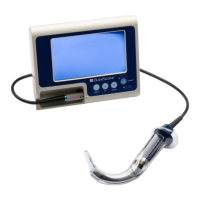
Several areas of the video laryngoscope that contact the patient can exceed 41°C (106°F) as part of
normal operation:
• The first area is the light-emitting area surrounding the camera where the anti-fog feature is
located. When used as indicated, continuous contact with this area is unlikely because, if tissue
were to contact this area, the view would be lost and devices would need to be adjusted to
regain the airway view.
• The second area is the area surrounding the camera, out of view of the camera. Continuous
contact with this area is unlikely because the product is typically not held stationary for an
extended period of time exceeding 1minute.
If continuous contact is maintained for longer than 1minute, it is possible to cause thermal damage
such as a burn to the mucosal tissue.
Note: Typical intubations are less than 1minute in duration.
WARNING
To perform an intubation, Verathon
®
recommends using the GlideScope 4-Step Technique as outlined in this
procedure. Each step begins with where the user should be looking to complete that action. Prior to beginning
this procedure, verify that the monitor is receiving an accurate image from the video laryngoscope.