11
Operations & Maintenance Manual: Introduction
VIDEO MONITOR BUTTONS, ICONS, & CONNECTIONS
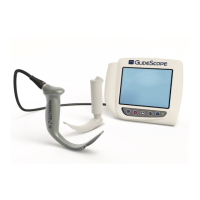
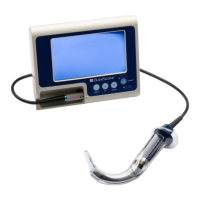
The digital, full-color GlideScope Video Monitor clearly displays the images transmitted from the camera in the video
laryngoscope. The front of the monitor includes the screen and a keypad with the buttons you use to operate the
system.
The back panel of the monitor includes the sockets and ports for connecting the power cord, the video cable,
an HDMI-to-DVI cable for external video display, and a USB flash drive. When a socket or port is not in use, it is
recommended that the rubber cap is inserted into the opening. This protects the exposed connectors from dust
and other contamination. The back of the video monitor also features a mounting plate fitting that allows you to
attach the monitor to a mobile stand or IV pole.
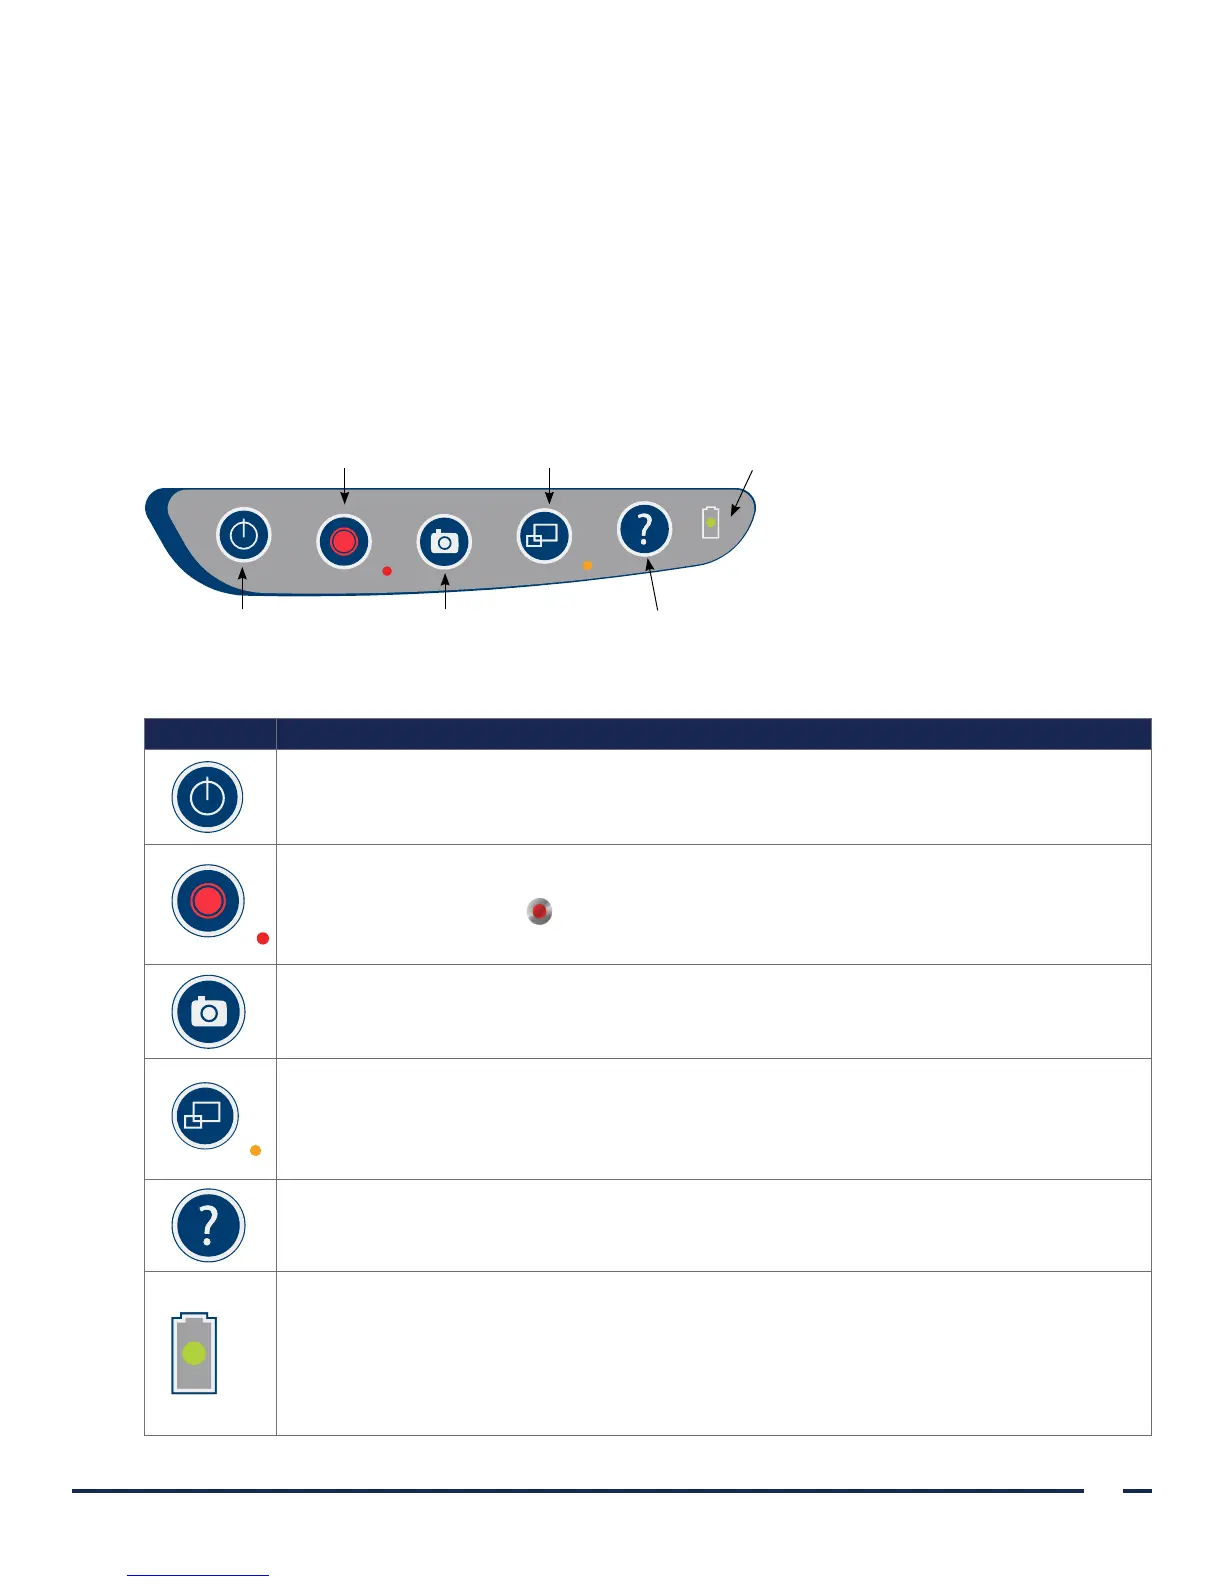
Figure 6. GlideScope Video Monitor Keypad
Power button Snapshot button
Record button External video button
Tutorial button
Battery indicator
Table 4. Keypad Buttons
BUTTON FUNCTION
Power: Press and release to turn on the monitor. Press and hold to turn it off.
Note: If the monitor freezes at any time during use, press and hold the Power button for
10 seconds to reset the system.
Record: Press to start and stop recording directly to a USB flash drive that has been inserted in
the USB port. When you are recording, the red LED indicator to the right of the button will be
lit, and the Recording icon will be shown on the screen.
Note: To record video, a USB flash drive must be inserted into the monitor USB port.
Snapshot: Press this button to save a snapshot of the live display to the USB flash drive. You
may take a snapshot while video recording or independent of recording.
Note: To take a snapshot, a USB flash drive must be inserted into the monitor USB port.
External Video: Press to display video on an external monitor. The yellow LED to the right
of the button will light up to indicate that the key has been activated. Press the key again to
deactivate the external video.
Note: An HDMI-to-DVI cable is required in order to display video on an external monitor.
Tutorial: If a USB flash drive is not inserted into the monitor, press and hold to access the
video tutorial. If a USB flash drive is inserted into the monitor, press and hold to access the
Playbackmenu.
Battery Indicator: LED is:
Green: Unit fully charged
Red: Unit charging
Flashing Red: Indicates a problem with the battery. Charge for 6hours, and if still flashing,
contact Verathon
®
Customer Care.