Gossen Metrawatt GmbH 45
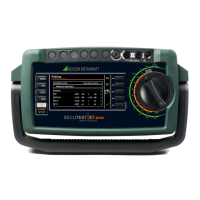
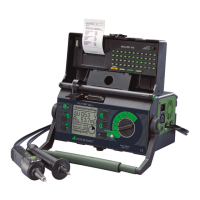
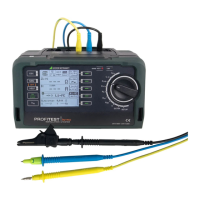
SECUTEST ST BASE(10) / PRO and SECULIFE ST BASE(25)
14.1 Measuring Procedure and Storage
1 Connect the DUT.
2 Select the desired test sequence with
the rotary switch (A1 ... A9).
The test instrument initializes connection
type recognition.
3 Start the test sequence by press-
ing the START/STOP key
4 The measured value recording icon
shown at the right appears.
Each time this key is pressed, the mea-
suring or evaluation procedure is
restarted (see case B in section ).
5 Proceed to the next measurement by
pressing the key shown to the right.
6 When the test sequence has been
completed, “Sequence Finished”
is displayed.
At the end of the test sequence, a
list of results can be generated for the
individual test steps.
7 If you want to view details such as
the settings for the individual test
steps, select the desired measurement
with the cursor and press the + magnify-
ing glass key.
8 The display is returned to the list of
test steps by pressing the magnifying
glass– key.
9 Save the results of a successful test
sequence by pressing the Save key.
The following message appears: “No
test object selected!”.
10 Press the ID key.
You now have the option of
entering a test object ID number.
If you enter an ID here which is
not yet included in the database, a
prompt appears asking you if you want
to enter a new test object.
11 The test object can then be created:
– Select either device or (medical) ME
device.
– (De)activate the QEDIT function (quick
edit – with SECUTEST DB COMFORT
only – Z853S or feature KD01).
If QEDIT is activated, you can fill in addi-
tional fields for the test object in the next
step.
Confirm with the green checkmark.
12 If you activated the QEDIT function in the
previous step, you can now fill in all the
test object’s fields. Confirm with the
green checkmark.
13 An overview of the database
appears along with the newly cre-
ated test object.
Press the save icon (floppy disk) in order
to store the measurement results. A
message appears indicating that the
data have been successfully saved and
the display is switched to the measuring
view.
The storage process can be aborted
by pressing the ESC key. The display
is returned to the memory menu. All
measured values can be deleted by
once again pressing the ESC key.
You can send the test results to a PC
on which IZYTRONIQ software is run-
ning. This function is known as
“push-print” and can be implemented
via USB or Bluetooth
®
.
Database extension SECUTEST DB
COMFORT (Z853S or feature KD01)
and, if applicable, feature M01 (Blue-
tooth
®
) are required to this end.
Complete information regarding
push-print and a description of the
application can be found in IZYTRO-
NIQ online help.
 Loading...