Repair
309856A 33
Disassemble Front End
WARNING
Read warnings, page 8. Proper attachment of front
end is critical. Do not operate gun if front end is loose
or lock ring is not snug against handle.
1.
Follow
Pressure Relief Procedure
, page 17.
2.
Flush Gun
, page 21.
3.
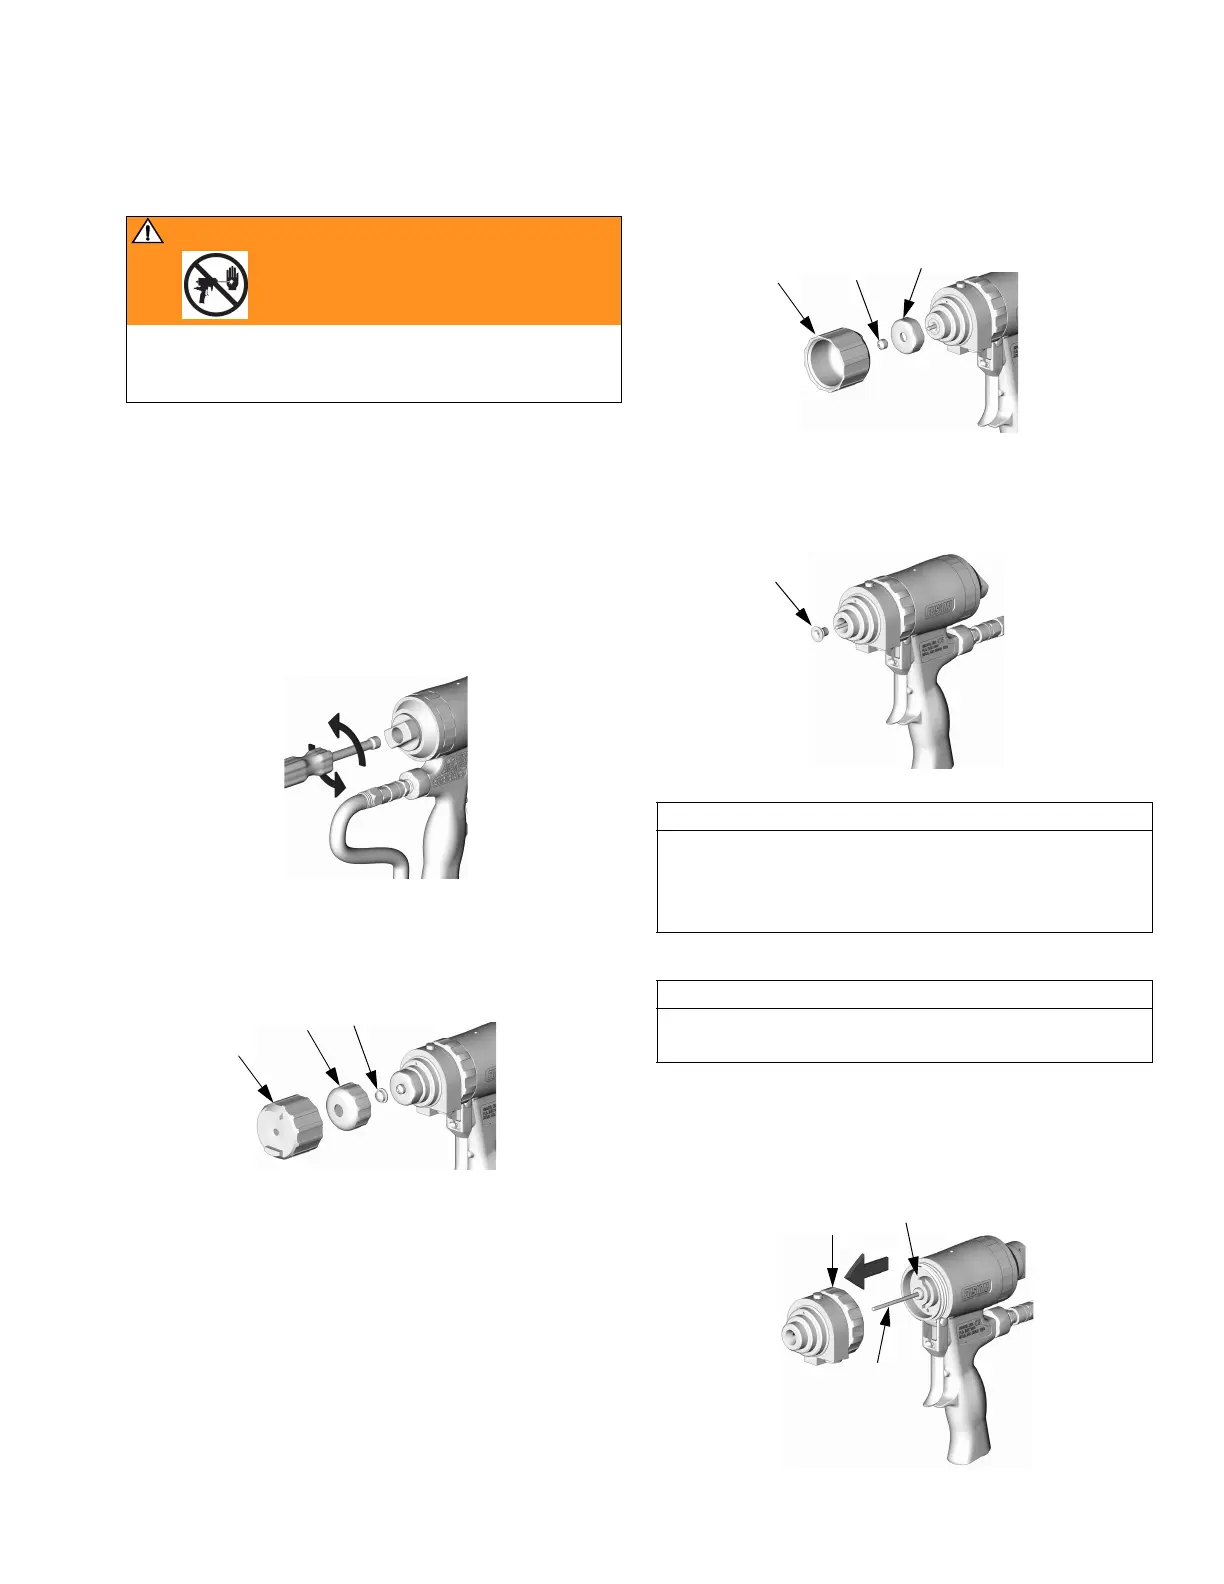
Back out purge rod 1-2 turns with nut driver.
4.
Remove air cap (9), retainer (28), and CeramTip
(40).
TI3828a
TI3843a
4028
9
5.
Remove mix module nut (25), using air cap (9) or a
wrench. Remove front seal (46).
6.
Remove Polycarballoy Mix Module (39), page 36.
Engage safety lock.
CAUTION
If lock ring (11) is stuck due to material buildup, do not
force it by turning entire front end. Locating tabs (Z)
may break off. Soak front of gun in solvent to soften
cured material and free lock ring.
CAUTION
To prevent damage to purge rod (31), always pull front
end straight off handle (1).
7.
Unscrew lock ring (11). Pull front end straight off
handle.
 Loading...


