Repair
34 309856A
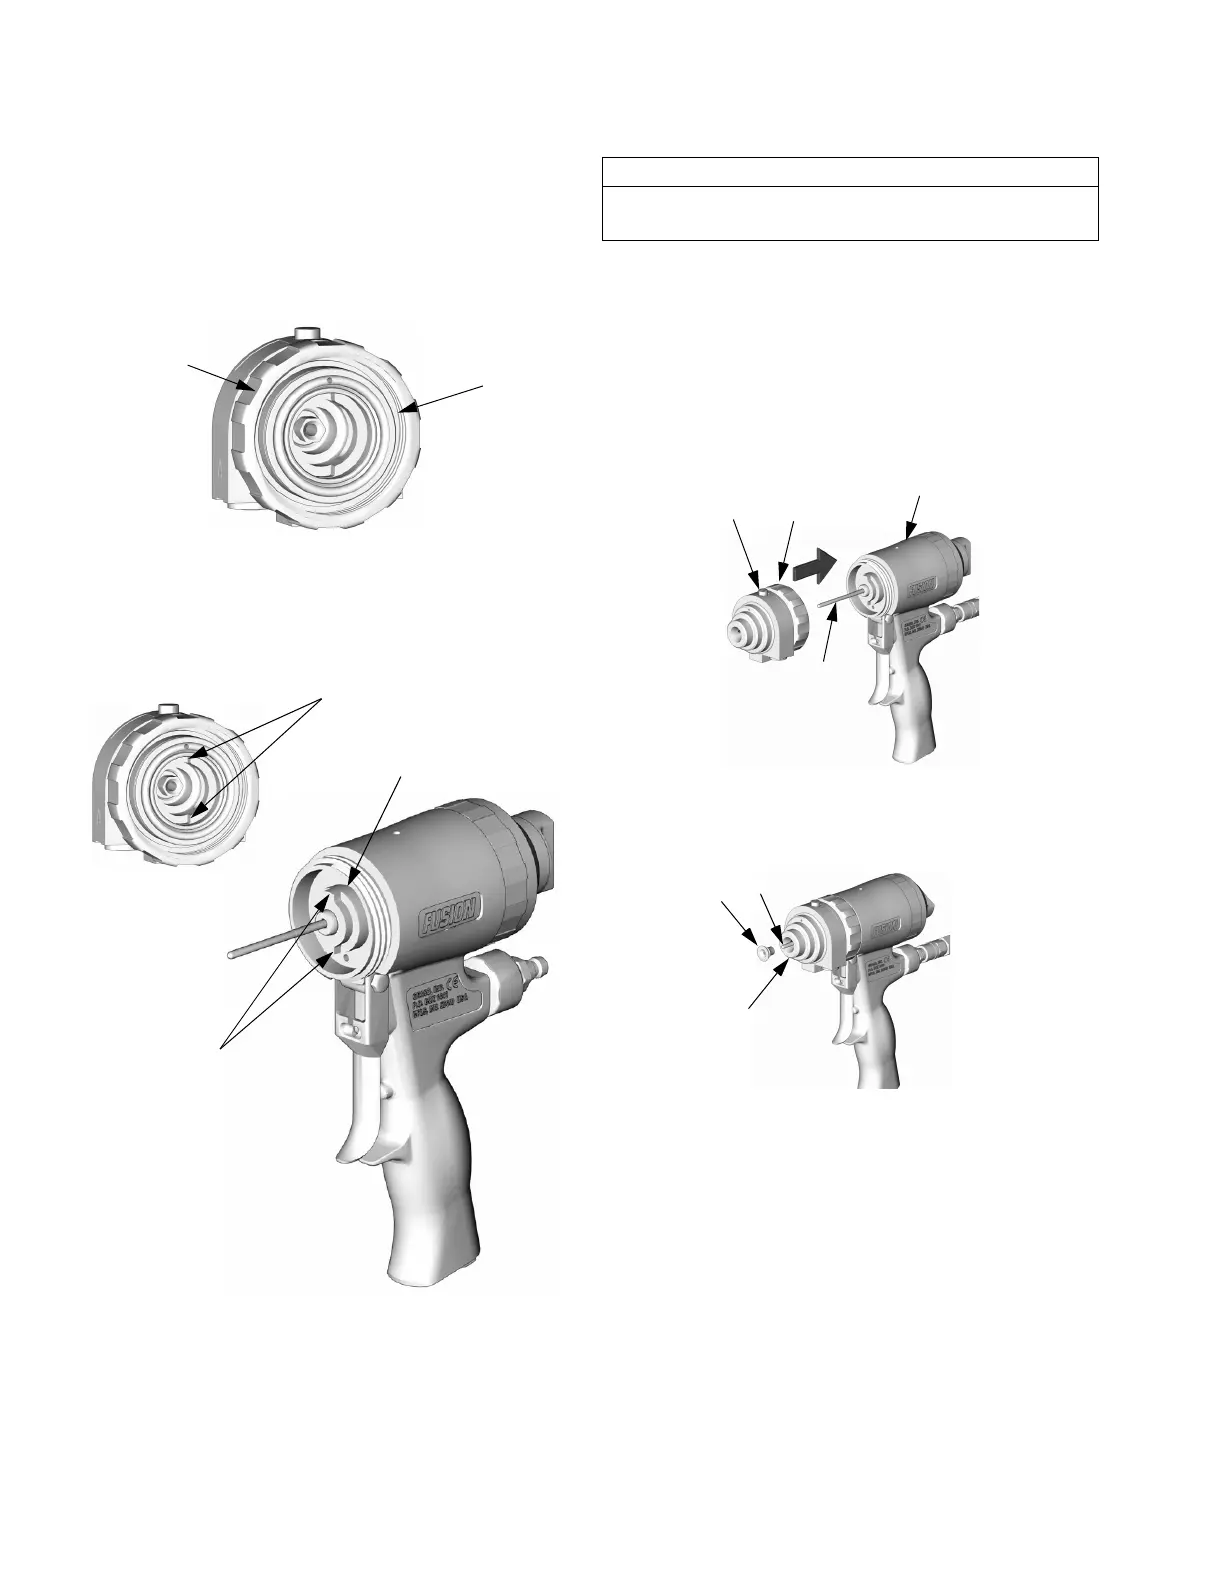
Reassemble Front End
1.
Check that o-rings (20, 21) are in position. Liberally
lubricate o-rings, threads of lock ring (11) and han-
dle (1), and outside of lock ring.
2.
Orient front end as required for desired fluid mani-
fold mounting (bottom mounting shown). Align
slots (Y) to engage tabs (Z).
TI3871a
11
21
TI3873a
TI3871a
Z
Y
20
CAUTION
To prevent damage to purge rod (31), always slide
front end straight onto purge rod.
3.
Carefully slide front end onto purge rod (31).
Screw lock ring (11) onto handle (1) as far as pos-
sible by hand. Push on front end to ensure it is
properly seated. Continue screwing lock ring onto
handle. When properly assembled, lock ring is
snug against handle.
4.
Reinstall Polycarballoy Mix Module (39), page 36.
TI3866a
11
1
31
7
39
7
TI3845a
31
 Loading...


