Max Model Setup
32 332305J
and down through the numbers 0-9 until the first
number in the PIN code is displayed in the field.
4. Press the ENTER button to set the num-
ber. The cursor automatically moves to
the next number field.
5. Repeat steps 3 and 4 for each PIN Code prompt
field.
If the PIN Code you entered is correct, the first editable
character on the display will flash.
NOTE: A blinking field on the display indicates the G3 is
in SETUP MODE. In RUN MODE numbers on the dis-
play will not blink.
Setting the Real Time Clock
DMS
™
Equipped Models Only
NOTE: Set the real time clock prior to plugging the USB
flash drive into the pump.
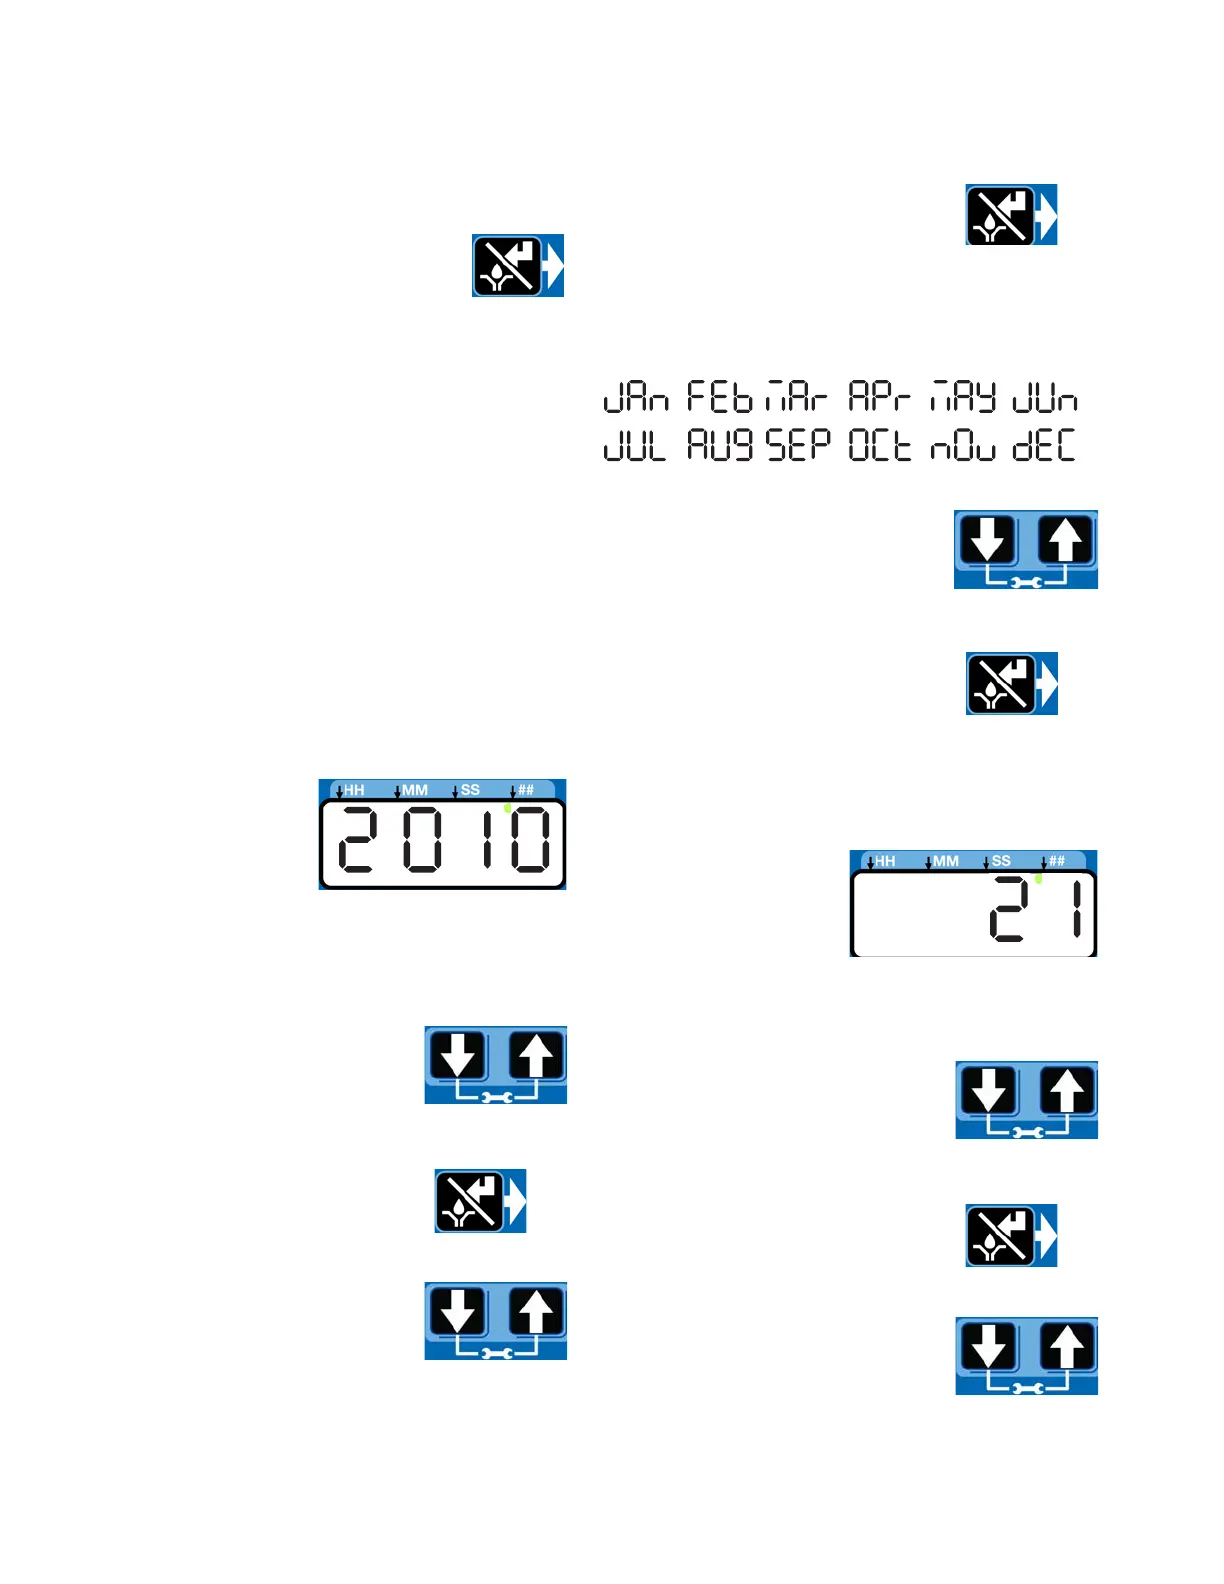
Enter the Year:
• The year displays.
The first programma-
ble character, the
decade, blinks indi-
cating the device is
ready to program the
decade digit of the year.
• The LED under the # sign lights while setting the
year.
1. Use the UP and DOWN arrow but-
tons to move up and down through
the number 0-9 until the number
for the current decade is displayed
in the field.
2. Press the ENTER button to set the
decade number. The cursor auto-
matically moves to the next field, the
year number.
3. Use the UP and DOWN arrow but-
tons to move up and down through
the number 0-9 until the number
for the current year is displayed in
the field.
4. Press the ENTER button to set the
year number.
The 3-character month displays indicating the G3 is
now ready to program the month.
Enter the Month:
1. Set the 3 character month by using
the UP and DOWN ARROW but-
tons to move up and down through
the list of months until the current
month is displayed in the field.
2. Press the ENTER button to set the
month.
The 2-digit date displays indicating the G3 is now
ready to program the date.
Enter the 2-digit Date:
The first programmable
character of the 2-digit
date blinks indicating the
device is ready to pro-
gram the first digit of the
date.
The LED under the # sign lights while setting the date.
1. Use the UP and DOWN ARROW
buttons to move up and down
through the numbers 0-3 until the
first digit of the date is displayed in
the field.
2. Press the ENTER button to accept
the selection. The cursor automati-
cally moves to the second digit of
the date.
3. Use the UP and DOWN ARROW
buttons to move up and down
through the numbers 0-9 until the
second digit of the date is dis-
played in the field.
 Loading...