Do you have a question about the GRAPHTEC CE-3000-120 AP and is the answer not in the manual?
Explains safety precaution categories and symbols used in the manual.
Details the meaning of safety symbols like Danger, Warning, and Caution.
Instructions for when the plotter generates smoke, overheats, or emits odors.
Emphasizes grounding the earth terminal and using correct power supplies.
Advice on using undamaged power cords and keeping plugs clean.
Warnings about touching moving parts like the carriage and rollers.
Cautionary advice for safely handling the cutter blade.
Guidelines for avoiding direct sunlight, dust, humidity, and vibrations.
Warnings about placing liquids on the plotter or if fluids enter the unit.
Proper procedure for disconnecting power and interface cables.
Guidance on not lubricating mechanisms and avoiding volatile solvents for cleaning.
Importance of sufficient space and proper lighting for operation.
Precautions for cutter blade extension and manual pen carriage movement.
Details about reproduction, changes, and liability concerning the manual's content.
Lists trademarks and logos appearing in the manual.
Guide to verify all standard accessories are present upon unboxing.
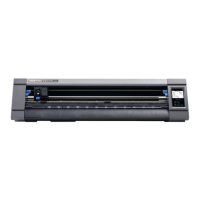
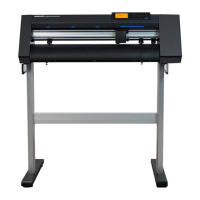
Identifies and explains the function of various parts of the cutting plotter.
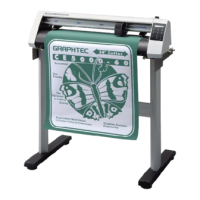
Step-by-step instructions for assembling the cutting plotter stand and basket.
Instructions for connecting the cutting plotter to a computer via various ports.
Procedure for connecting the power cord and turning on the cutting plotter.
Detailed steps for loading roll and sheet media, including roller alignment.
Guidance on selecting, replacing, and adjusting cutter blades and mounting pens.
Instructions for mounting a pen in the pen station.
How to set optimal cutting conditions like TOOL, OFFSET, FORCE, SPEED, and QUALITY.
How to view the current effective cutting area on the plotter.
Instructions for manually moving the pen carriage and feeding the medium.
Procedure for setting the starting point for cutting or plotting.
How to pause, resume, or abort cutting/plotting operations.
Method for moving the pen carriage in 100 mm increments along axes.
Performing test cuts to verify and adjust cutting conditions.
Overview of the PAUSE menu options for various settings.
How to delete sent data to abort cutting or plotting.
Function for monitoring cutter blade usage and indicating replacement needs.
Adjusting settings for cutting thick media to improve corner sharpness.
Compensating for offsets or angular deviations in loaded media.
Specifying the active area to prevent cutting/plotting outside boundaries.
Adjusting initial cutting force for thick media penetration.
Configuring command modes like GP-GL and HP-GL for data reception.
Utilizing modes like Condition-List, Self-Test, Dump, and Cutting Demo.
Explains special functions for specific situations, like command handling and pen movement.
How to configure the Special Functions A settings.
Describes the display language setting function.
How to change the display language.
Diagnosing issues when the plotter does not power on.
Troubleshooting common operational errors and symptoms.
Identifying causes and solutions for poor cutting quality.
Explains common error messages and their solutions.
Lists the technical specifications of the cutting plotter.
Details available accessories and consumables for the plotter.
Provides physical dimensions of the cutting plotter.
Visual representation of the plotter's menu structure.
