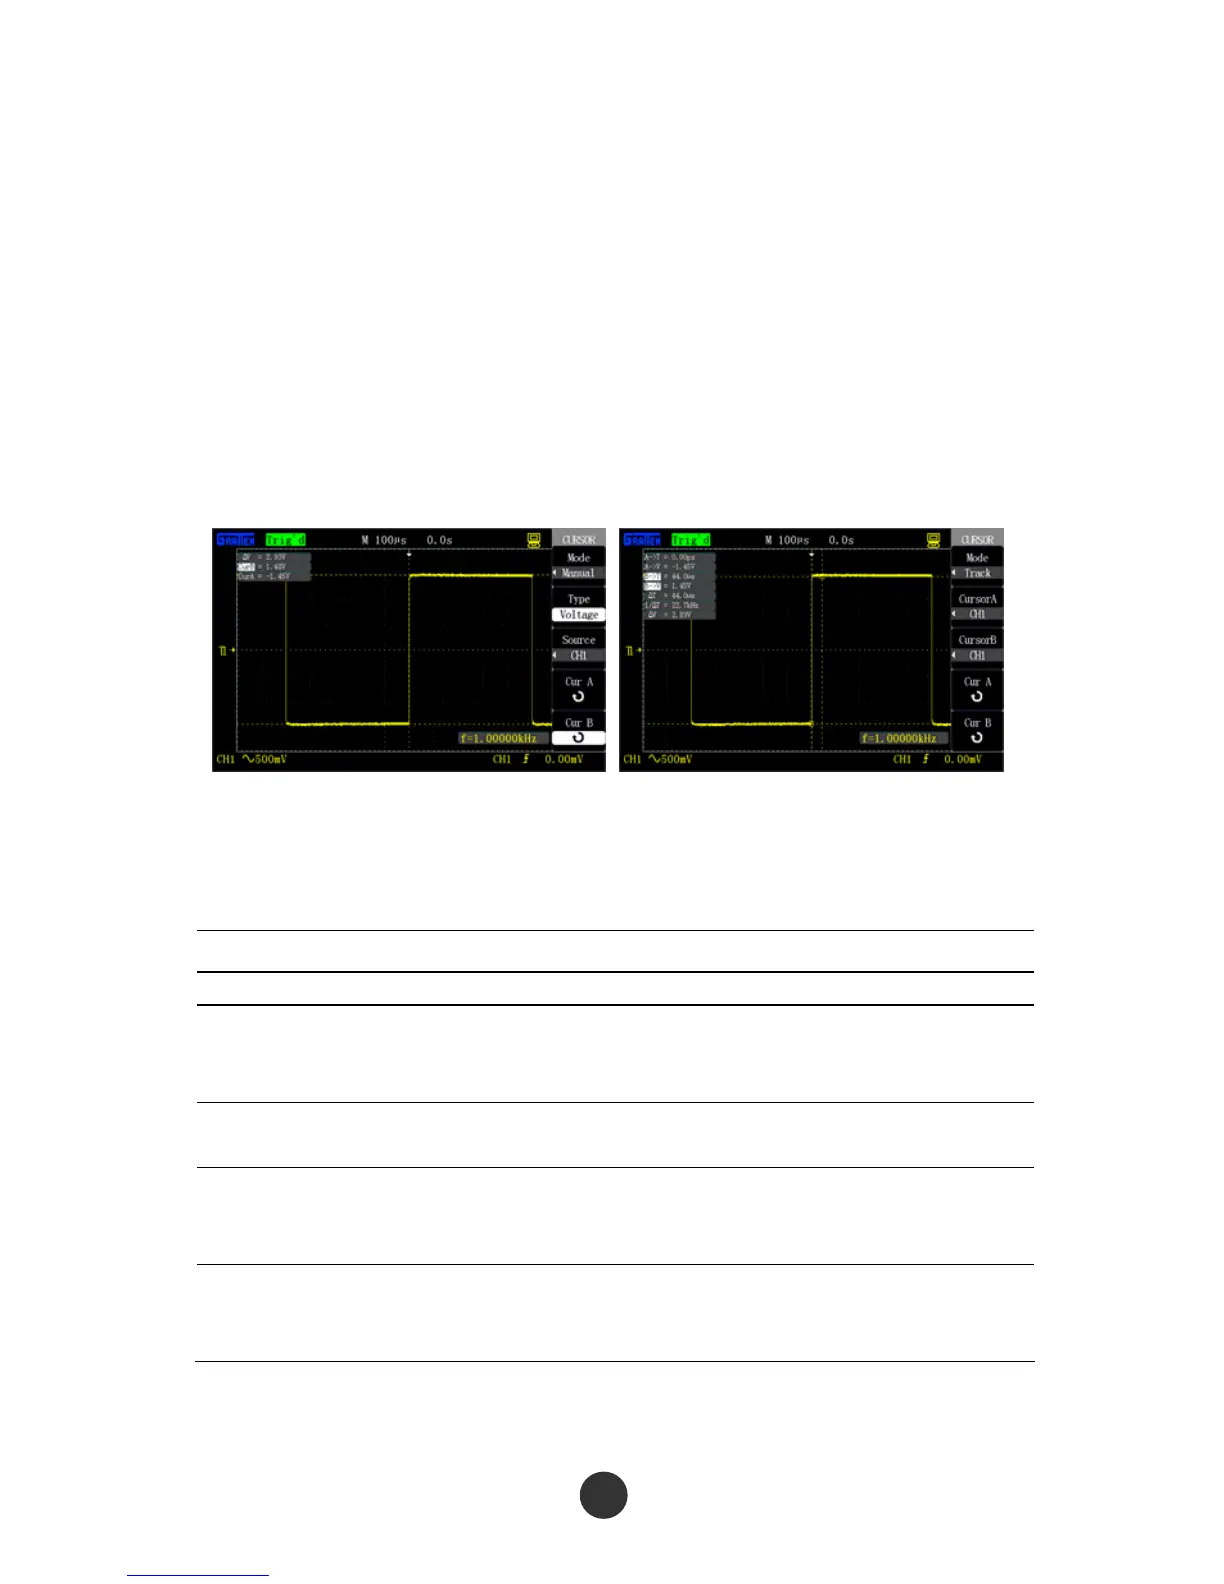
2. Select “Cursor mode” as “manual”.
3. Press “Type” to select “Voltage” or “Time”.
4. Press “Signal source” to select CH1, CH2, MATH, REF A or REF B according to the
signal input channel.
5. Select “Cur A” and revolve the [UNIVERSAL] knob to regulate the position of
cursor A.
6. Select “Cur B” and revolve the [UNIVERSAL] knob to regulate the position of
cursor B.
7. Display the measured values on the left upper corner of the screen.
Figure 2-50 Cursor manual mode Figure 2-51 Cursor tracking mode
Cursor tracking measurement mode
Table 2-33 Cursor tracking function menu:
Option Setup Description
Cursor mode Tracking Set the tracking cursor measurement.
Cursor A
CH1
CH2
No cursor
Set an input channel for cursor A to measure
the signal by tracking measurement.
Cursor B
Set an input channel for cursor B to measure
the signal by tracking measurement.
Cur A
Select the option using the [UNIVERSAL] knob
to regulate the horizontal coordinate of cursor
A.
Cur B
Select the option using the [UNIVERSAL] knob
to regulate the horizontal coordinate of cursor
B.
At cursor tracking measurement mode, the cross cursors are displayed on the
measured waveform, the cursors are automatically located on the waveform by moving