Maintenance
Replacement Procedures
8-46
(Revised 1/02)
Air Heating Element (Electric Units Only)
Removal
(
continued)
4. Remove control panel. See page 8-21.
5. Remove relay board and transformer assembly mounting screws and place
assembly to the side just far enough to allow access to the air heater element
mounting hardware. Disconnect wires from assembly as necessary to allow it
to be adequately moved.
6. Remove the left side heater wires.
7. Disconnect two red wires from water inlet valve solenoid valves.
8.
Disconnect electrical wires from high limit thermostats.
9. Remove relay and terminal block assembly mounting screws and move
assembly out of the way just enough to gain access to the heater terminals.
10. Disconnect wires A1 through A6 from right side heater terminals.
11. Remove heater mounting hardware (nut, flat washer, fiberwasher) from both
ends of heater element being replaced. Discard fiber washers. Be careful not
to damage the insulation. Use a 3/4 inch deep socket, 1/2 inch drive.
12. Remove heater from oven chamber.
Installation
NOTICE
Be careful you don’t bend the air heater element during installation.
Remove old gasket material.
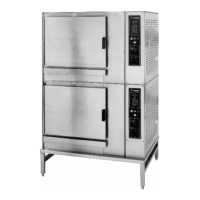
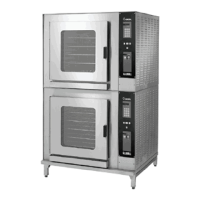
CC10-E
1. Apply a light coat of anti-seize lubricant to the heater element threads. Install
heater; then install new fiber washer
, flat washer
, and nut on each end of
heater element. Do not tighten mounting nuts at this time.
2. Check that the two heater elements are not touching each other and are not
within 1/4 inch of the fan.
3.
If heater elements are properly located, tighten mounting nuts. Use a 3/4 inch
deep socket, 1/2 inch drive.
4. Reconnect wires to the heater element. Make sure they are connected
correctly
.
5. Install right side and center racks in oven chamber.