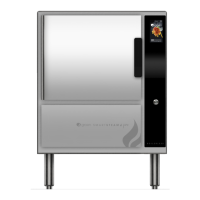
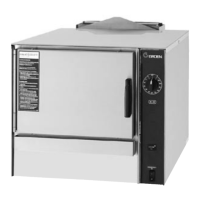
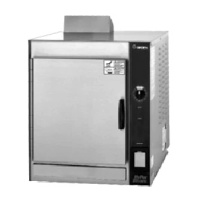
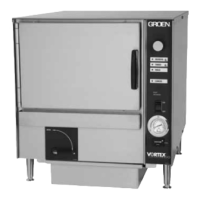
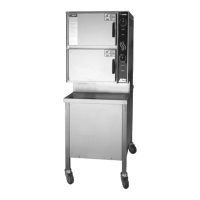
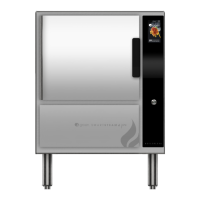
25 SM-GSSP BOILERLESS STEAMER
3. Attach the harness wire.
4. Turn on the branch circuit power supply.
5. Turn ON the steamer and test.
ELEMENT
REMOVAL
1. Turn off the steamer power and disconnect the steamer from the branch
circuit.
2. Using a screwdriver, remove both left and right side panels.
3. Remove rear element access panel.
4. Fold insulation out of the way.
5. Remove element insulation cover by removing the 6ea 7/16” x 32 nuts using
a ratchet and 7/16” socket.
6. Remove element insulation.
7. Loosen but do not remove the element brackets using the 6 remaining 7/16”
x 32 nuts using a rachet and 1/16” socket.
8. Trace the wires of the element back to the element terminal bock and
remove the wires with a #2 at blade screwdriver.
9. Slide the element out from the back of the nit through the element access
area to replace.
INSTALLATION
1. Slide the new element into the appropriate opening of the element bracket
through the rear access panel.
2. Install the element wires into the element terminal block from which
the original element terminal block was installed using a #2 at blade
screwdriver.
3. Tighten the 7/16” x 32 nuts supporting the element brackets using a ratchet
and 7/16” socket.
4. Replace element insulation.
5. Replace element insulation cover and secure using a ratchet and the
remaining 7/16” x 32 nuts.
6. Replace and secure rear element access panel using a #2 at blade
screwdriver and the 5-10/32” screws.
7. Recheck all wire connections and screws.
8. Using a screwdriver, replace both left and right side panels.
9. Reconnect power supply.
BURNER
REMOVAL
1. Disconnect power and gas supplied to the unit.
2. Remove the left side panel by removing the three exterior screws.
3. Remove the side access panel by removing the two 10x32 nuts.
4. Unplug the HIS and ame sensor.
5. Remove the 5-14” screws on the holding plate near the ignition tube and on
the bottom of the holding plate.
6. Loosen the ¾” compression tting on the ignition tube and move it toward
the base.
7. Slide the burner out the left side of the unit.
INSTALLATION
1. Slide the new burner into the left side of the unit.
2. Attach the ignition tube and tighten the 3/4” compression tting.
3. Install the 5-14” screws into the holding plate.
4. Plus in the HIS and ame sensor.
5. Turn on gas supply and power the unit.
6. NOTE: The ignition tube does not receive gas until the burners are active.
7. Install the side access panel with the 2 10x32 nuts.
8. Re-install the left side panel with the three exterior screws.
SERVICE BULLETIN # 194
AVOID DISPUTED SERVICE CALLS: REMIND CUSTOMERS THAT
SMARTSTEAM PRO REQUIRES DAILY PROBE WIPE DOWN
Models Affected: All SmartSteam Pro Boilerless Steamer Models
SmartSteam Pro Boilerless steamers never need deliming and only requires
minimal maintenance to deliver high performance. Our mutual customers are so
delighted with not having to delime, they are overlooking the need for the daily
cleaning regimen with wipe down of the water level probes.
If customers don’t do this for a while, after a few days to a few weeks, the unit
may overll with water.
When you receive a call to service a unit with the symptom above, suggest to
the customer that they perform the daily wipe down with an emphasis on probe
cleaning. In most cases, the malfunction will go away entirely.
Explain to them that if you come and nd the problem is dirty probes, you must
charge them for the service call, since a daily cleaning regimen with wipe down
of the water level probes is a customer responsibility and is not covered under
warranty.


 To Next Page