3
SPECIAL NOTES FOR THE INSTALLER
I. Before Installation
1.
Check to ensure that this gate operator is proper for the type and size of gate and its frequency of use (see page 6).
2. Make sure that the gate has been properly installed and swings freely while opening and closing. Repair or service
any worn or damaged gate hardware prior to installation of operator. A freely moving gate will require less force to
operate and enhance the performance of the operator as well as the safety devices used with the system. Use ball
bearing hinges for all gates exceeding 250 lbs (113.4 kg).
3. Review the operation of the system and become familiar with the manual disconnect for the operator (see Illustration
‘A’ below) and the safety features of the system.
4. Secure outdoor or easily accessed gate operator controls in order to prohibit unauthorized use of the gate.
II. During Installation
1. Be aware of all moving parts and avoid close proximity to any pinch points.
2. Place access controls (i.e. keypads, push buttons, etc.) far enough from the gate so that the user has full view of the
gate but cannot touch the gate while operating the controls. The recommended minimum distance between the gate
and any access control device is ten ft.
3. Install the gate operator on the inside of the property and/or fence line. Do not install an operator on the public side/
outside of the gate.
4. Place the caution signs provided with the gate operator on each side of the gate or in high visibility areas to alert the
public of automatic gate operation. It is your responsibility to make sure the public is not exposed to a potentially
hazardous situation.
III. After Installation
1. You are responsible for explaining the basic operations and safety systems of the entire gate operator system, includ-
ing operation of the manual disconnect, to the end-user.
2. Review all the safety instructions with the end-user and leave this manual with them.
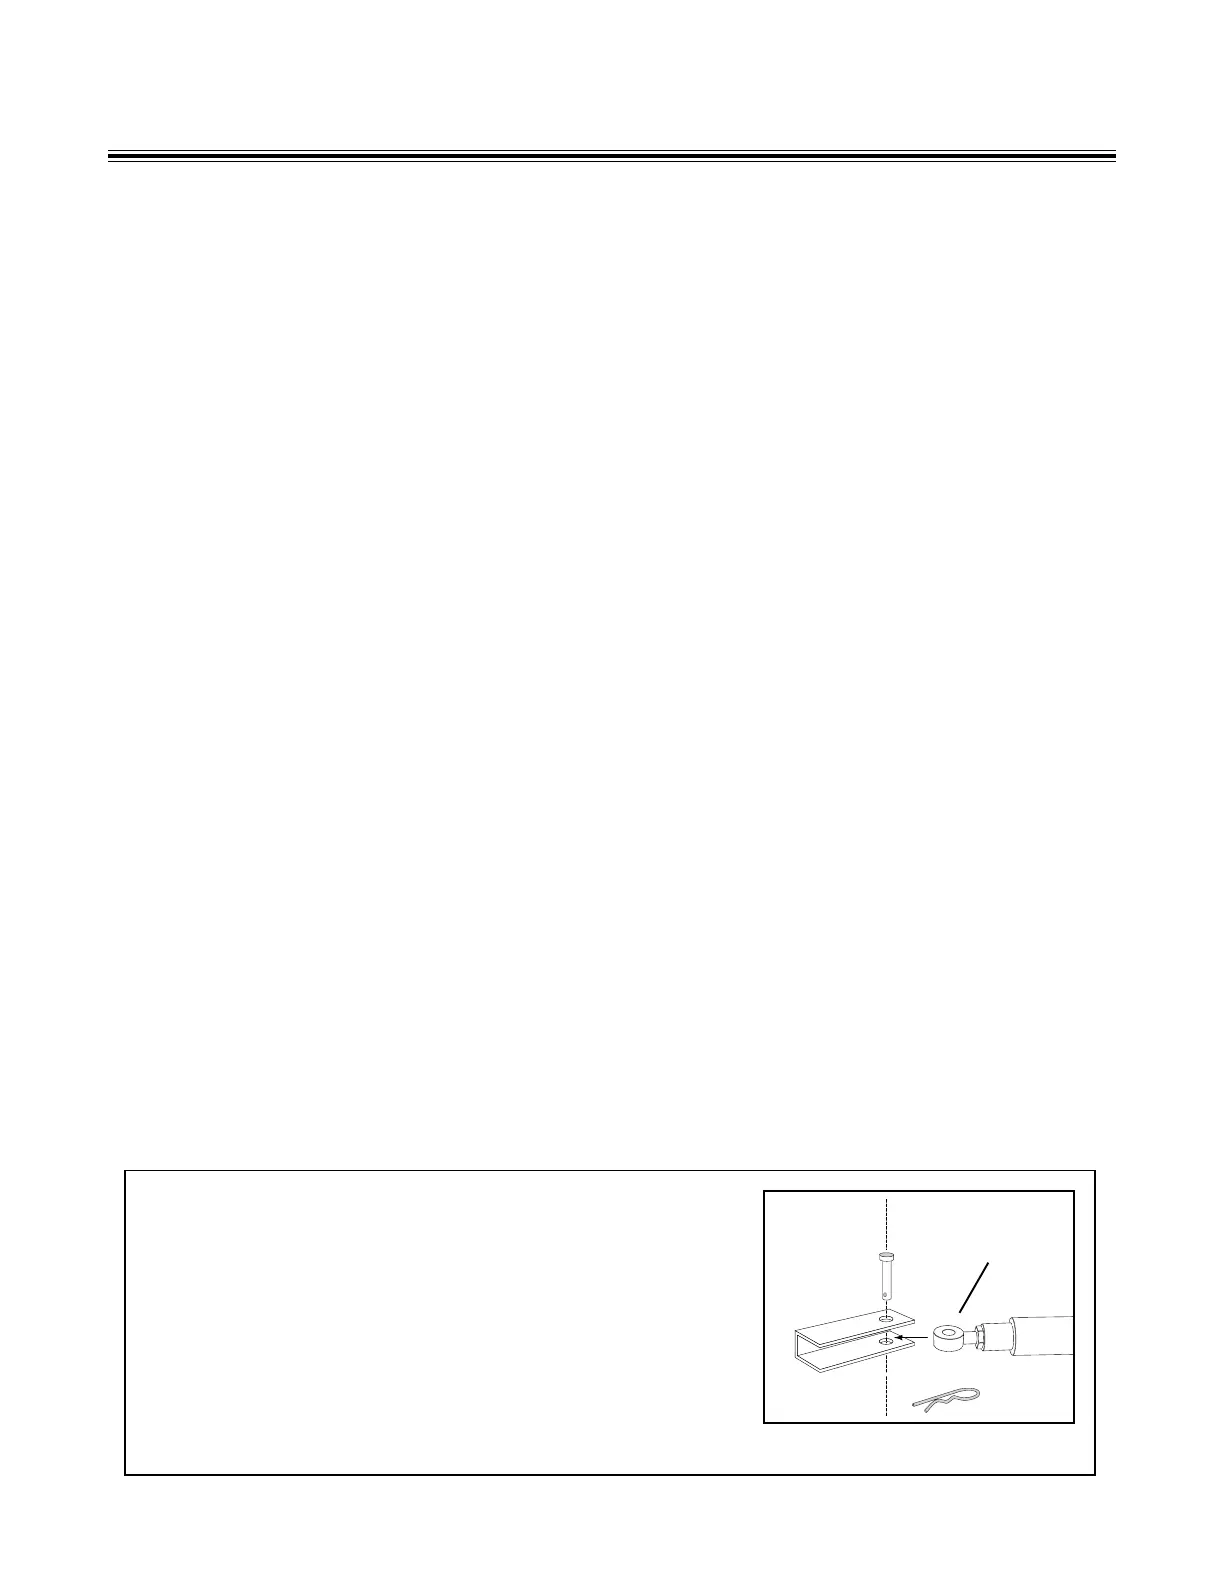
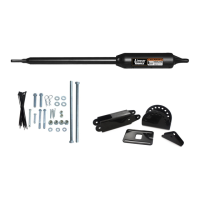
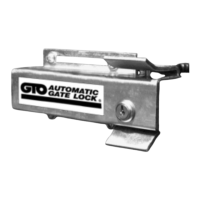
Manual Disconnect of Operator Arm
1. Turn control box "OFF".
2. Remove hairpin clip and clevis pin from the gate bracket and pull
operator arm away from the gate.
3. The gate can now be opened manually.
Illustration A
Front Mount